As mentioned, one becomes skilled by making mistakes. I recall advising my son that to become skilled at skiing (windsurfing, skate-boarding, roller-blading, break-dancing, whatever the current sport), one must fall a hundred times.
I wasn’t really eager to make that many mistakes in my foray into woodworking. Fortunately, today, the internet provides a way to learn just about everything about anything. You-Tube in particular has an overabundance of tutorial videos on any tool, any technique, any material you might have an interest in. Unfortunately, nearly all of them are awful. Maybe it is my background in photography and exposure to the motion picture industry, but I find most of the amateur how-to videos to have bad light, bad sound, bad camera work, and bad scripting. I would be happier to simply read the transcript and bypass the miserable minutes watching a home video by someone who, I am sure knows what he is talking about, but just can’t portray it on camera. It generates an appreciation for professional teachers. I have heard it said “those who can’t do, teach”, but the converse may also be true.
With the internet as a resource, and querying my woodworker friends, I learned a number of interesting things (at least to me):
- Make a template of the stair tread shape from hardboard; the router bit has a ball bearing guide that can follow it perfectly.
- Double-sided masking tape adheres the template to the wood. Masking tape comes double sided, who knew?
- Use a router bit with a 3/8” shank for stability and safety. This caused me to buy a new router that could accommodate that size.
- One of the most useful tools for cutting each tread to its unique place was a digital protractor. Measure the angle, set the miter saw to that number, and cut! (But get the direction right). A friend of mine acquired a “Stair Wizard”, but this was more expense than I was willing to go for.
- Hard maple is hard! To screw (or even nail) requires a pilot hole, or the screw may split the wood. For this purpose there are “tapered drill bits” which provide a guide hole that accepts the screw, and even makes a countersink for it.
- Don’t make a perfect fit. Wood expands and contracts. Allow some breathing room. Here was a license for tolerating cutting errors!
I acquired these lessons as I worked on the small upper stair section involving four steps. I created a design that utilized “floating” treads (not anchored by glue or fasteners). I made a shallow notch (a rabbet cut) into the bottom of the next higher riser that was exactly the thickness of the tread. The tread would fit into that slot and then rest on the stringer. Remember, I am making the treads with an exaggerated overhang over its next lower riser, and I didn’t want the tread to flip up when it was stepped on. The rabbet notch prevented it.
But the tread also needed to be stable front to back. To this end I decided that it could be secured by “pins” to the next lower riser. I found out that ¼” dowel pins are commonly used in cabinetry woodworking. I acquired some, and a tool to help me drill the holes into the matching wood pieces.
There is a challenge to making pinned joints. I can drill a hole and place a pin on one part; how do you know where to drill the receiving hole on the other? My natural inclination is to try and measure with extreme accuracy. But I have been consistently disappointed with this approach. The tools, tolerances and material characteristics just don’t seem to support this technique.
But I recalled a past experience where I had recruited some friends to help me with installing sheet rock. One of them, Dave, was quite experienced (I knew this of course when I invited him), and when we needed to cut holes to match the electrical outlets, I started to make my precision measurements from the edge and bottom. Dave politely offered an alternative, and pulled out from his pocket a tube of lipstick, which he liberally applied to the edges of the outlet box. We then pressed the sheet of drywall momentarily into position, and then dropped it back down to find the exact location of the outlet marked in Passion Pink on the backside of the panel.
I applied that lesson to locate the matching holes for the tread pins.

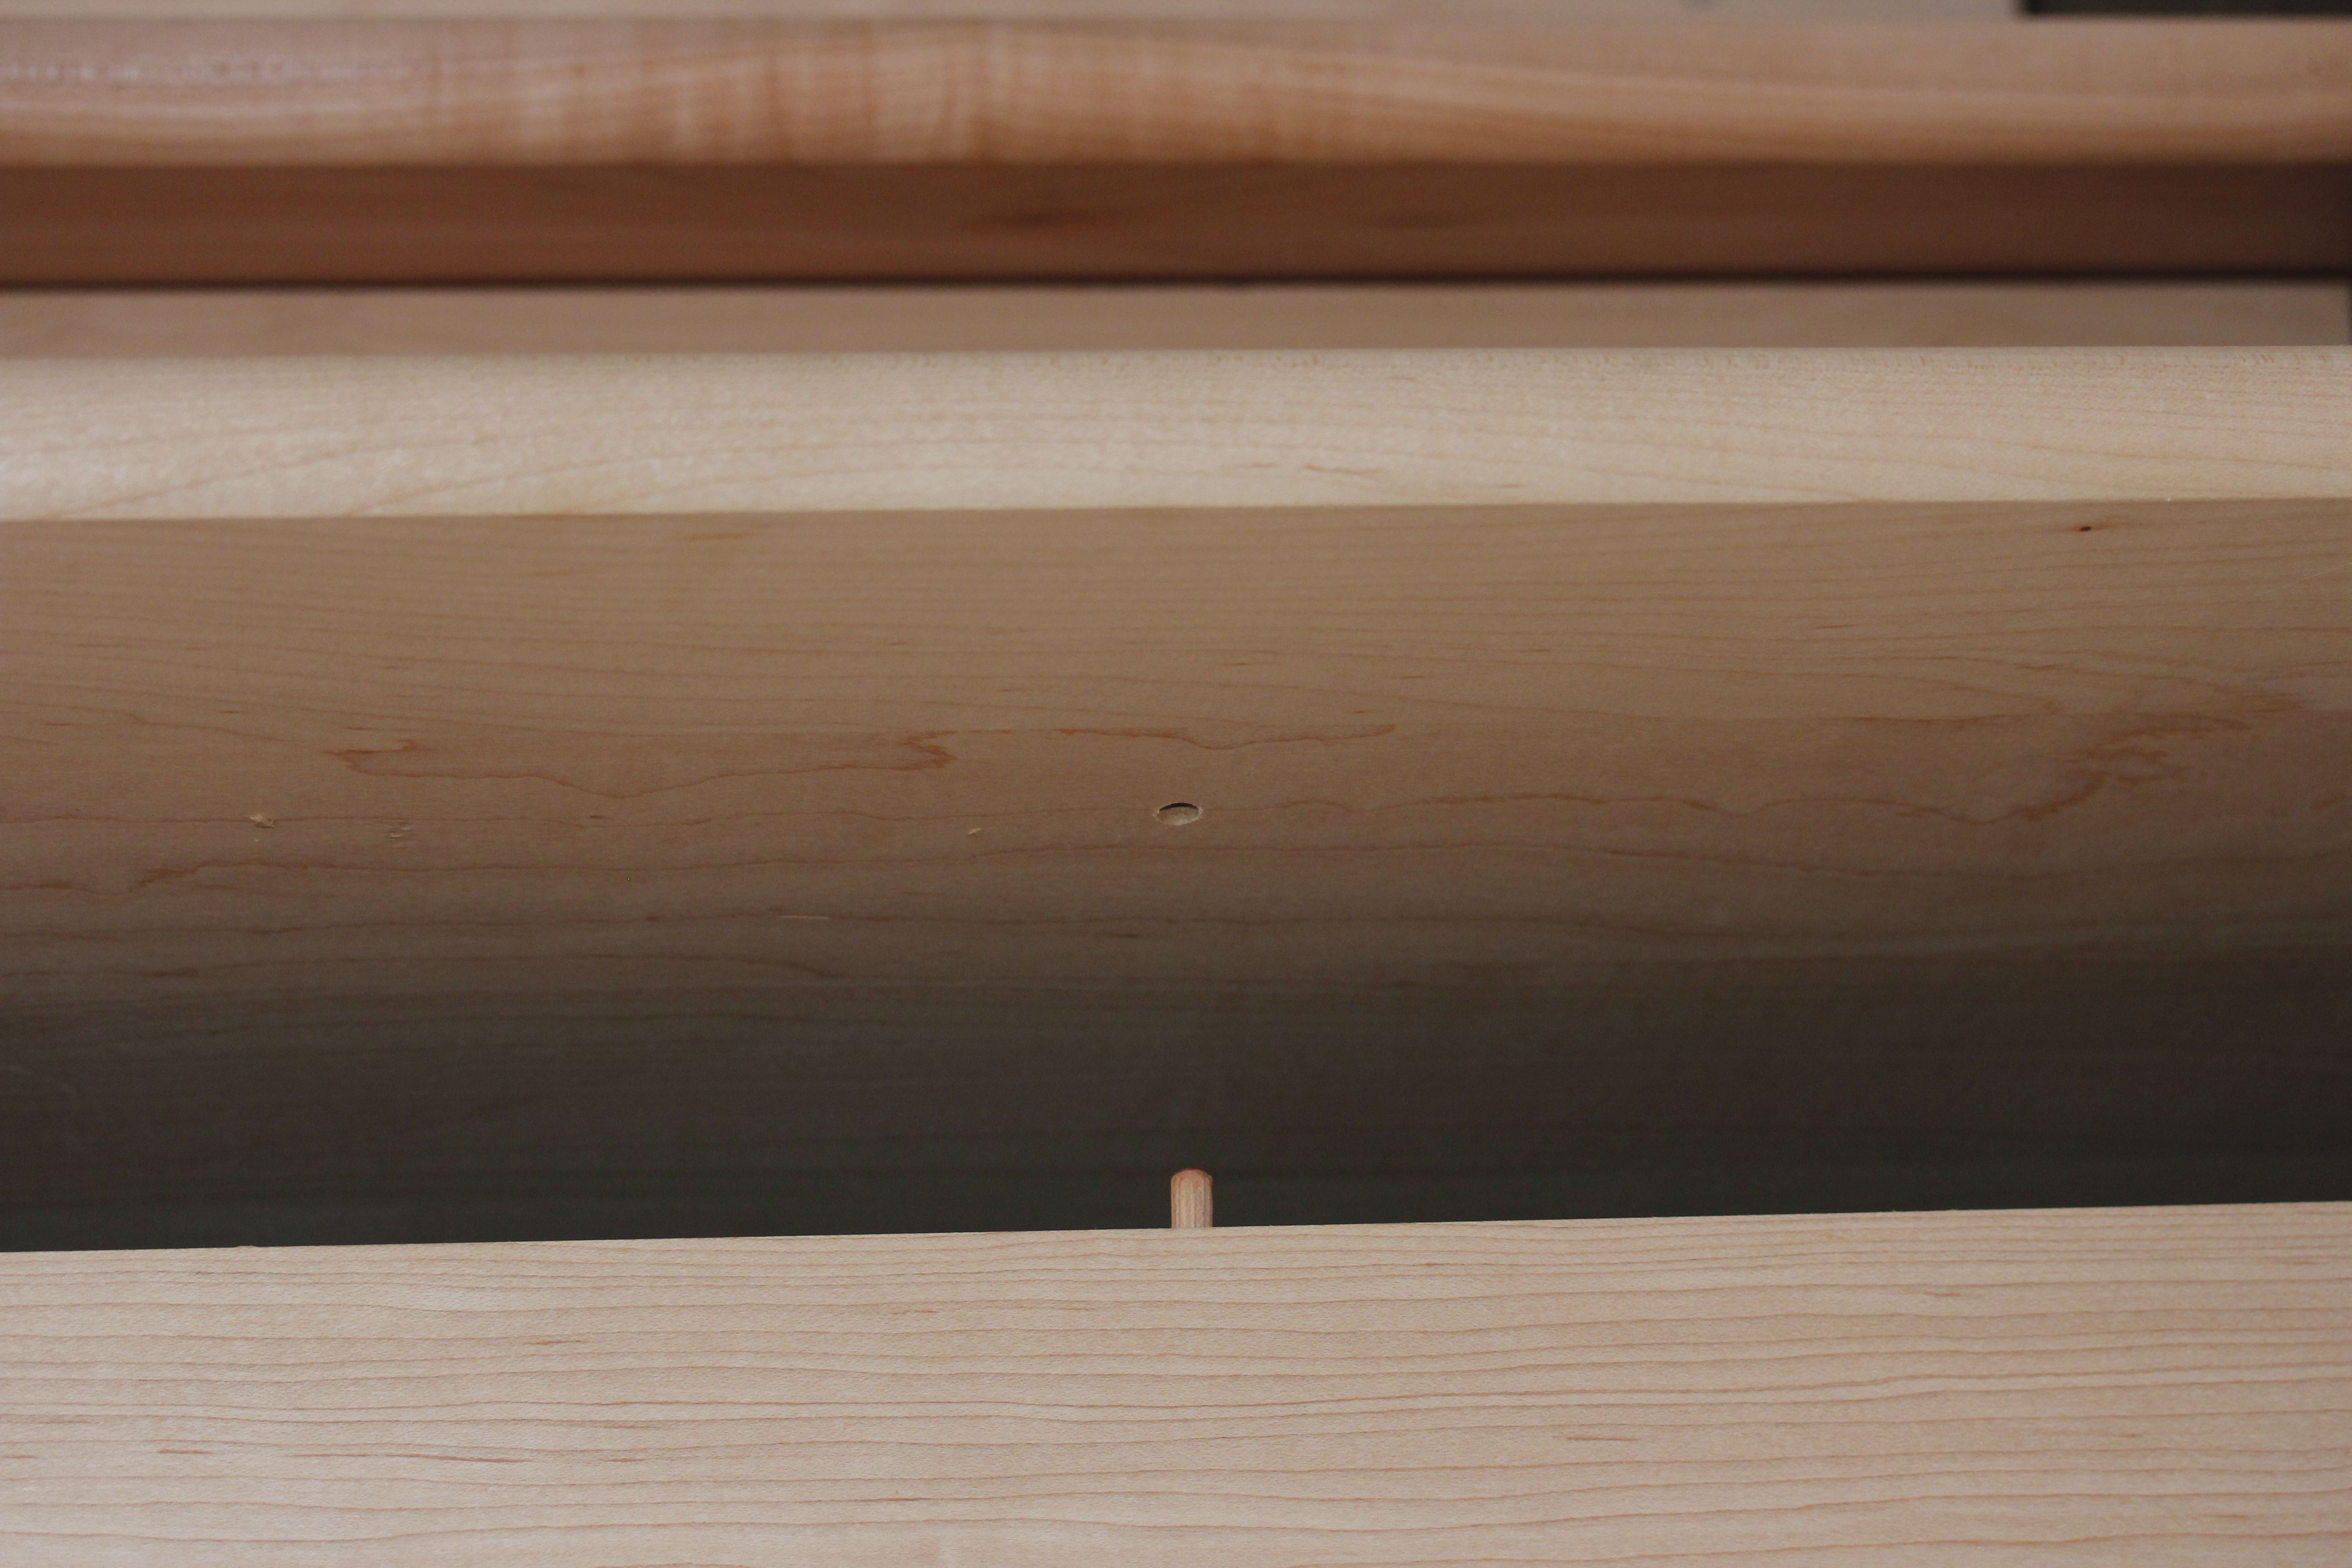
You may be able to see the hole in the bottom side of the tread (lifted slightly up) that will mate with the (lipstick tinted) pin sticking up from the riser on which it rests.
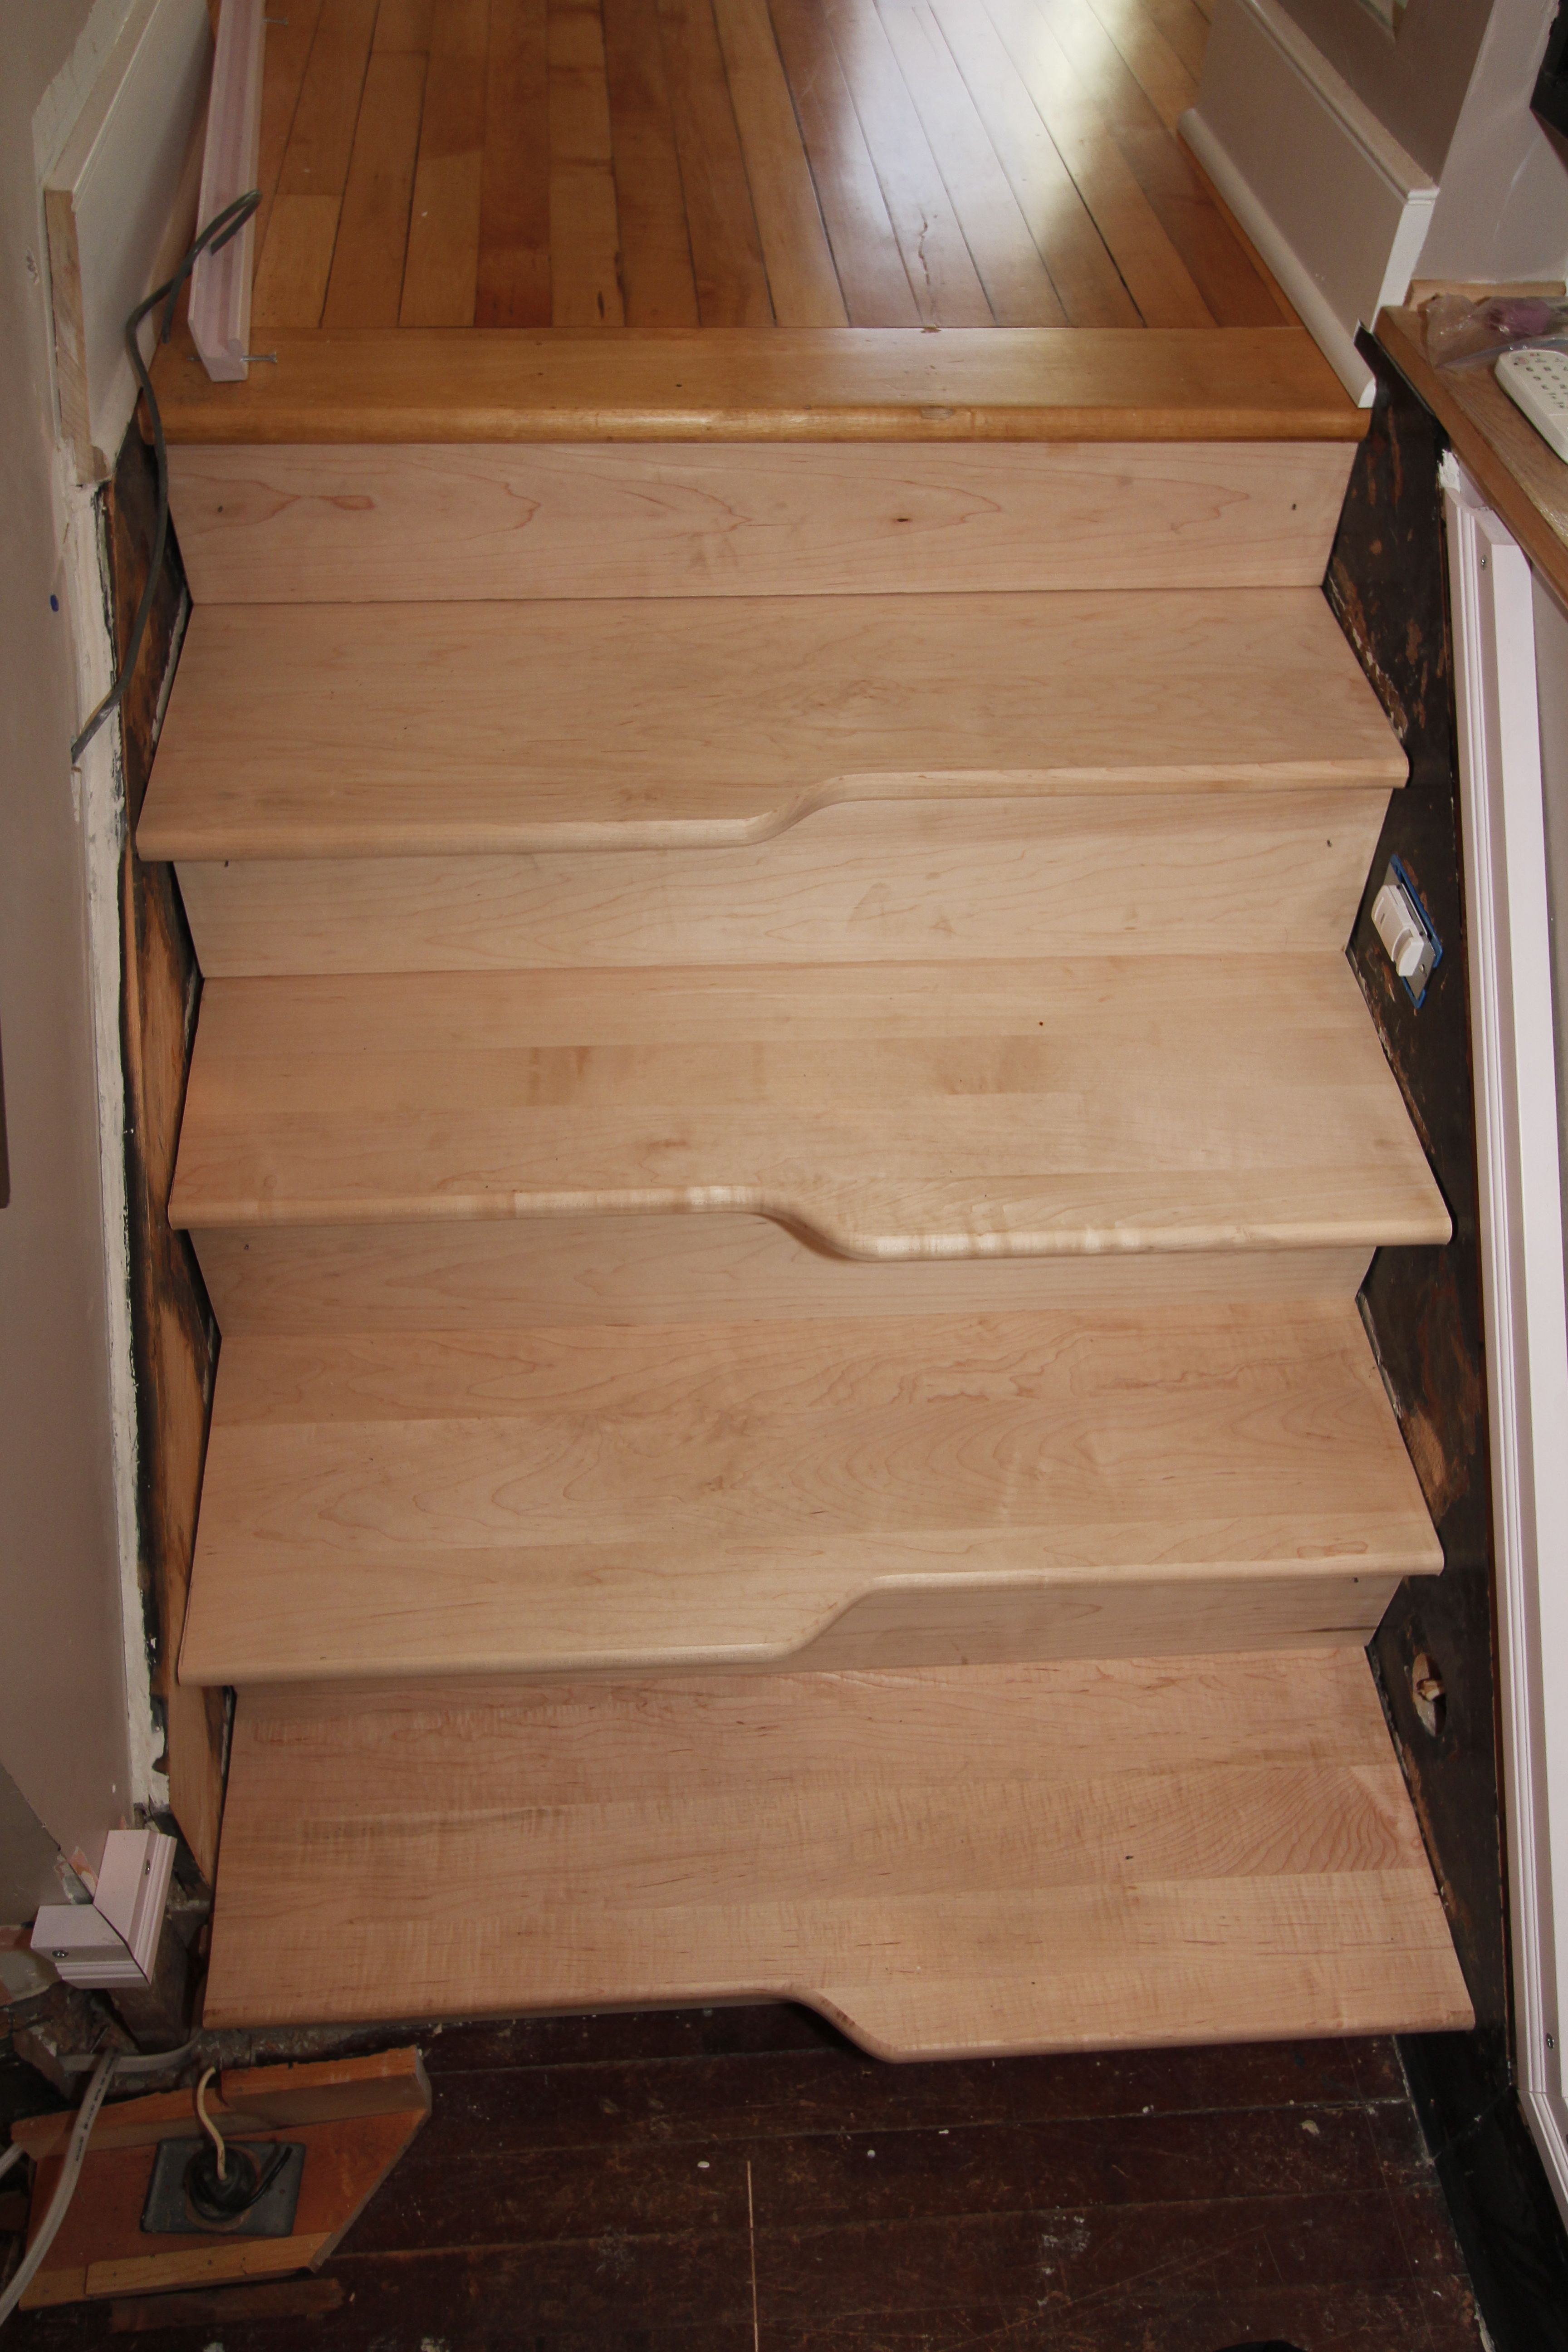
Over a two month period I was finally able to replace four of the old treads and risers and see if the concept would actually work. It did!

The top four steps from the landing to the second floor were the training ground where I learned the methods for making and installing custom treads and risers.
There was however, an unanticipated side effect. Making carefully planned cuts in wood works well on paper, but the material and tools are not conducive to this level of precision, at least not at my skill level. The stairs worked, but they were noisy! The small tolerances needed to fit into rabbet notches and alignment pins resulted in a “clattering” sound when traversing the steps. Wood upon wood, at 200 lb impulse loading.
I don’t know anyone who considers the use of shims to be a point of pride. Most of us think of them as the solution to something defective, like that wobbling table at the cheap restaurant that needs a matchbook wedged beneath its foot. I’ve even heard of the concept of “software shims” to try and make one piece of computer code properly connect with another. It was discussed with a distinct disdain.
But sometimes this is just exactly the right solution. And I think this is one of those times. I saw an abundance of wooden shims underlying the old staircase, between stringers, treads, risers, and flooring. I will now apply a new type of shim, a thin rubber tape to cushion the impact of the tread against riser and make every step a firm and silent experience.
I happened to have a surplus roll of EPDM rubber tape from the roofing replacement. It was 1/16” and had adhesive backing. I cut it into 1” strips and applied to each tread, carefully noting the high and low points of the fit and applying the rubber where it was needed.
Some steps were a bit fussy, but that is the character of This Odd House.
