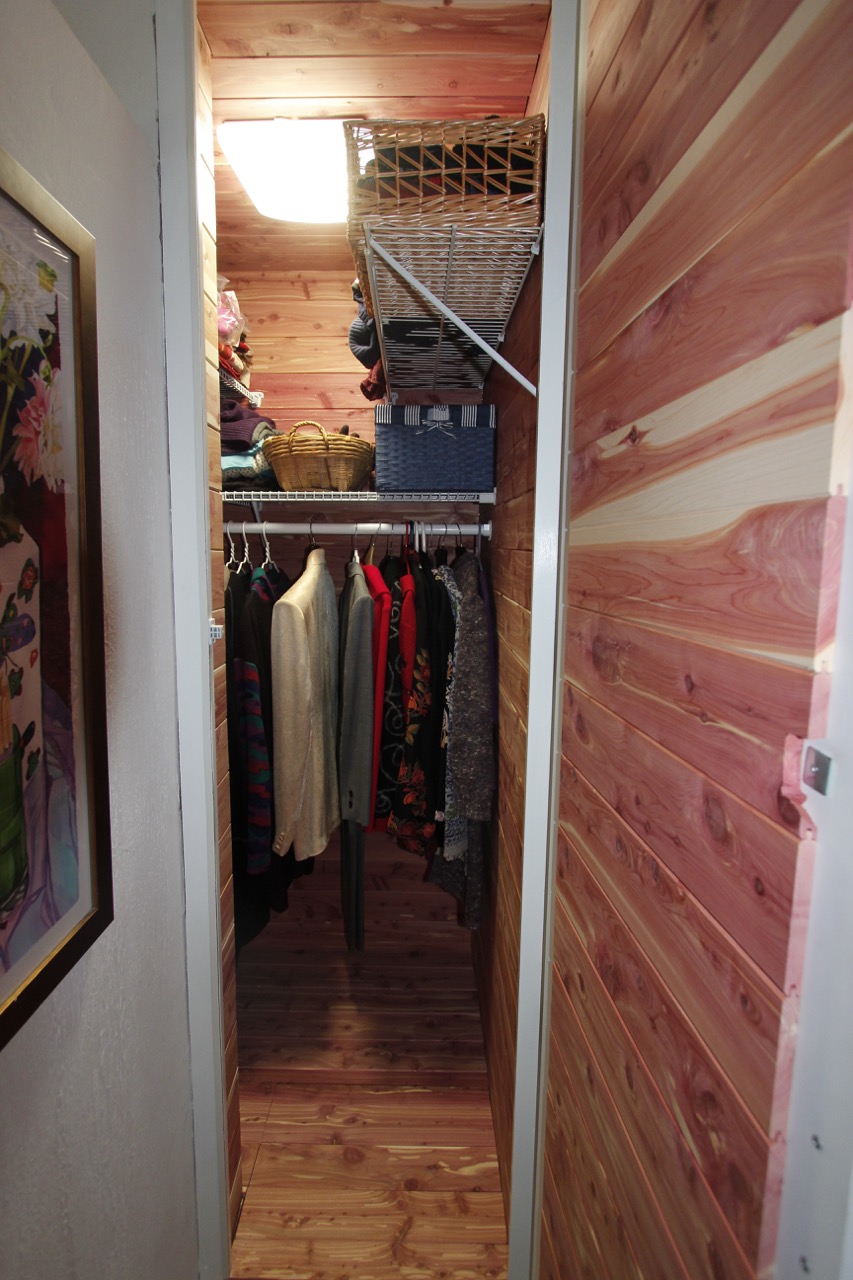
I’m declaring completion on a modest revision to our floor plan, the conversion of an unused shower stall into a cedar closet. It has been over seven months since starting the project, and it would be entirely reasonable to ask how it could possibly take so long.
Well, apart from my excuses of being a novice, and only dedicating available weekends to the effort, there were other factors. In particular, This Odd House presented some unique challenges. I will try to list them without belaboring them.
The shower was off the master bedroom. It had been carved out of space that was originally a stairwell, a narrow area about 3-feet wide. It was deep, over eight feet, with the shower head at the far end. The former remodelers were fond of low ceilings and dropped it down to a little over six feet, for that cozy shower feeling I guess.
I had attempted earlier to repair and update the shower head and faucets, but it was still an awkward situation. To take a shower meant entering the stall and traveling to the far wall to turn on the faucets. It was impossible to do this without being in the initial blast of cold water. There were other showering options available in the house that didn’t involve a full body check of the water temperature, and so this facility fell out of favor. Eventually, the abandoned space started to be used for other purposes, like temporarily storing things. It eventually became the established storage location for things, a closet, if you will.
Meanwhile, we had noticed that some of our favorite, if not fashionable, woolen attire tended to olfactorily pre-announce themselves when we wore them in public gatherings. The mothball protection of their seasonal storage extended well beyond their storage and into the active social season. Our sartorial choices were being compromised.
A plan was made. We would convert the shower space into a cedar-lined closet, the cedar aromatics being effective against moth larvae without the naphthalene aftertaste. An access door would be made through an outer wall so one did not need to enter and exit through the bathroom. Residual space would be used for shelves to hold linens. It seemed straightforward.
It wasn’t. Here are the things I encountered while making this closet conversion.
- The dropped ceiling. Above it was a dead space that had accumulated the construction debris of not just the original remodeling of years ago, but mine too! (from the kitchen renovation one floor up). Wood lathe and plaster, insulation, old ceiling tiles, abandoned wire and plumbing parts, it was all conveniently swept into this dark pit from above.
- Removing the shower stall itself was relatively easy. Plastic and fiberglass and sheetrock. Removing the plywood ceiling involved “disassembling” it by cutting it into sections with a sawzall, avoiding the plumbing and wiring that was routed directly across it. I wasn’t fully successful, cutting through a support that had electrical lines running through its core (who would fabricate a hollow beam and run power through it?) It resulted in arcs and blown fuses that took days to figure out and repair.
- The new closet door. It could have been simply an opening in the wall, but because the wall was originally part of a stairwell, it was load-bearing. I couldn’t just cut out the studs, I had to add studs and a header to redistribute the load.
- At the location of the closet door, between the studs to be removed, there was a large electrical junction box, perhaps 15” square. It seemed to be a major distribution center for the power in the bedroom and bath. I had to relocate it.
- The plumbing to the shower was, how do I say it, convoluted? In the end, I had to call a professional plumber to remove it without impacting the water flow to the rest of the house. We also discovered the water line to the outdoor faucet had no shutoff valve and was exposed to winter temperatures. The plumber’s comment to all this: “I’ve seen stupider”.
Of course some of my problems were self-inflicted. The new closet door was on a wall in our bedroom, a room with 10-foot ceilings. We had carefully mounted a mirror salvaged from another odd bathroom in the house (that got downsized), onto this wall. With no other place for the mirror, the plan was to put it on the door to the new closet.
It was a 9-foot mirror. It needed a 9-foot door. Perhaps there are places to shop where doors of this size are available, but I was unable to find any. So I set about to commission a custom door. I found several sites online that offered custom doors, but every time I tried to order one, I found that this dimension exceeded their abilities. The local Home Depot would make a custom door, but only to 8-feet. I had to build my own.
In the end, I ordered an 8-foot door and then “spliced” a 6-inch header and footer to each end. After sanding and painting, it looks almost seamless. And the mirror covers the seams anyway.
This was supposed to be a winter project. I started on New Years Day. Now, finally, in August, I can declare completion (with some provisos, there is always a punch list).
My wool sweaters are now stored in a protective but not toxic environment and I look forward to wearing them with confidence next winter!
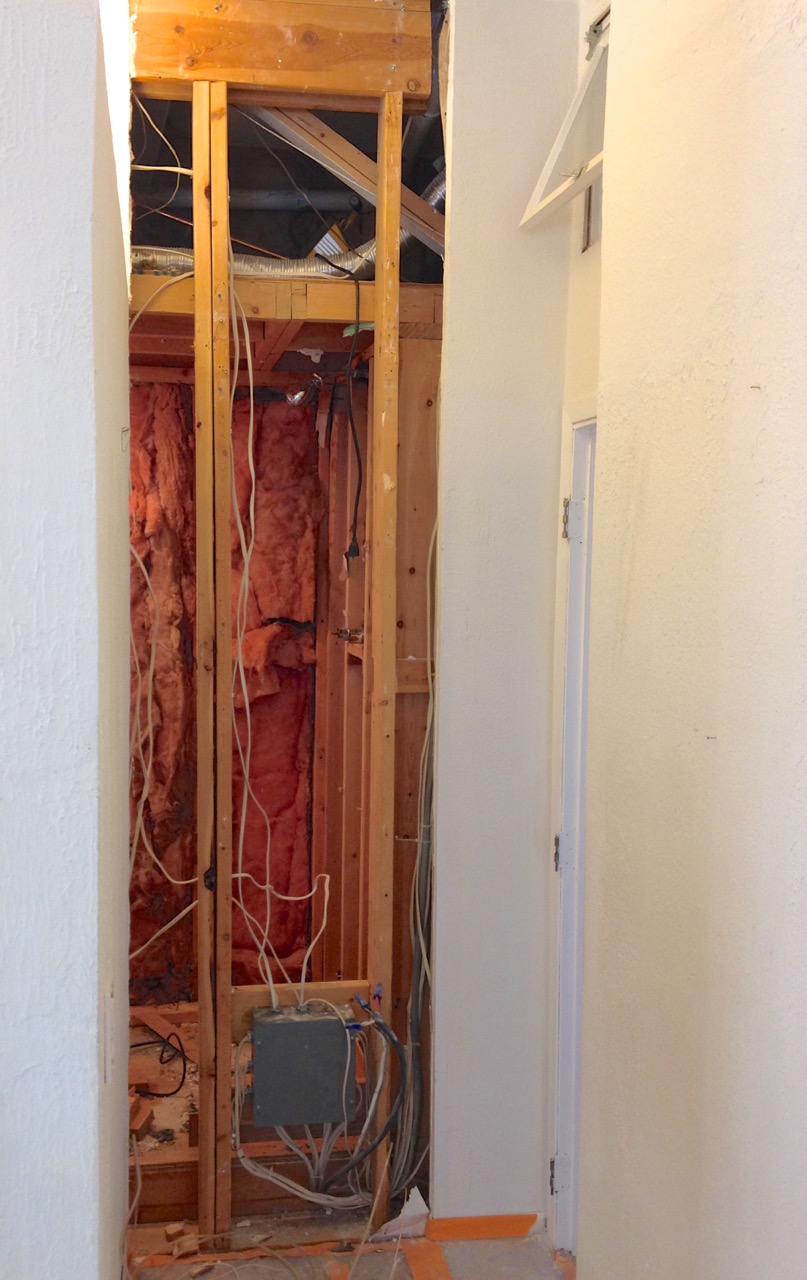 BEFORE. The opening for the new closet door revealed a load-bearing wall and an electrical junction box.
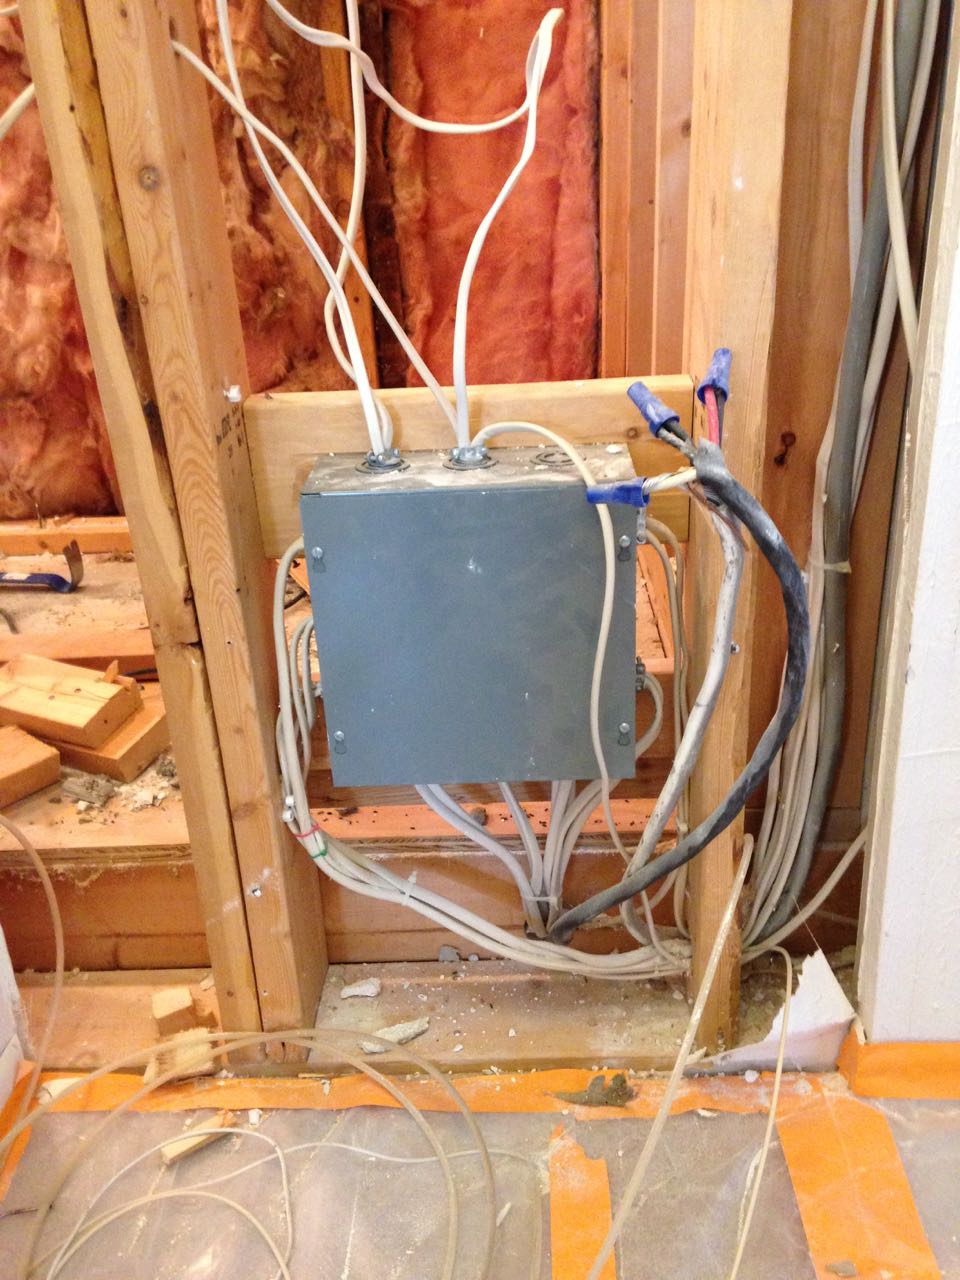 I’m not sure this is up to code.
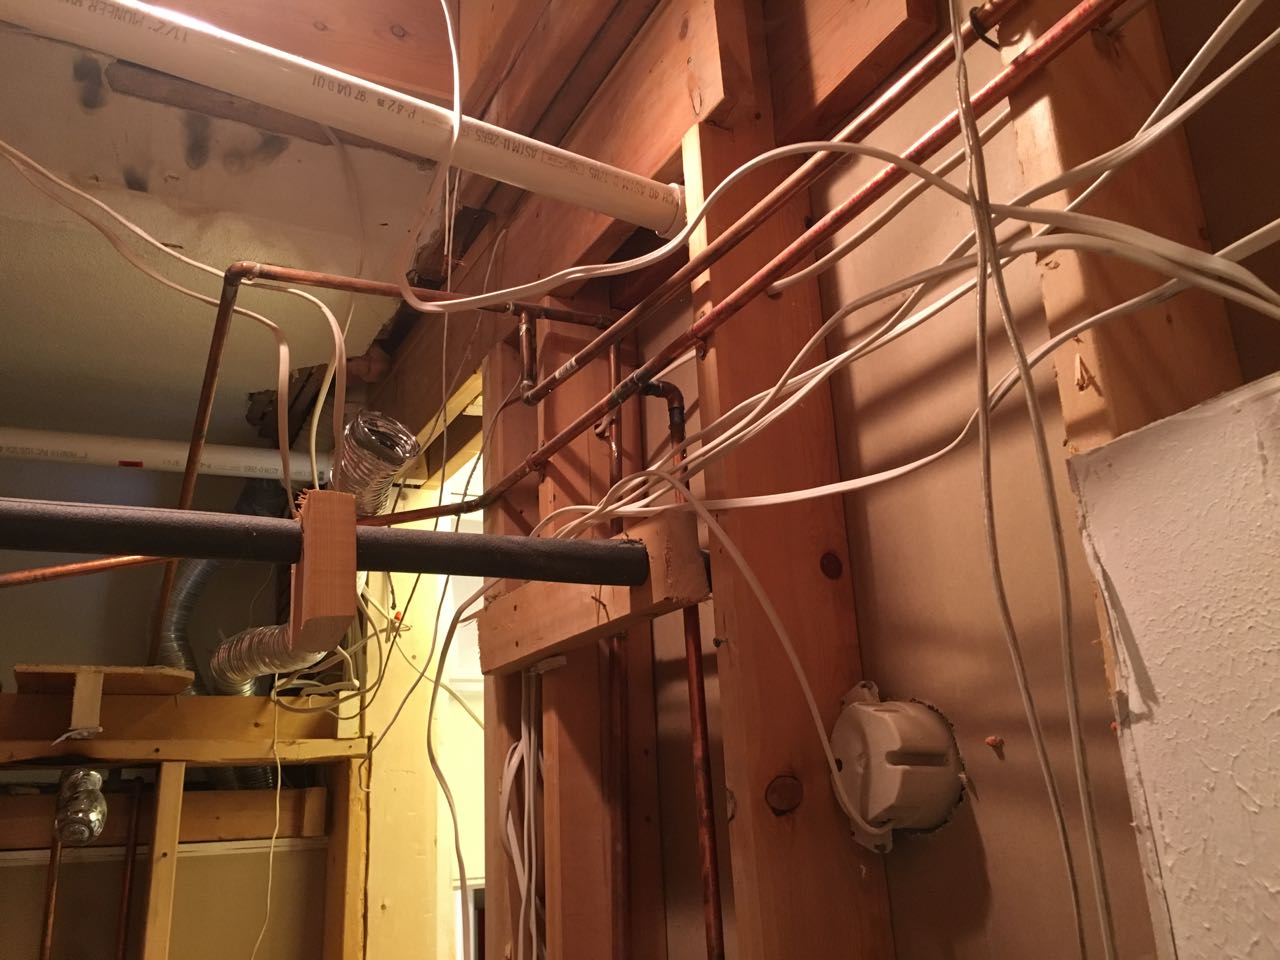 A hint of the plumbing and wiring labyrinth that had to be cleared.
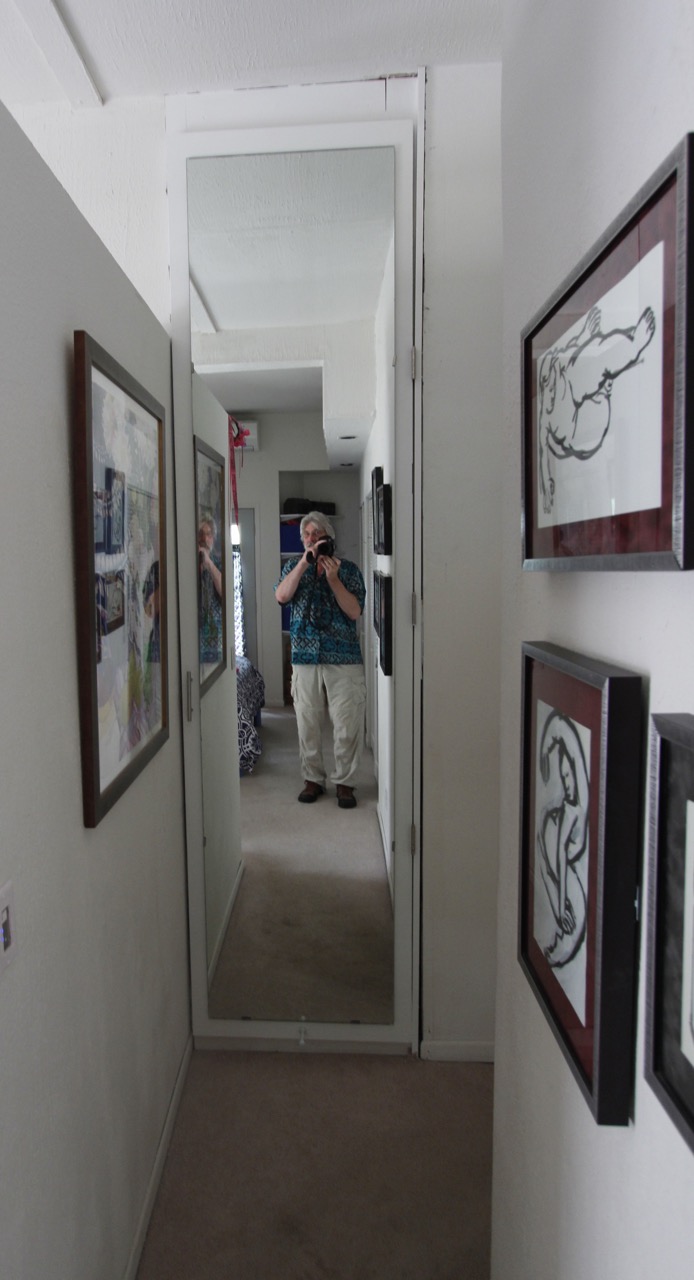 A selfie in the nine-foot mirror mounted on the closet door!

Pingback: The last touch. | This Odd House