First Cuts

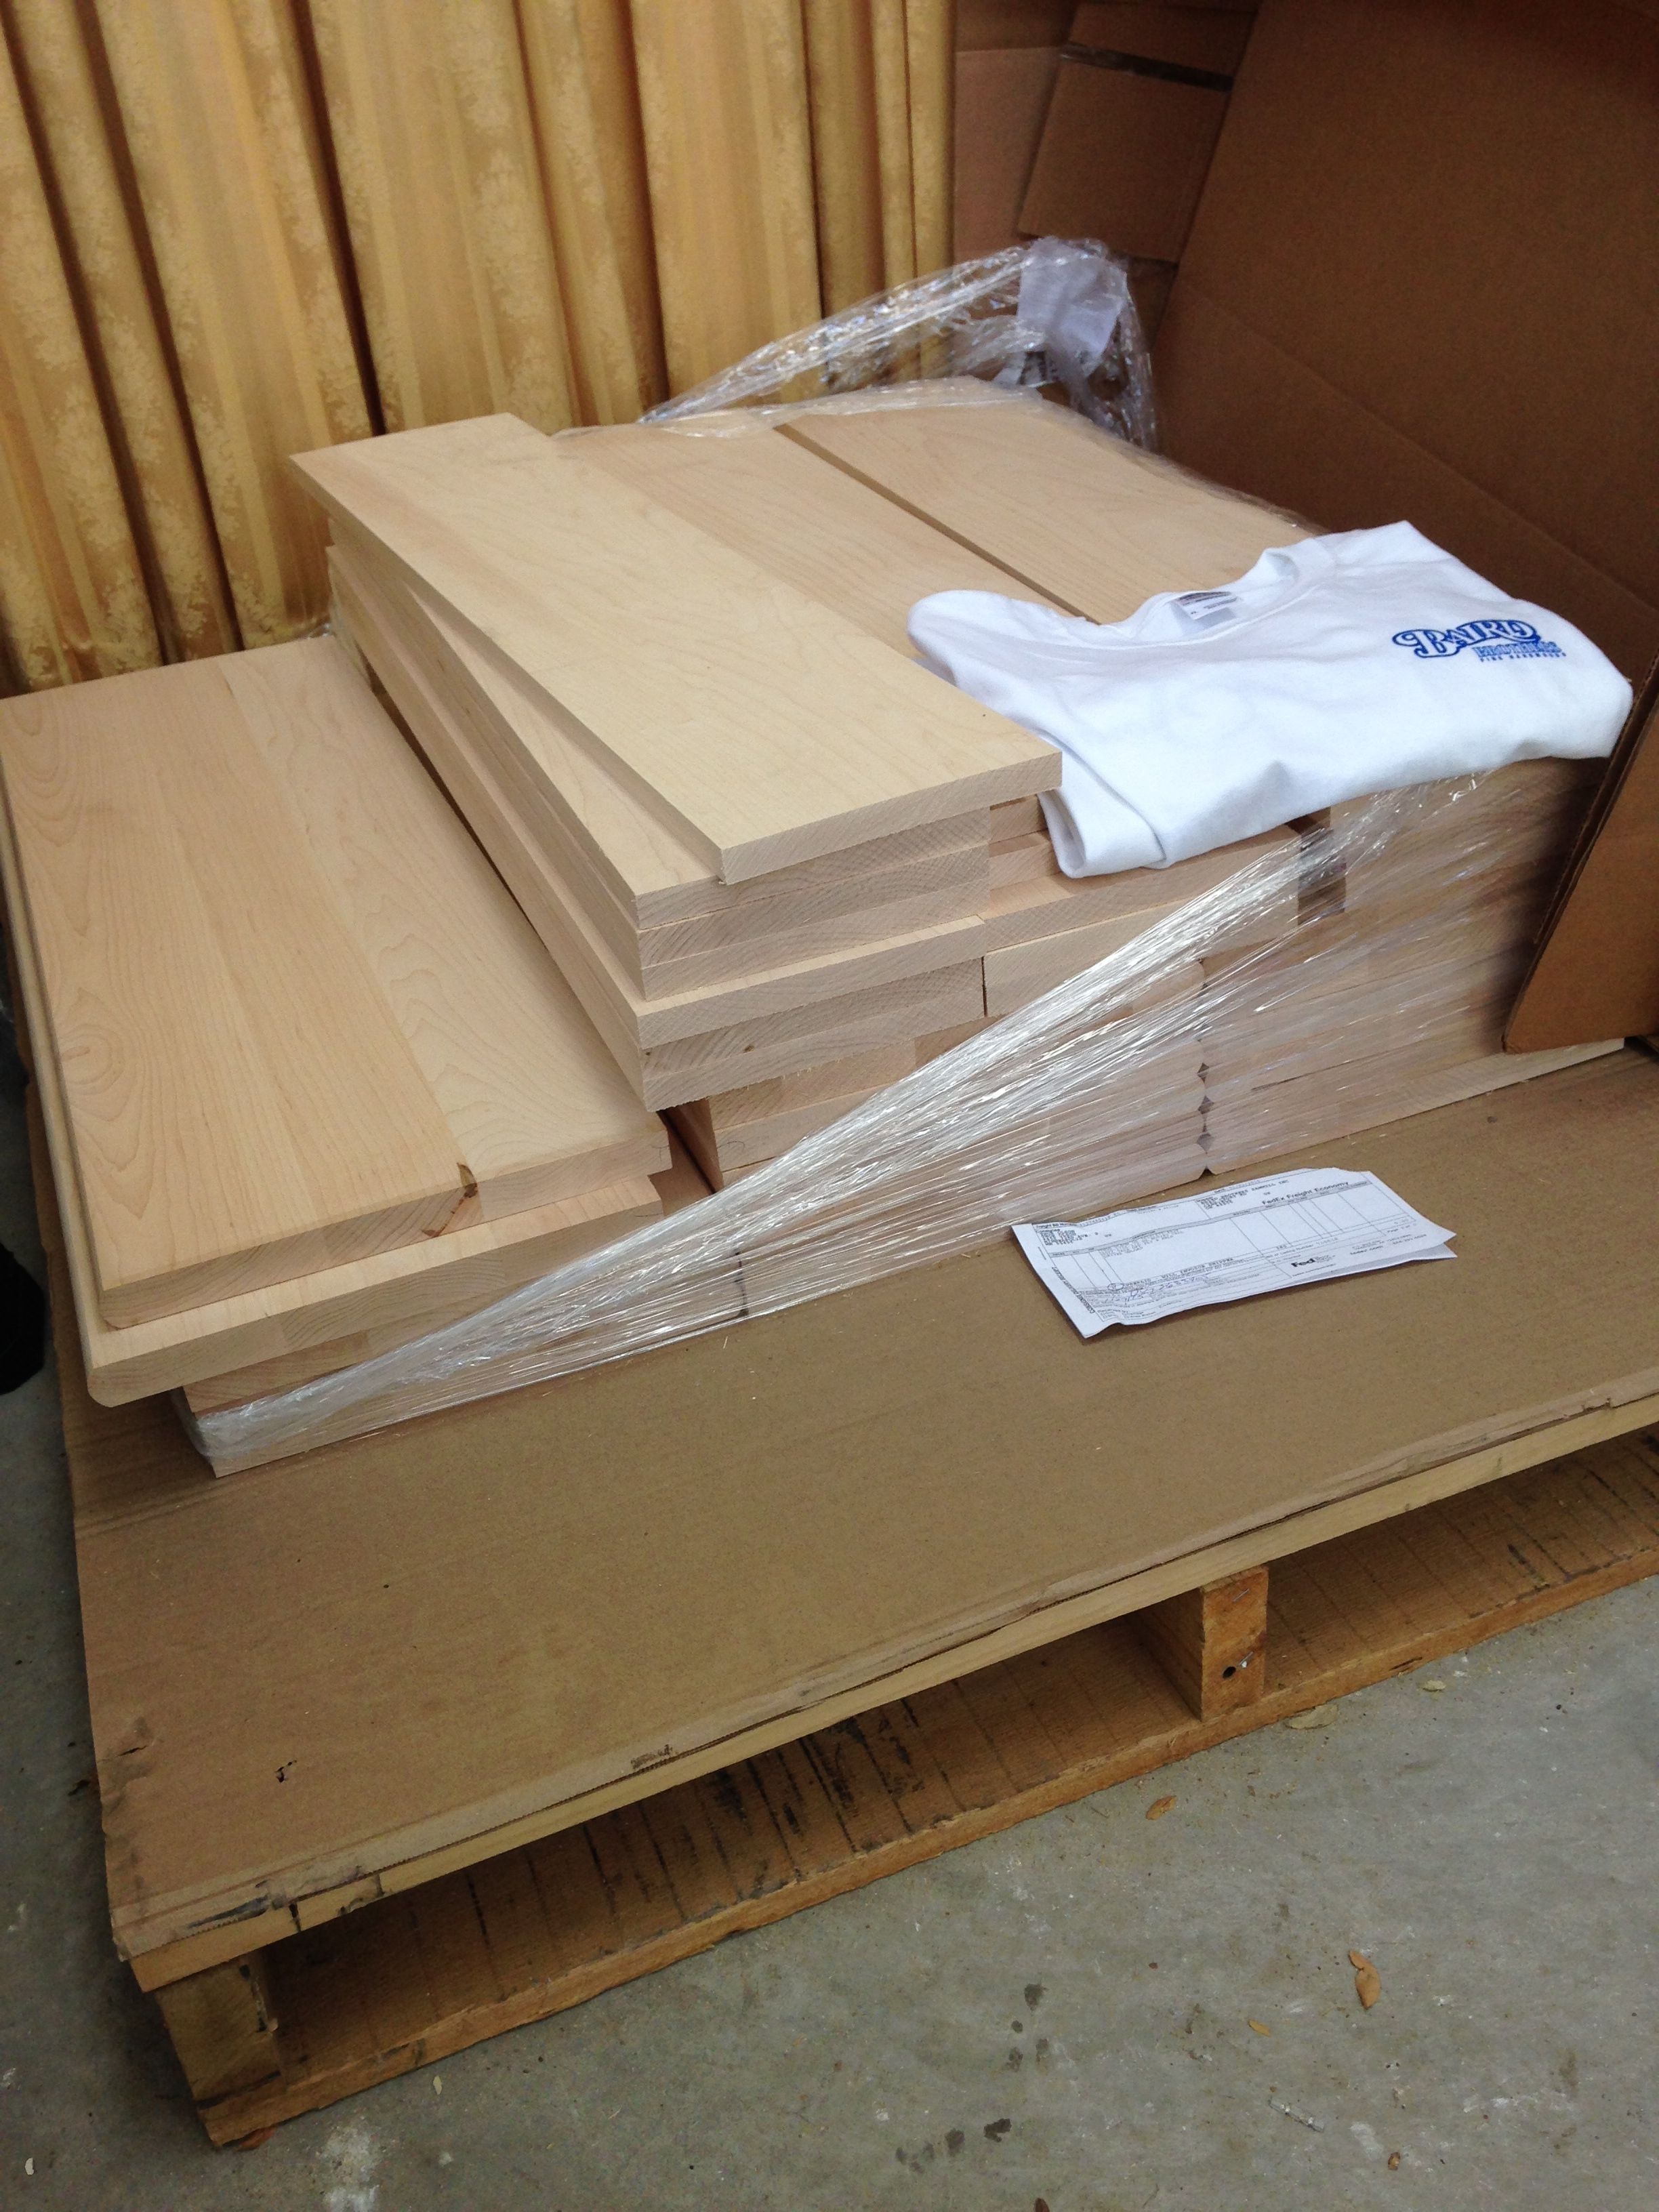
A palette with nearly 400 pounds of hard maple treads and risers delivered to my garage-workshop, complete with Baird Brothers t-shirt!

A palette with nearly 400 pounds of hard maple treads and risers delivered to my garage-workshop, complete with Baird Brothers t-shirt!

Reading a book about how to make something is not the same as actually making it. But this is where I was. I knew at some level how to make stairs, and I had acquired the tools to do so, but had zero experience in using them.  This is a new area for me. At a younger age I would have dived in without hesitation, making mistakes and after-the-fact, figuring out how to correct them. At this point in my life I dive in, but tepidly, knowing that mistakes will happen, and wanting to minimize their impact.

I had ordered, at considerable expense, maple hardwood for the treads and risers, and I now needed to cut and fit it to the actual stairway. I have internalized the mantra “measure twice, cut once”, but there is always a small residual fear as the saw blade makes its decisive cut. And the response of the material to each tool is not really embodied in the technical prescriptions for carving it to each dimension.

Maple is a hardwood. Really hard. The bandsaw, even at 5 sharp teeth per inch, feels it. The router, at 22000 RPM feels it. And to cut or shape it, the material must be fed and maneuvered at the right “rate”, or it will suffer disfigurement, chipping or burning or other undesired consequences. This requires a “feel” for the wood, which is acquired by experience. How does one develop that experience? Well, by making mistakes, of course.

After a lifetime of technology projects, I know this. One of Fred Brook’s admonitions (“The Mythical Man-Month”), was to “build one to throw away, then build the real one”. It was an acknowledgement that when embarking on a new project, we just don’t know enough to do it right. By building a prototype, we encounter the problems that come up, and learn what matters for our desired goal. After the trial run, we are then qualified to build it.

Most home projects don’t have the luxury of a building a prototype. We order the materials and install it, assuming it will “just work”. It is just too expensive otherwise.

And so I ordered the wood and when it arrived was terribly reluctant to cut it. But I had ordered an extra tread and riser anticipating that I would make a mistake. This allowed me to go ahead and make the first cut: I had a backup. Still, it requires a moment of conviction to push a $30 piece of wood through a saw along a pencil line that may or may not render it worthless.

The “measure twice” part of the mantra helped, but I still lacked the “feel” of the wood through the tool, and I would usually err on the side of caution, and the cut piece would not quite fit, requiring another pass. Still, cutting twice seemed better than cutting too far.

Eventually, the experience built, and I could cut closer to the target dimension and mostly get what was needed.


Posted in Uncategorized | Comments Off on First Cuts

Project Prerequisites

This was a project beyond my skill level, but I was willing, even eager, to use it as an excuse to acquire some woodworking tools for my workshop. And I committed to the materials by ordering hardwood maple treads and risers from an online supplier, Baird Brothers.   I ordered the deepest treads available, 11-1/2”, at the width of the stairway, 36”. I was stunned by the shipping cost, but it was to transport 380 pounds!

I wondered if I had made some mistake. Could a set of stair steps weigh this much? I made an estimate of the volume involved, and sure enough, an equal amount of water would be even heavier. And maple wood is only a little lighter than water; it barely floats. As I discovered later, I actually had made a mistake; the weight should have been more.

While waiting for the wood to arrive, I set out to acquire the tools I would need. As all apprentice makers know, any project worth taking on requires at least one new tool. For this I would need a bandsaw and a router table, and the accessories to support them. I didn’t know exactly what I would need, but I was eager to find out.

One of my favorite shop tools is the bandsaw. It can do a broad range of tasks, including making the curved cuts my stair design would require. Plus it has the reputation of being a fairly safe tool. As my seventh grade shop teacher explained, by the time the saw penetrates any flesh, you instantly know it and react. This is not true for many other power tools such as table saws and jointers where the damage can be done before you know anything has happened.

A recent issue of a woodworking magazine had a review of bandsaws and I was able to study them and select a model that would meet my needs. I discovered that it was currently on sale! I called the local Rockler woodworking stores only to find that they were sold out and it would be weeks for the next ones to come in. One of the stores had a floor model that they were willing to sell me. There was no additional discount, but it would be fully assembled, presumably by someone experienced.

I made the purchase and went to take delivery. The heavy machine was carefully positioned onto its back in my van and I gingerly drove it home. I made it to within two blocks, where a tight left turn caused the payload to shift and tilt over on its side. This turned out to be of no consequence to the steel and cast iron saw, but the impact on the side window shattered it. One of the unexpected indirect expenses of a good project.

The rear passenger side window, shattered by a tipping bandsaw!

The rear passenger side window, shattered by a tipping bandsaw!


A router is an example of a dangerous power tool. I have no experience with them, only fear and respect. Yet this would be a critical tool needed to create notches and bullnose edges on the treads and risers in my design. To provide maximum control and safety, the router is mounted under a table with its high-speed cutting bit exposed and protruding through a central opening. The wood is passed across it with the help of guide fences and safety guards.

I borrowed a router from my son, who had borrowed it from his cousin, who had borrowed it from his grandfather. I decided I didn’t need to update my dad about the current whereabouts of his router.

I reviewed and priced router tables and selected one, along with the accessories I would need: a stand with casters, a router fence, safety switch, feather boards, dust collector system, and hearing protection. I also acquired accessories for the bandsaw: blades, miter gauge, wheel system and worklamp.

It was all an enjoyable experience to assemble and place new equipment in the new garage workshop. The weather was Minnesota-cold, and the garage unheated, but somehow a project like this generates its own warmth.

Posted in Uncategorized | 1 Comment

Deconstruction

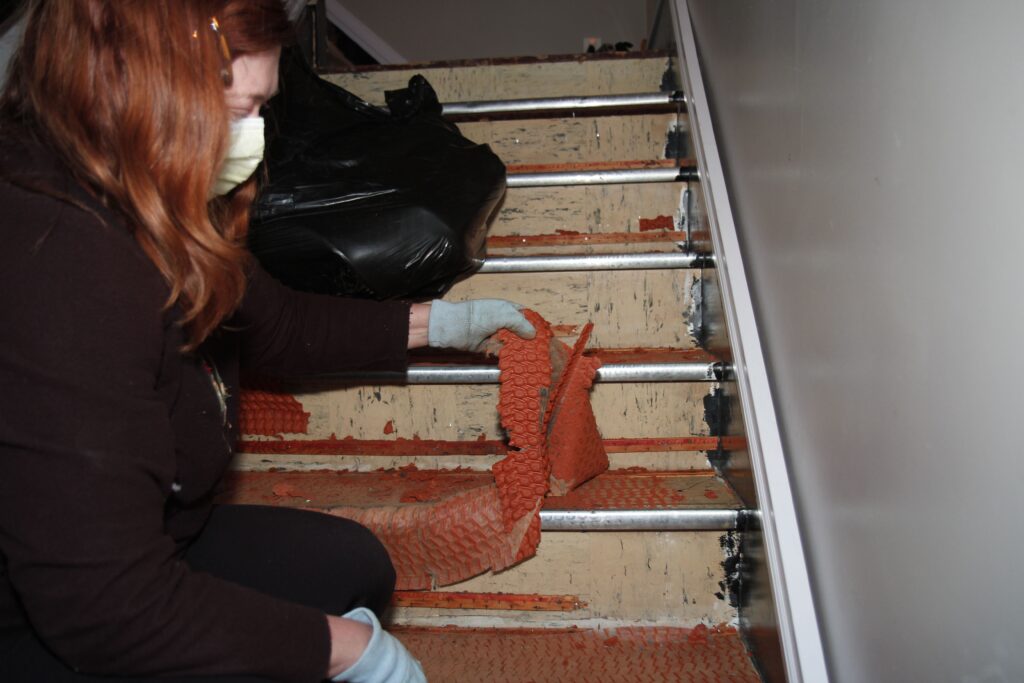
Portia, protected by mask and gloves, surgically removes petrified carpet pad from This Odd Staircase.

Having beautiful plans for how something is going to be does not really acknowledge how things actually are. In order to “get there from here” requires that the existing stairway be stripped back to its basic elements. The carpet must be removed, and then the underlying treads and risers would be replaced by new ones. It’s all so easy, on paper.

In practice I discovered that the carpet could be removed, albeit with care. The underlying carpet pad had fossilized and its removal involved clouds of petrified rubber dust. The installers had made sure that the carpet pad would never be subject to lateral shifting by the use of a high density staple gun. Or maybe they got their staples for free. It took forever to remove them all.

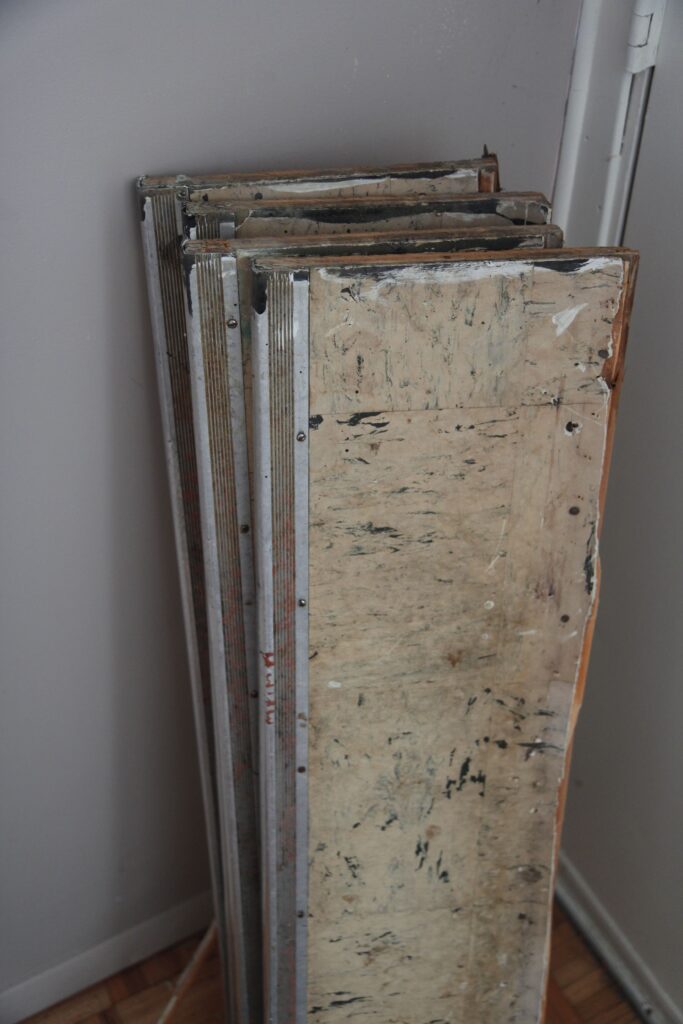
Underneath the carpet was a previous attempt to fix the stairway. Each tread had been capped by a new one, of plywood, extending the tread by about an inch, so that there was a slight extension over each riser. This actually meets modern stairway codes: the tread should stick out slightly over the riser, not too much, not too little. Look at your stairs and you will see it. It makes a big difference in how effectively the stairs are climbed.

The tread upgrade had improved (slightly) the navigation of the stairway, but it had resulted in the last step at the top being “shallow”. It was already a short riser (the original stairway designer seemed to have computational troubles at the top and bottom-most step), but now, with the additional tread overlay thickness, it was unexpectedly shallow, and people sometimes “stumbled” at the top of the stairs onto our finished second floor.

Pulling off the secondary treads revealed the original stairway. The treads and risers seemed to be pine, and beat up by the years. My plan was to replace them with maple, to match the flooring that had been restored.   It should be simple. Pull off the treads and riser from the “stringer” (the wooden rail that was cut in the zig-zag form to support the steps), and substitute maple replacements. How hard could it be?

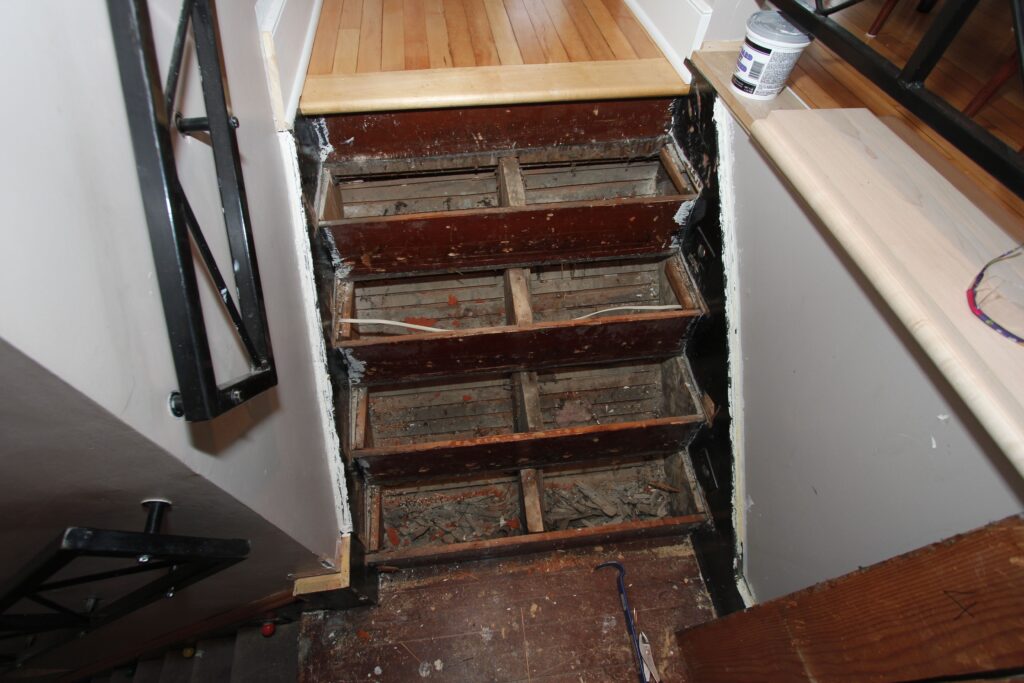
I discovered that I could, with some effort, remove the treads, mostly intact. But This Odd House held true to its reputation and removing the risers turned out to be impossible. The designers of this staircase had built a “top-stringer”, or stairway skirt, that resulted in each riser being structurally trapped between it and the support stringer beneath. To free them would require complete dismantling of the stairway. I couldn’t do it.

But I could leave them in place and mount the new risers over the old ones.   The treads would be completely replaced, since they weren’t trapped in the structure. A plan was made, one that called for modifying conventional treads and risers to make my new stairway. All I needed were the raw materials, and a few new tools.

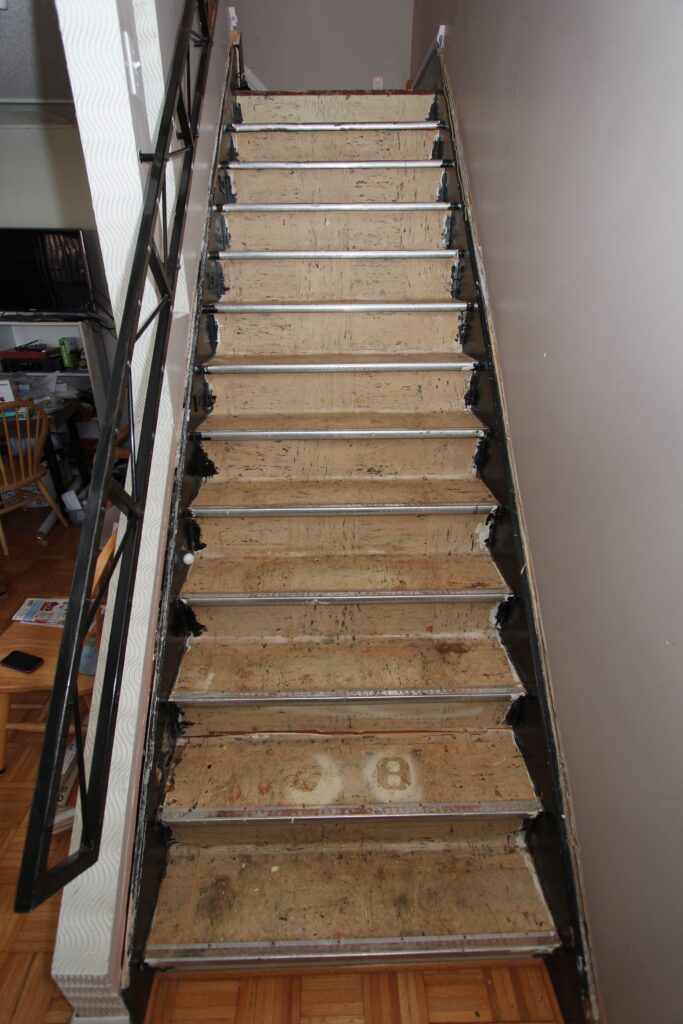
With the carpet removed, a metal-edged linoleum stairway is revealed. It was probably quite stylish in its time.
The linoleum-clad plywood overlay treads were removed from the original staircase.
The original pine treads could be removed, but the risers were structurally trapped.
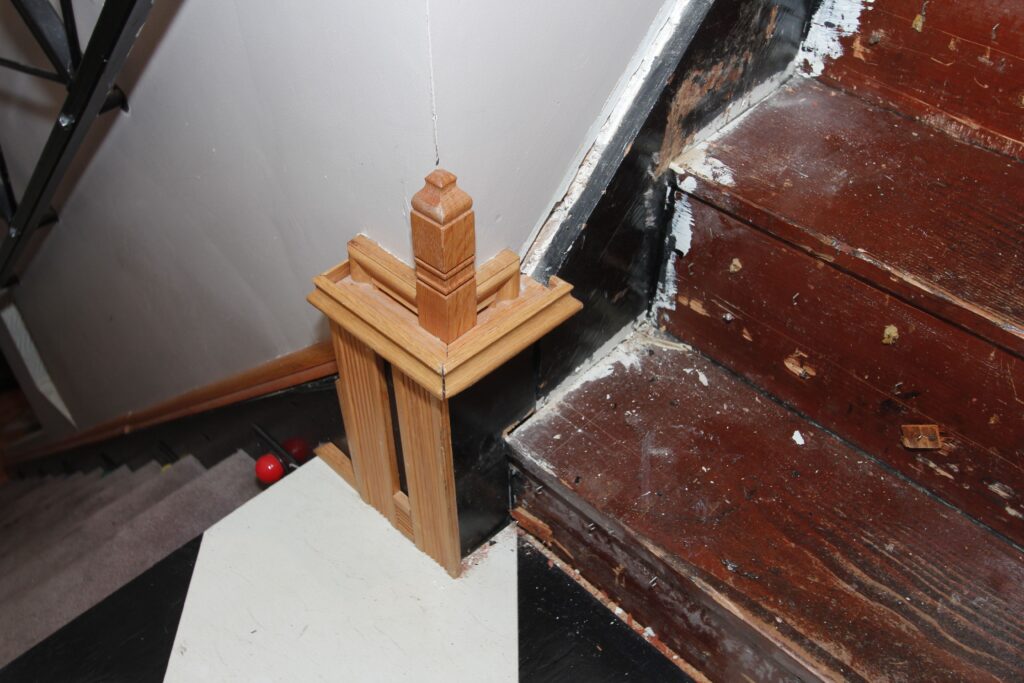
Corner detail before demolition. What to do with this?
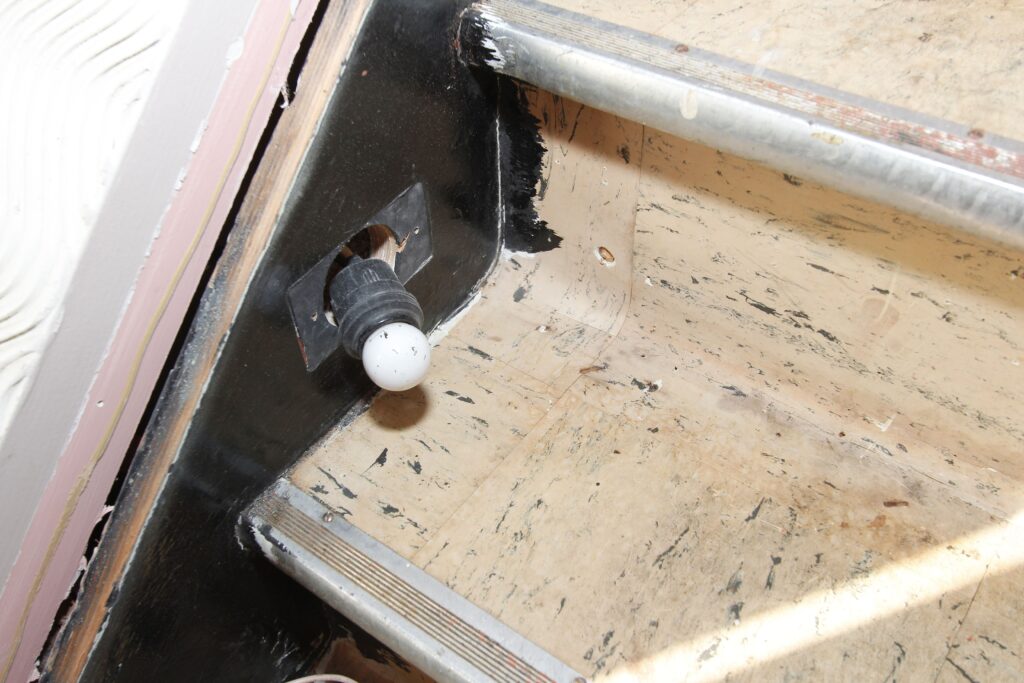
Care was needed to avoid damage to the “runway lights.”
Posted in Uncategorized | Comments Off on Deconstruction

This Odd Staircase

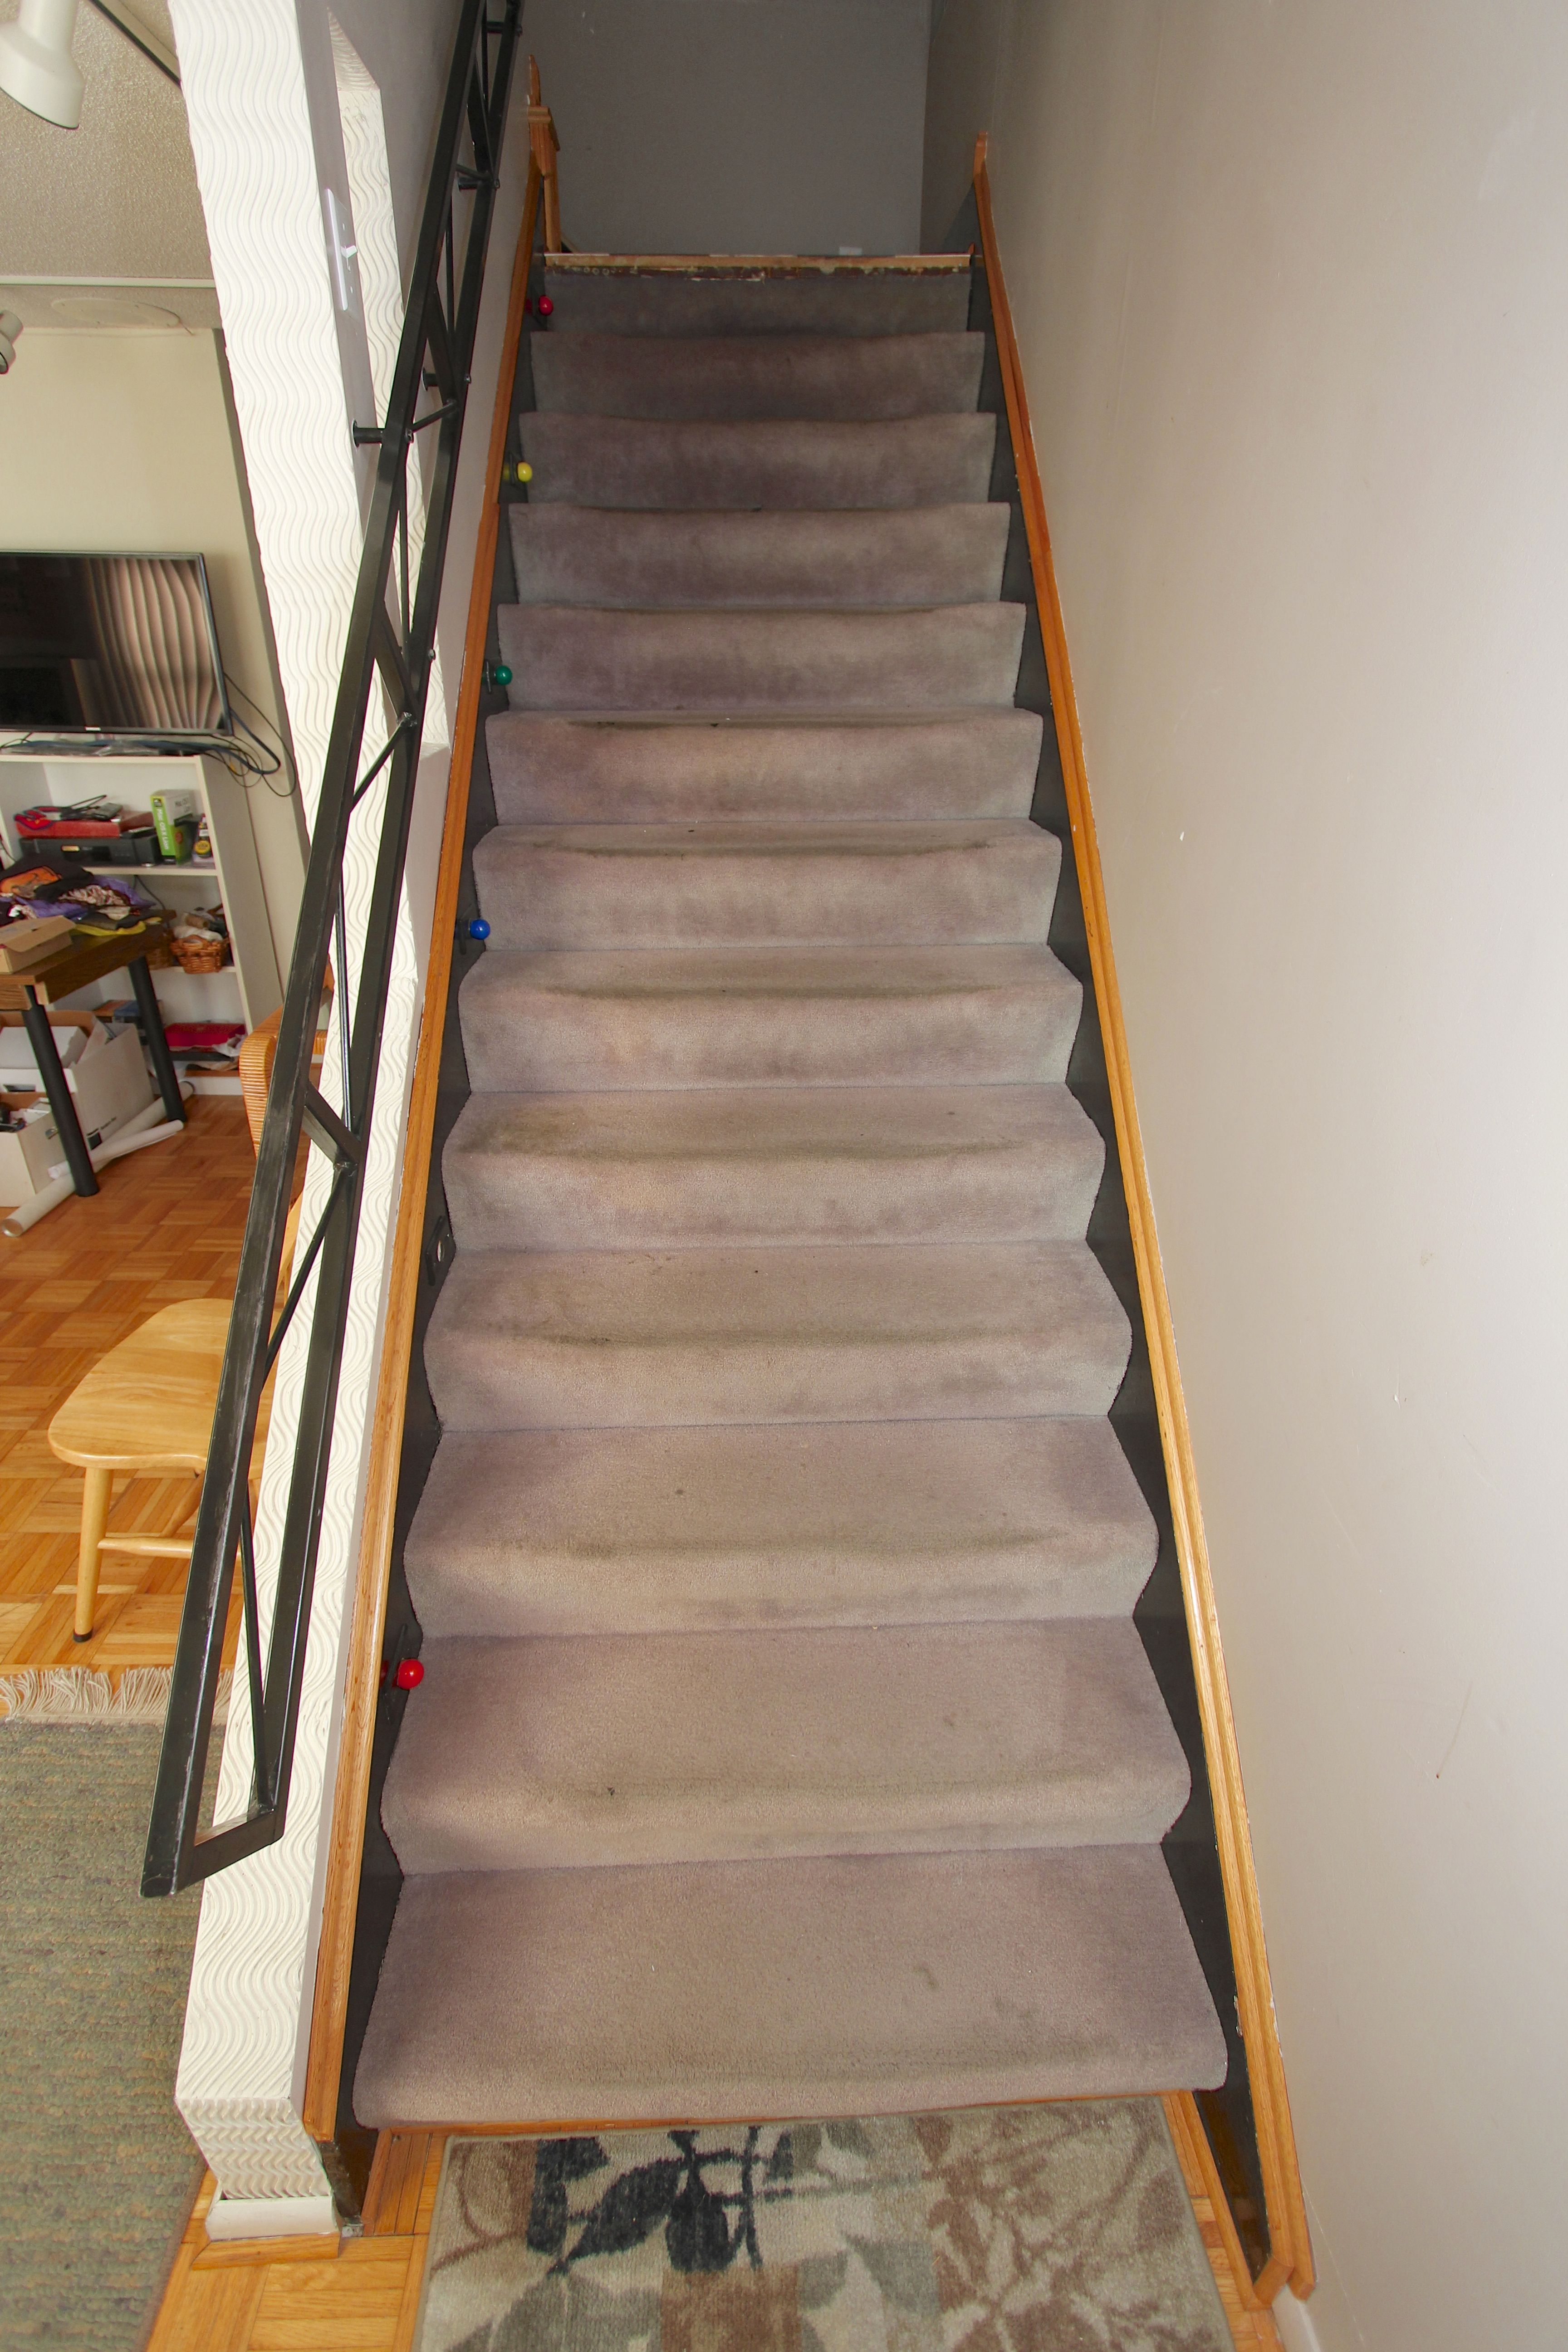
The beat up gray carpeted stairway leading to our newly renovated upstairs space desperately needed renovation itself.

The beat up gray carpeted stairway leading to our newly renovated upstairs space desperately needed renovation itself.

Most of the remodeling and renovation has been completed at This Odd House, but there remained a few more, less urgent, projects still to be done. The next one up was to revitalize the stairway leading from the main floor to the living space upstairs. It had been deliberately neglected, knowing that the construction traffic up and down the stairs would be hard on it. But it was now time to replace the frayed and stained dingy gray carpet and decide how we wanted the entry to welcome people into our beautiful new space.

The simple solution would be to replace the carpet with something clean and contemporary. But before this obvious and inexpensive solution was acted upon, I had the bad luck of encountering a Facebook posting.

In truth, I am not much of a Facebook participant; I am probably categorized more as a Facebook lurker, checking in now and then to see if any of my friends and relatives (also lurkers) have been brave enough to divulge any of their day to day experiences. As you can imagine, younger members of the clan are less inhibited, and I take interest in many of the things they post, even if I have no clue about what they mean, or their cultural implications.

But one particular post sent me to a site with a collection of remarkable stairways ,some dramatic, some artistic, some clever, some that solved challenging stairway problems, and all of them beautiful.  I admired them, and studying one in particular, realized that this was the solution to my stairway, a 1910 implementation of how to get to the second floor of a building.

I appreciate the ceiling heights in This Odd House, at least some of them. The basement only has minimal clearance for a 6-foot-plus resident, but the main level, being a former commercial space as a neighborhood store, originally had 10-foot ceilings. This means that the upstairs living space was higher than a conventional second floor level in the typical neighborhood residence. Not wanting to take any more floor space than necessary, the stairway to get there was squeezed into as small an area as possible, resulting in the stairway step pitch being as steep as possible. This was an inconvenience, if not a safety hazard.

I wanted to make navigating the stairs a pleasant experience, one that would not require a heavy grip on the rail and a focused concentration on the placement of one’s feet on each step. This requires a broad “tread” and a modest “riser”, the two basic elements of a stairway.   Modern building codes require a tread, the horizontal section you step on, to be about the size of a human foot; in my case that would be about 12”, the same as the king’s. The riser should be about half of that, and the sum of tread plus riser should be at least 17”.

In This Odd House, the risers are 7.5” (but none of them are exactly this, and they are all slightly different). The treads are around 8”, some reach a width of 8.5; all of them feel too narrow, especially when going down. This is a steep pitch. How can one modify such a basic structural element to make it safer and more comfortable?

The facebook-linked stairway gallery provided the inspiration. One of the examples showed a stairway with treads that each had a broad half, and a narrower half, alternating with each step. If you started your ascent/descent with the right foot, you would find substantial support at each successive step. I resolved to construct such a stairway in my home.

Now having the mental image of how it should be, I set about solving how to make it so.

StairwayBefore2

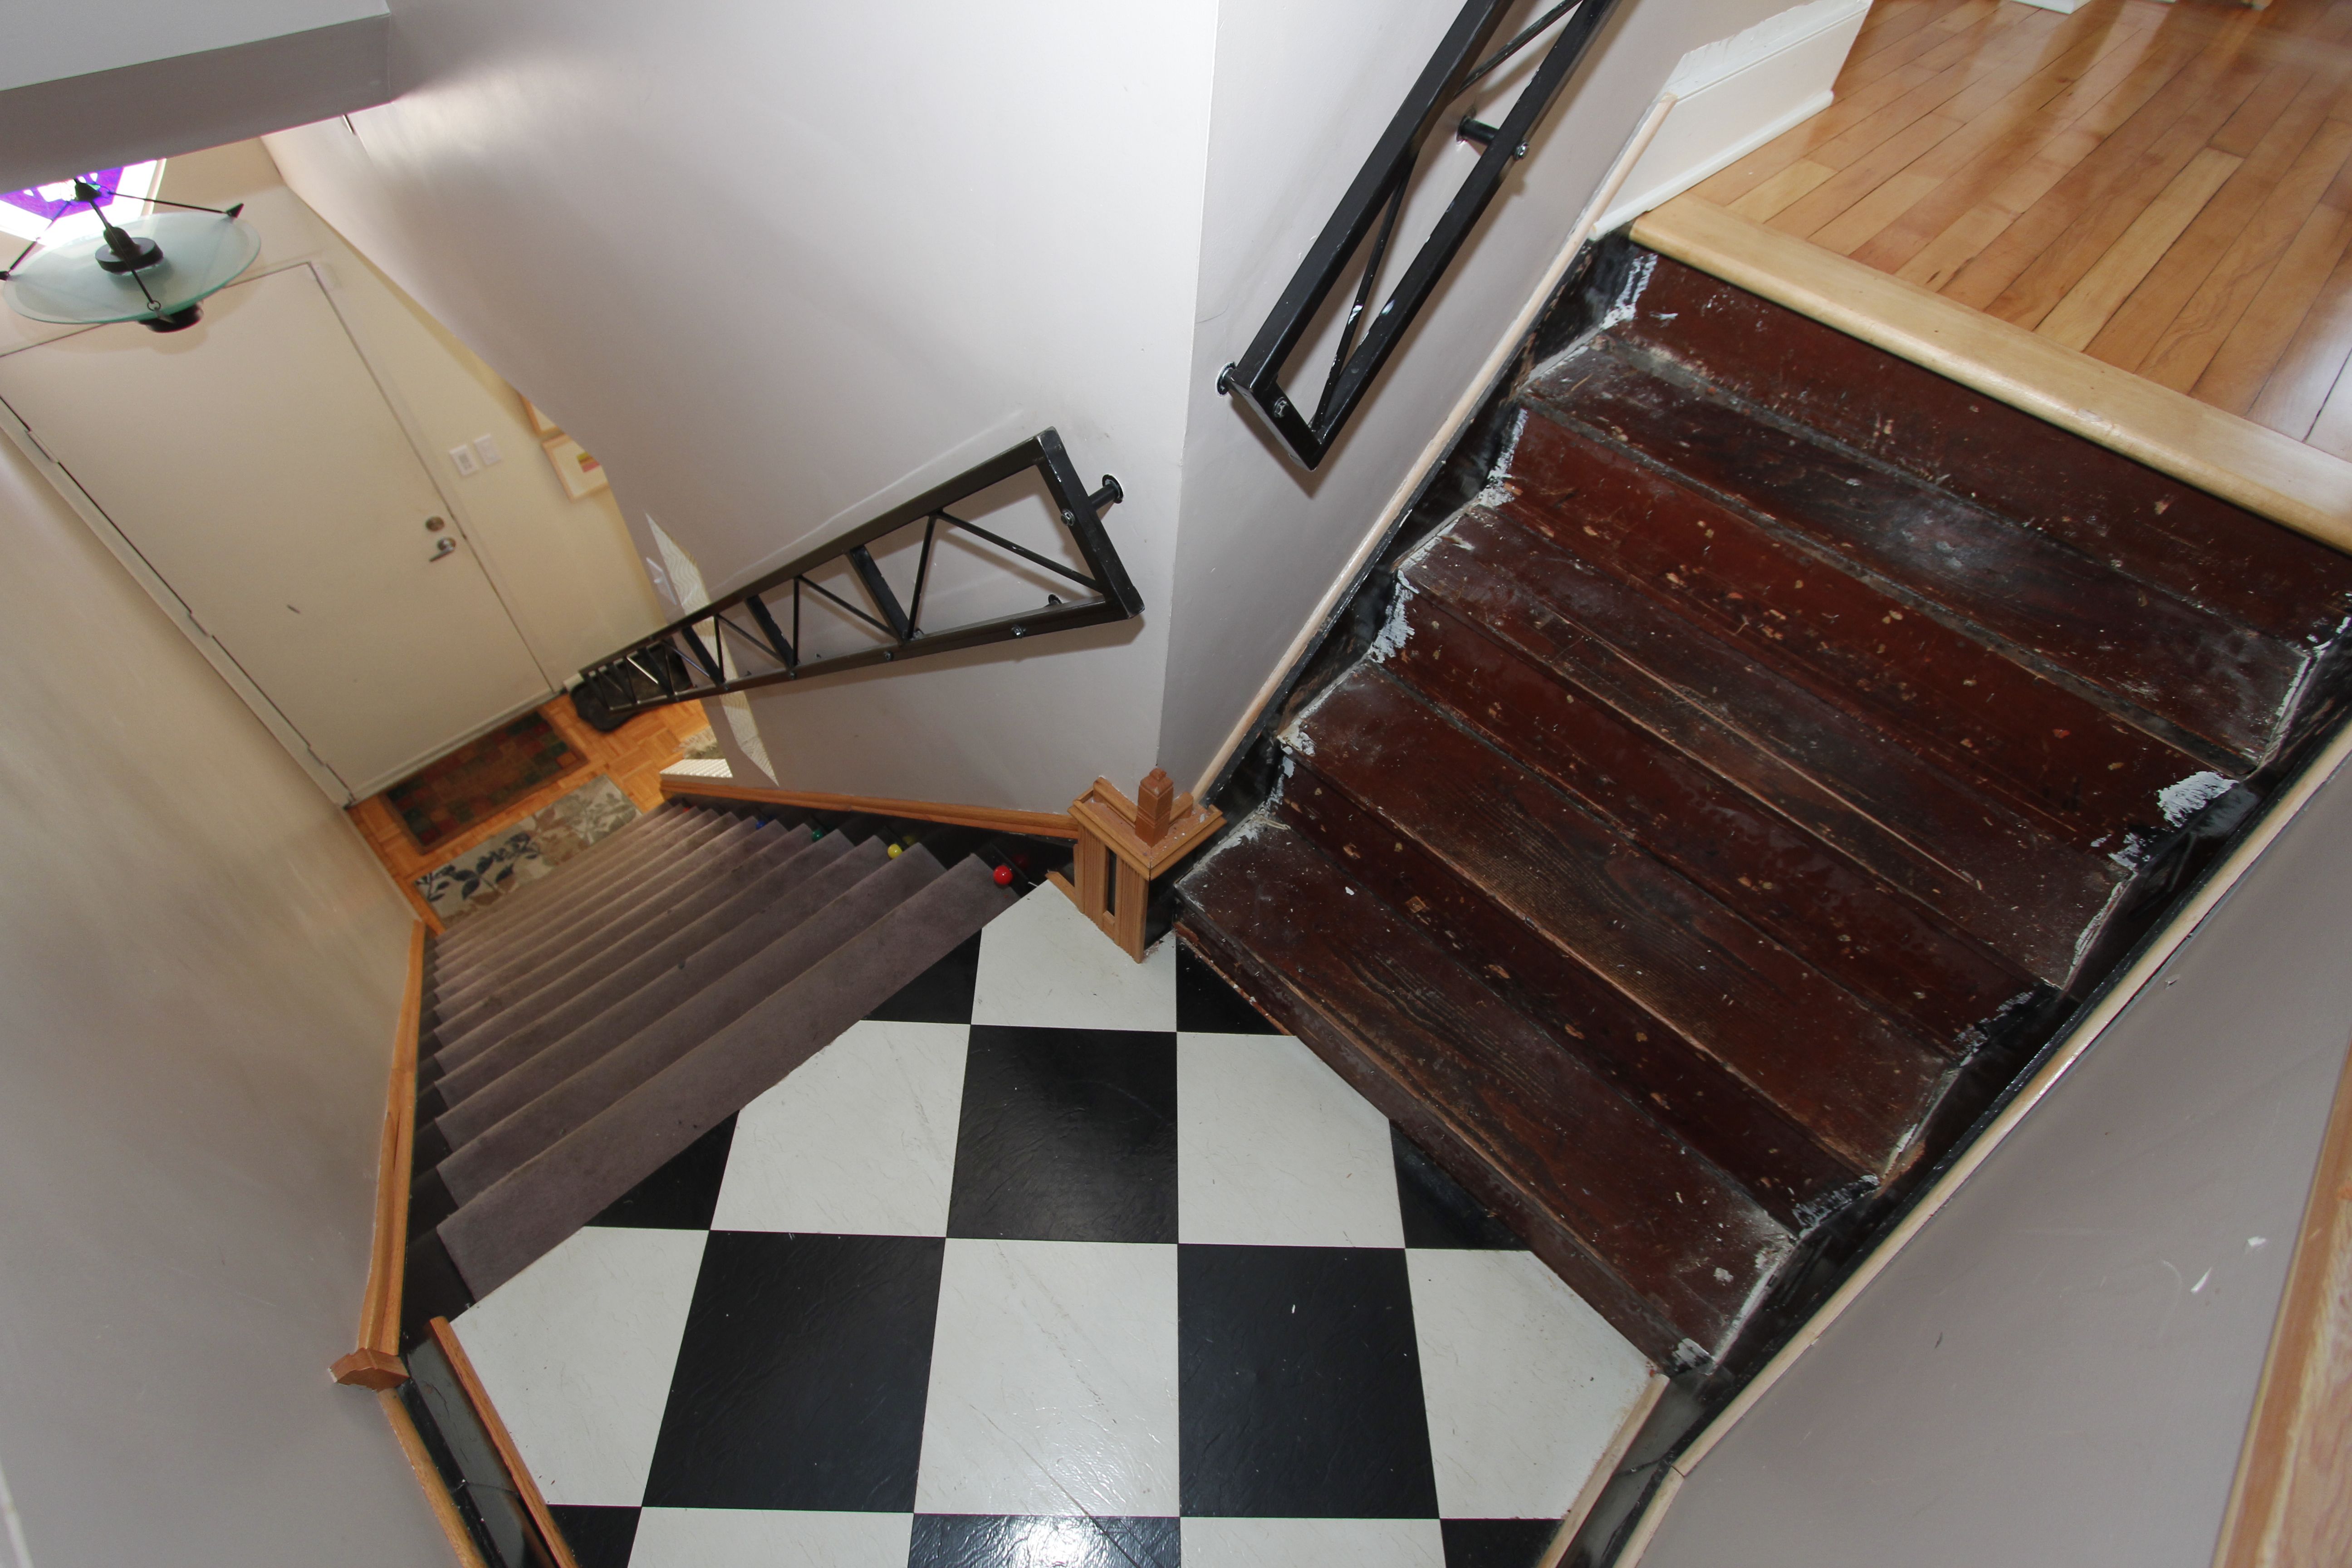
A view showing the full stairway, including the checkerboard landing and the last four steps (carpeting and linoleum layers removed) to the upper floor, which had been beautifully restored previously.


Posted in Uncategorized | 3 Comments

Blog entries resume, skipping backlog

I had intended to document the construction of my replacement garage, but really only got as far as describing the plans and fighting city hall.  There are a number of topics that I started writing about, but somehow never completed, including “The $200 Free Guppy, Windows Edition”.  Don’t worry, I will get back to the garage chronicle, but felt that I should not make the same mistake with the current project.

If one must always complete the backlog before taking on the next project, well, I’d be really stuck somewhere back in the sixties (oh wait, maybe that isn’t such a good analogy).  The point is that life is too short to finish every project started, regardless of the character building opportunities that are lost.

The garage project actually did get completed, and is now known affectionately as the “Garage Mahal”.  The writing about it stalled, but there is enough raw material to resume later.  Meanwhile, let me tell you about what happens next…

Posted in Uncategorized | Comments Off on Blog entries resume, skipping backlog

August iron melt

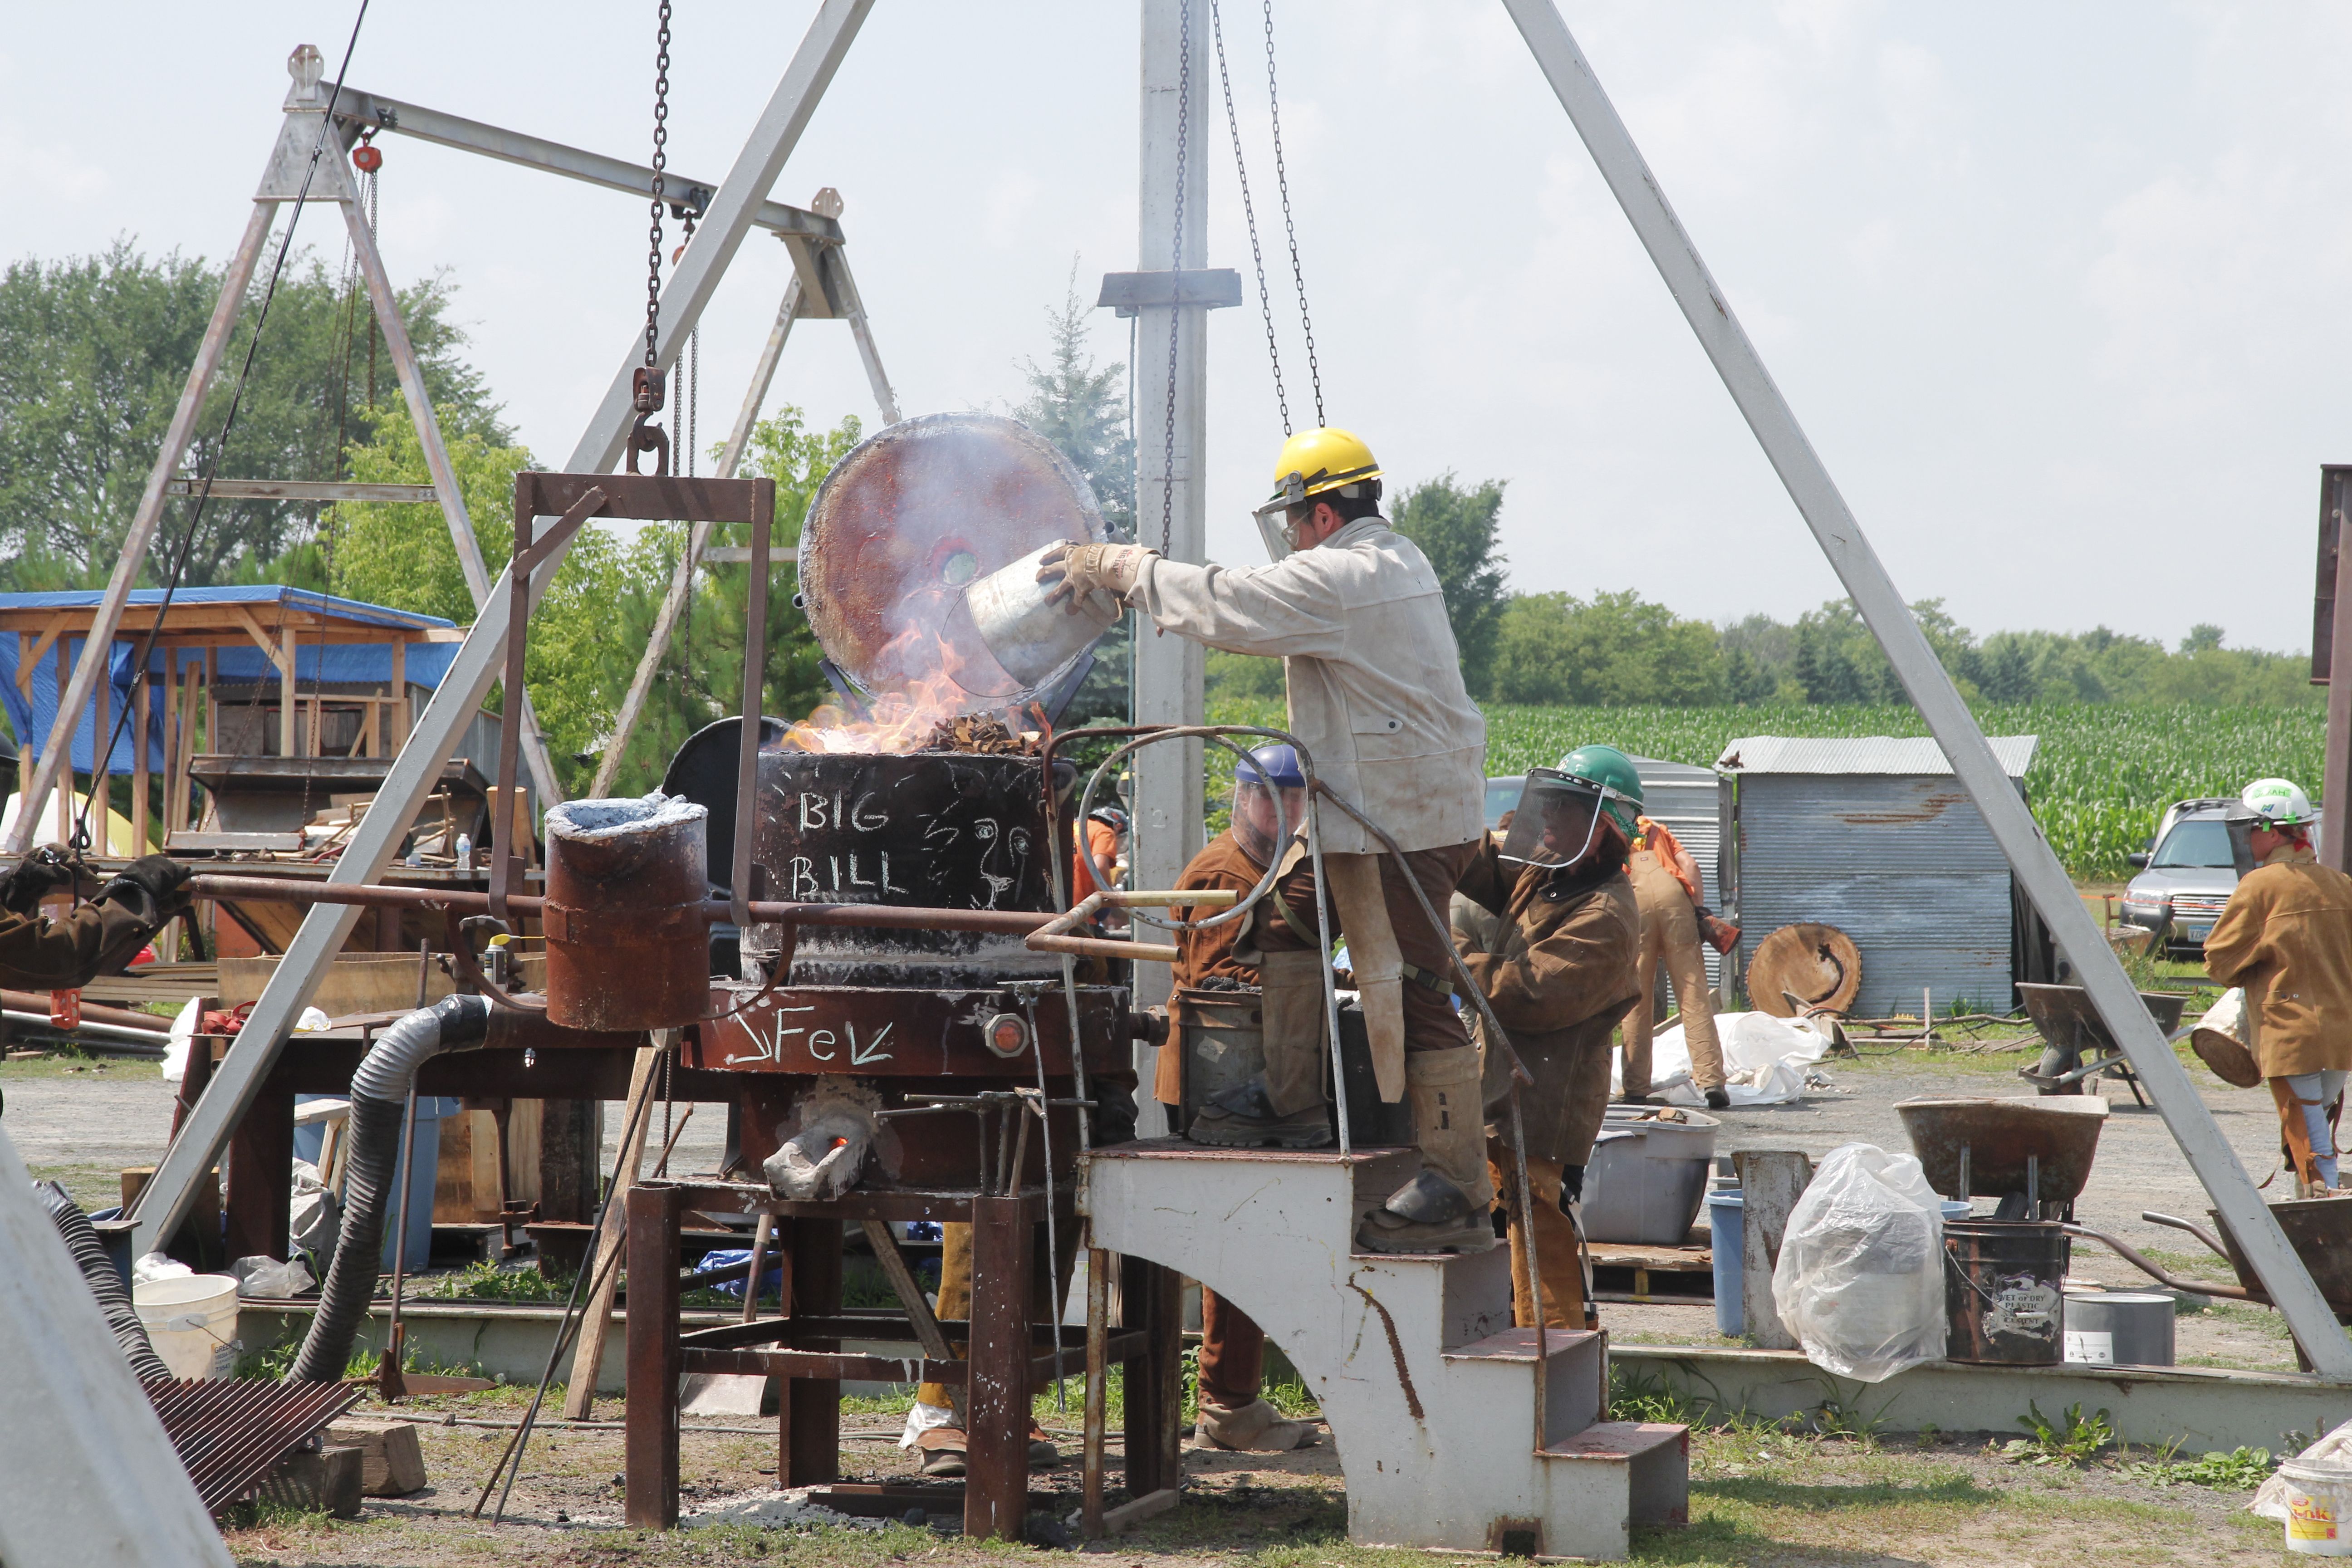
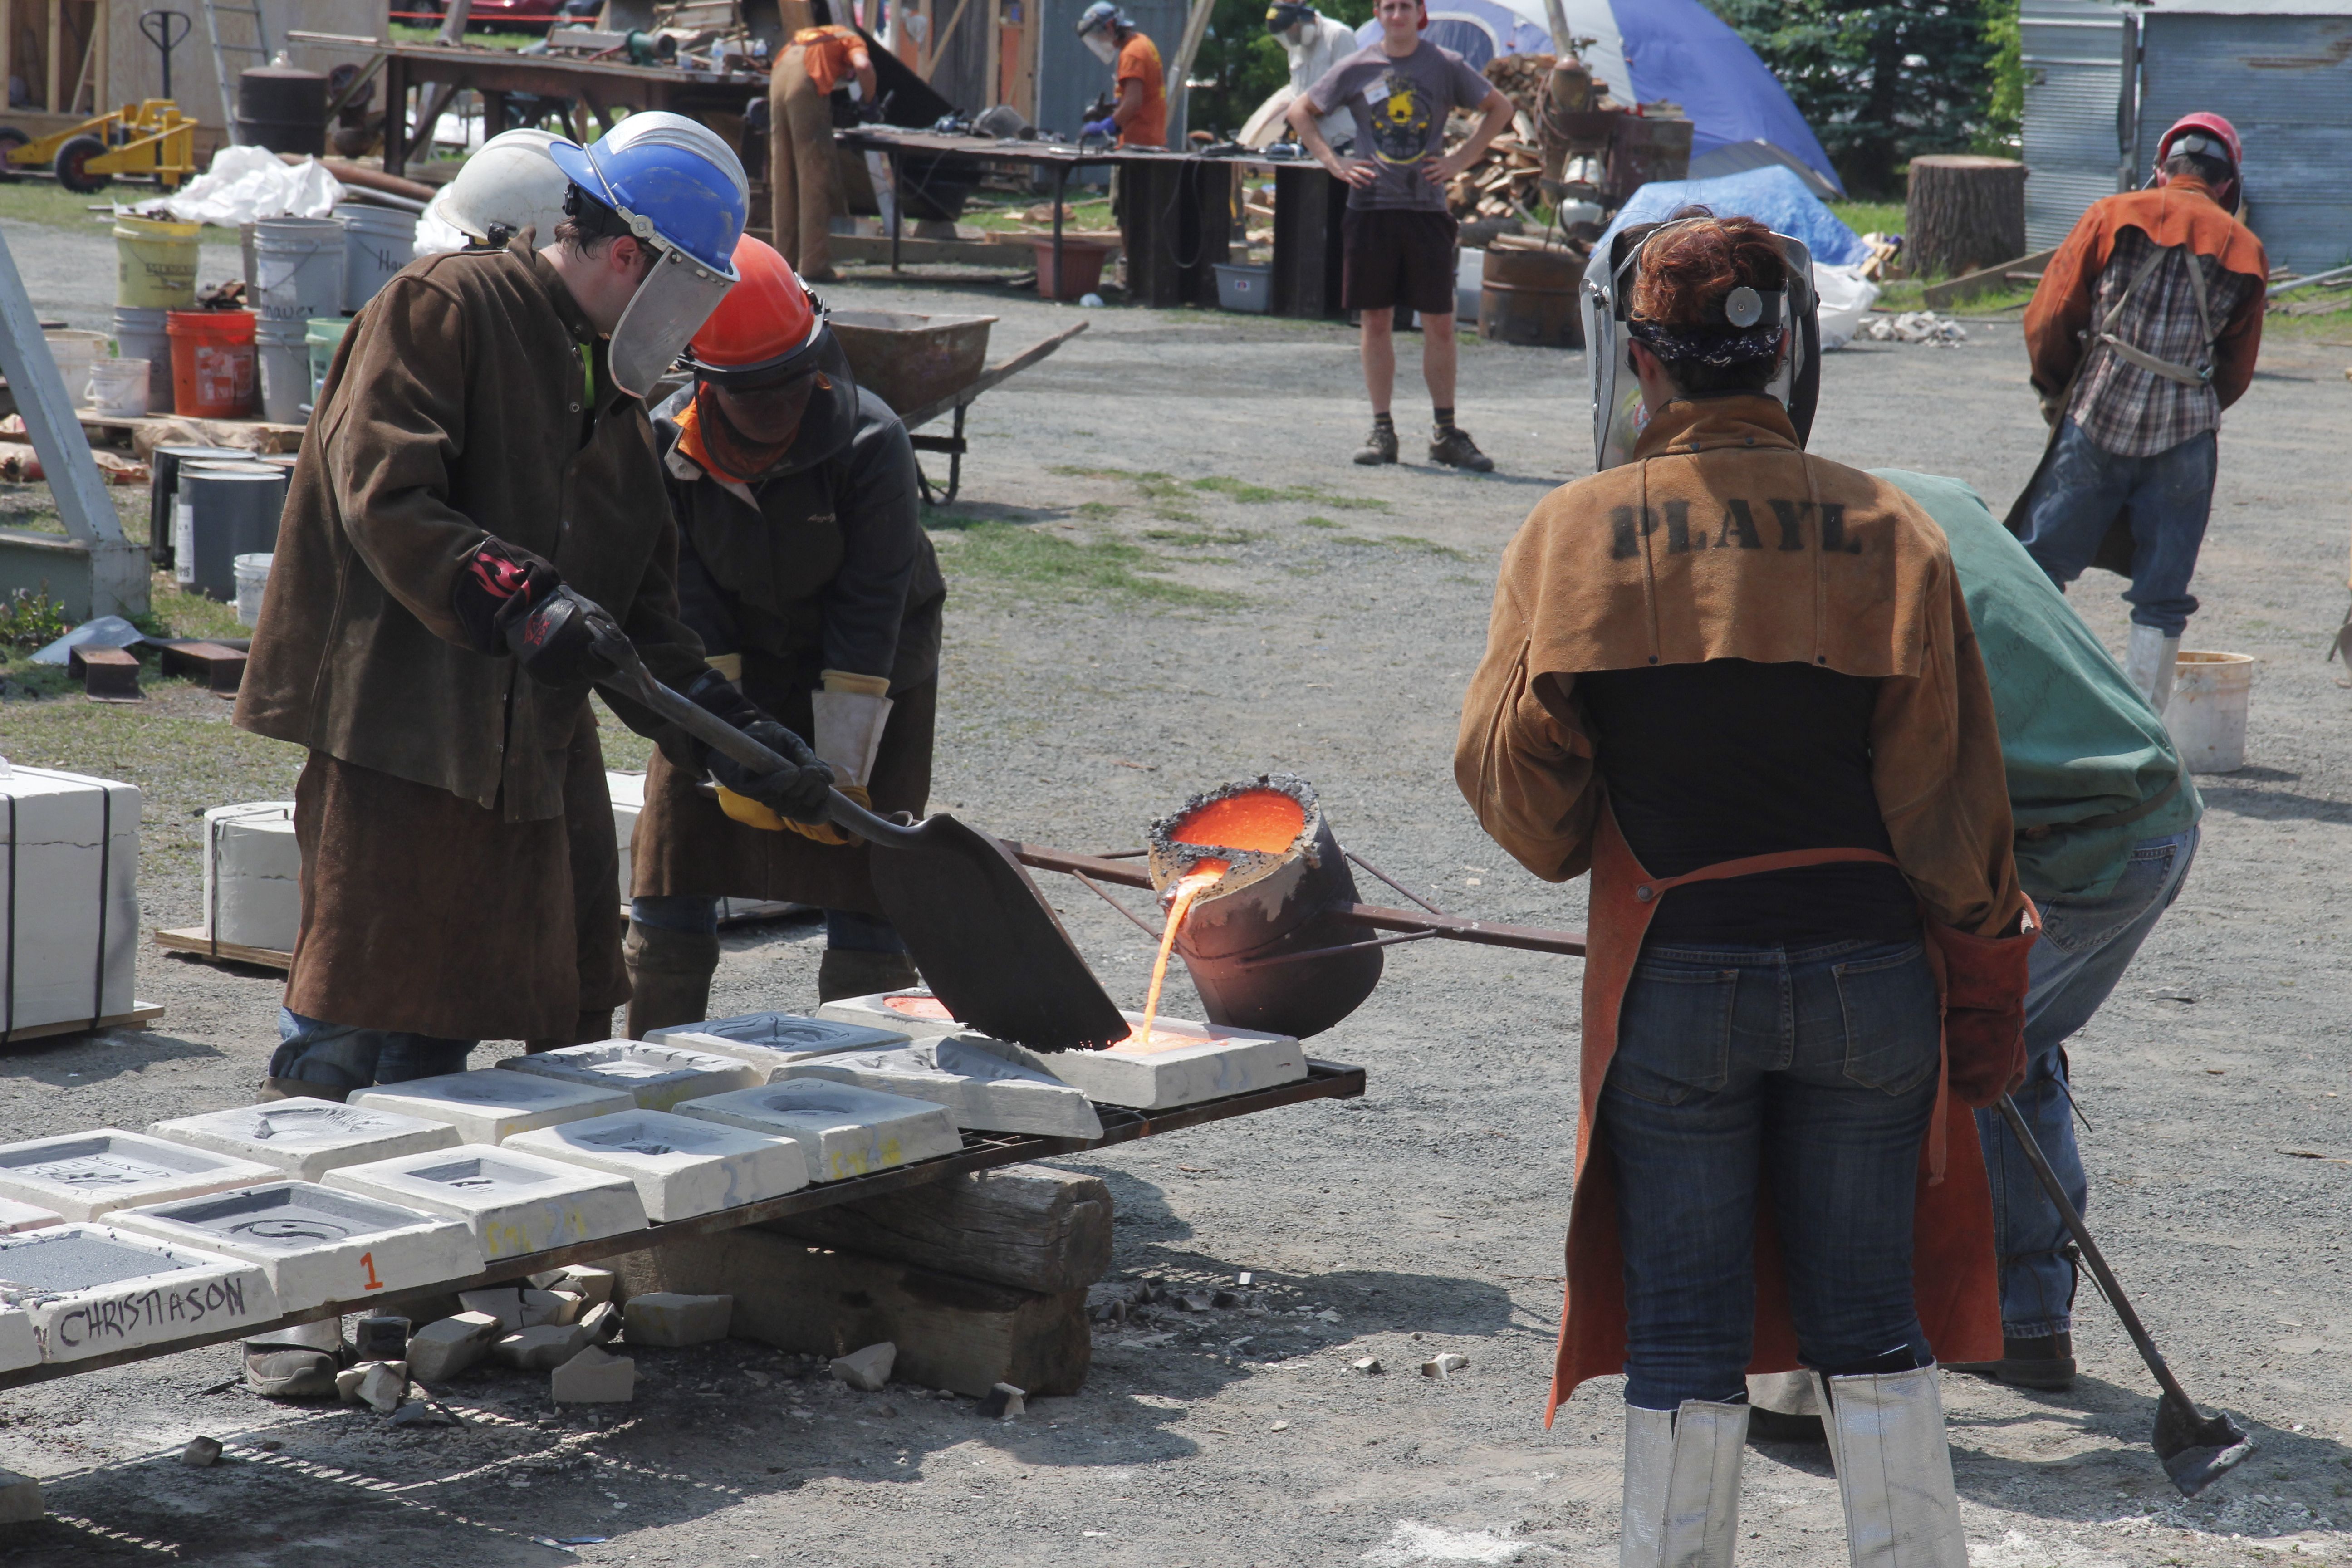
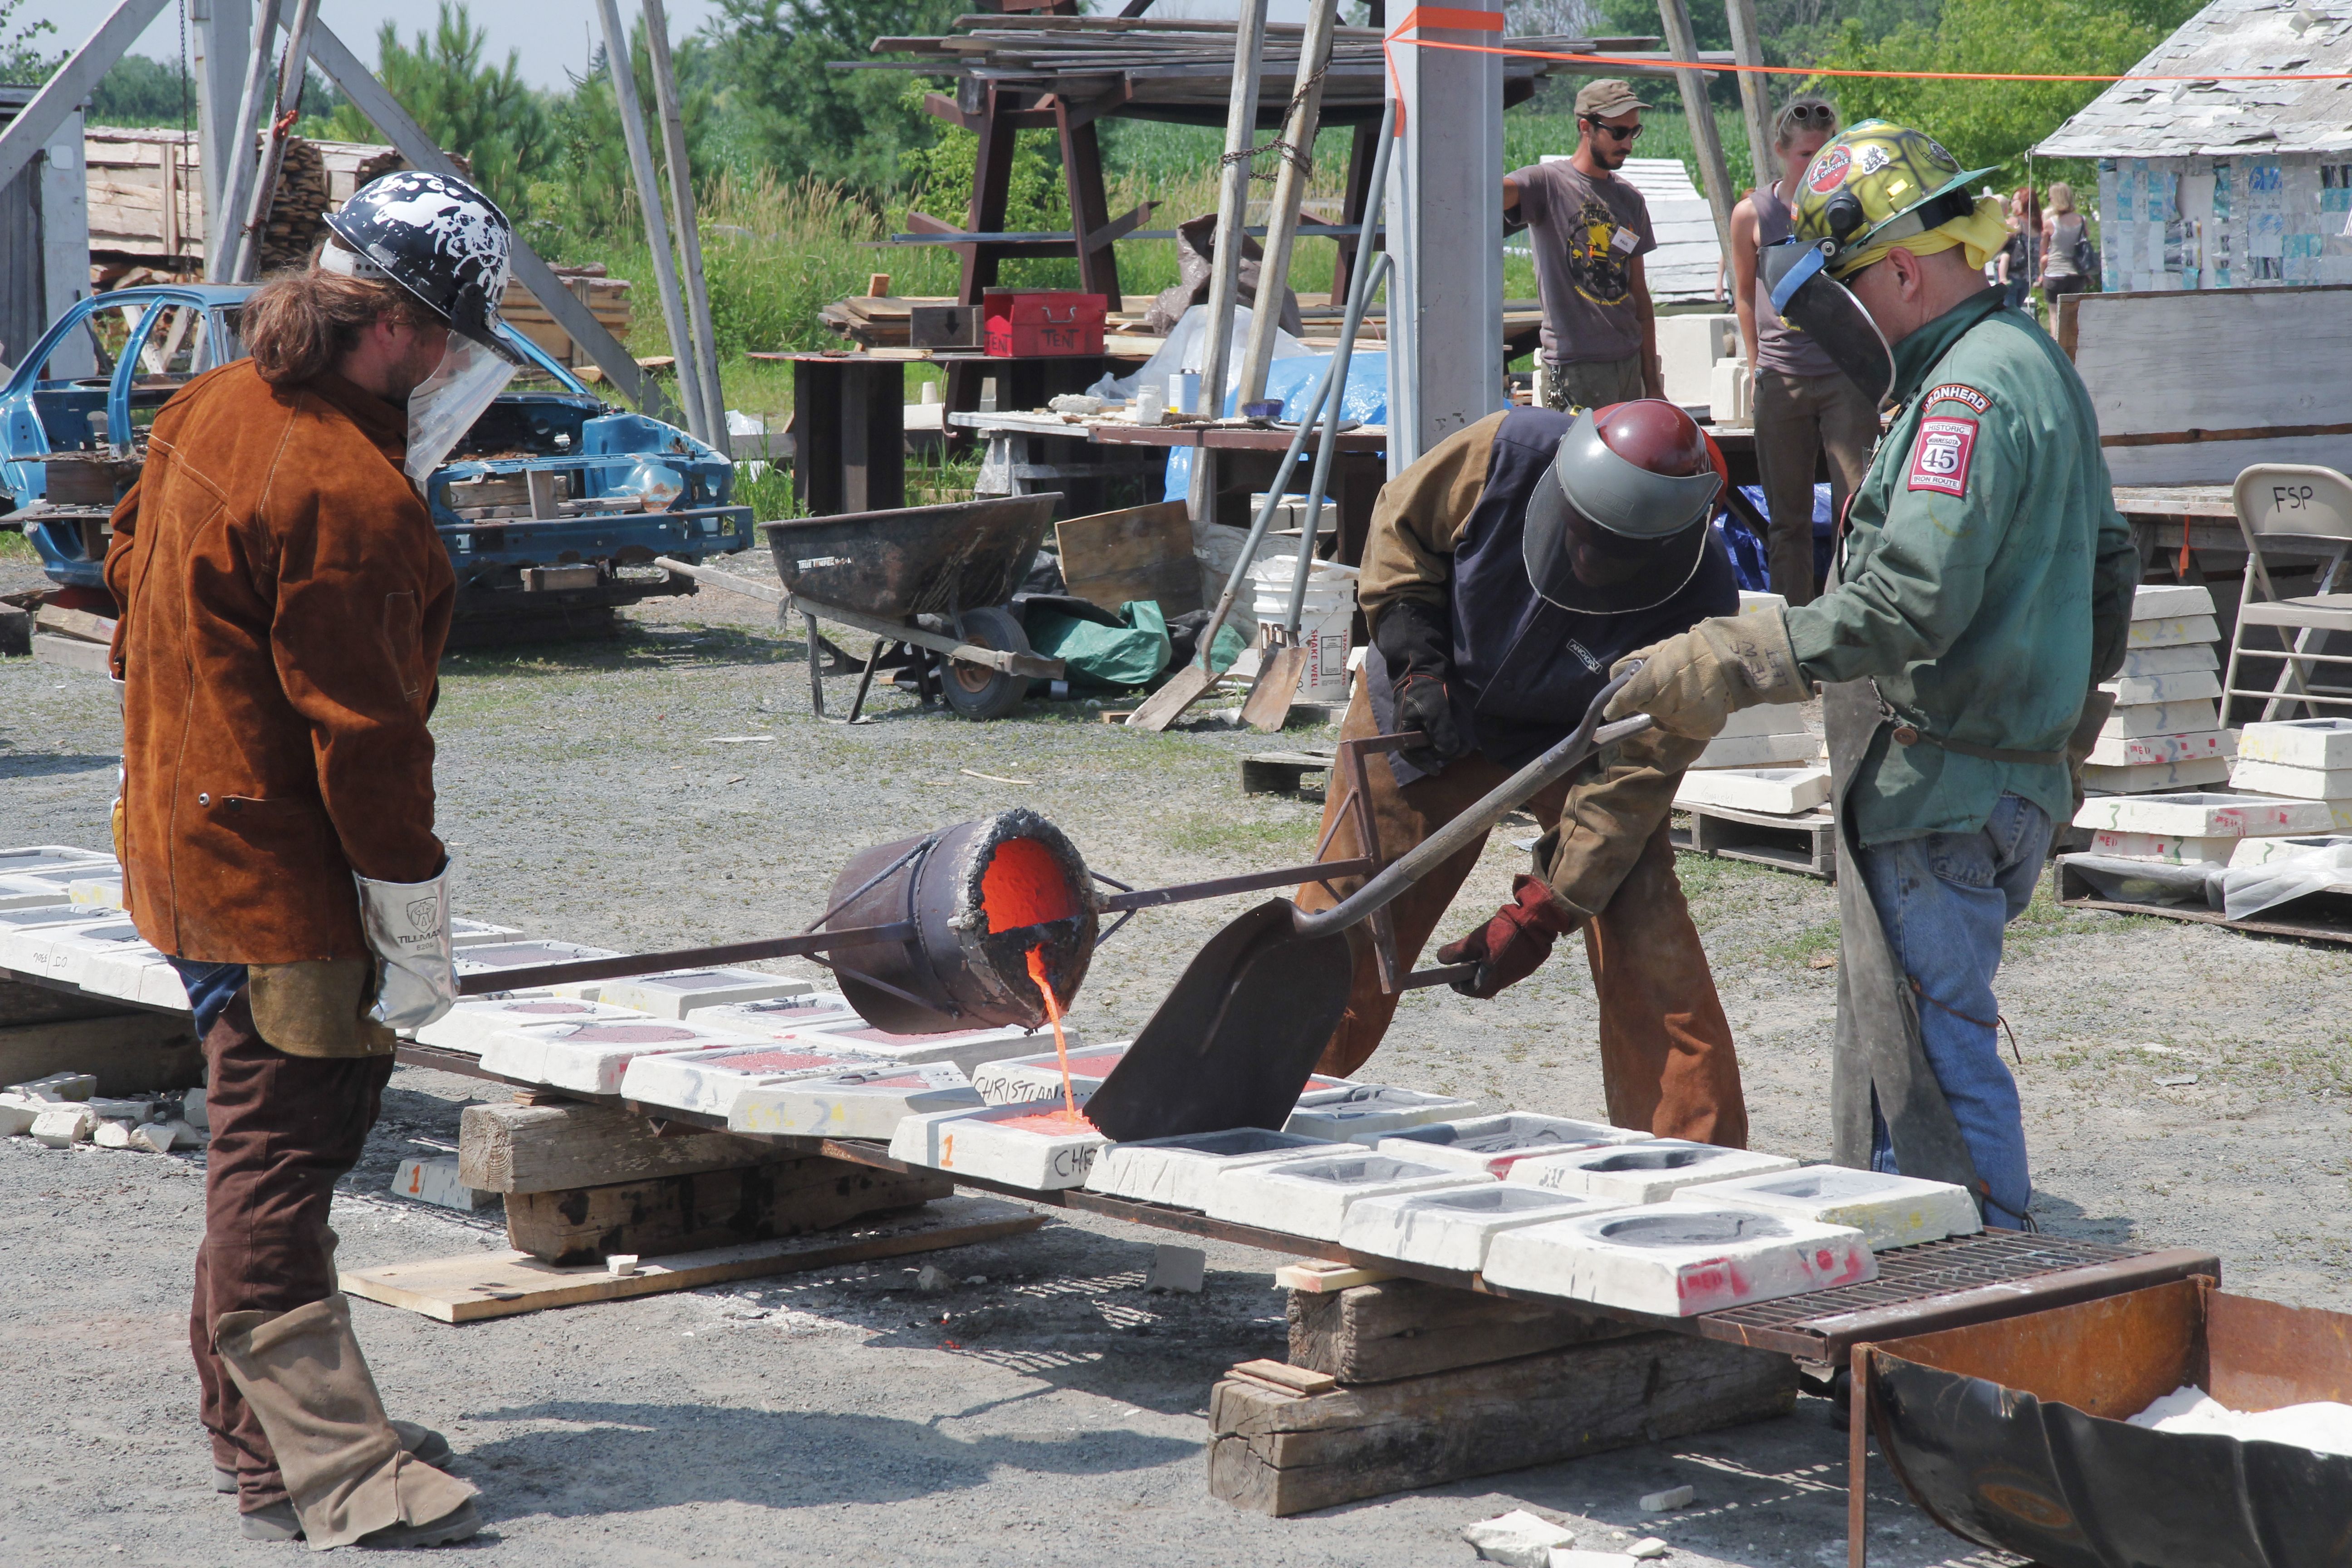
I previously described the preparation of molds for creating castings from molten iron.  On an early day in August (coincidentally my birthday), we returned to Franconia to watch the iron smelters and artists process the raw metal through a furnace and pour it into our molds.

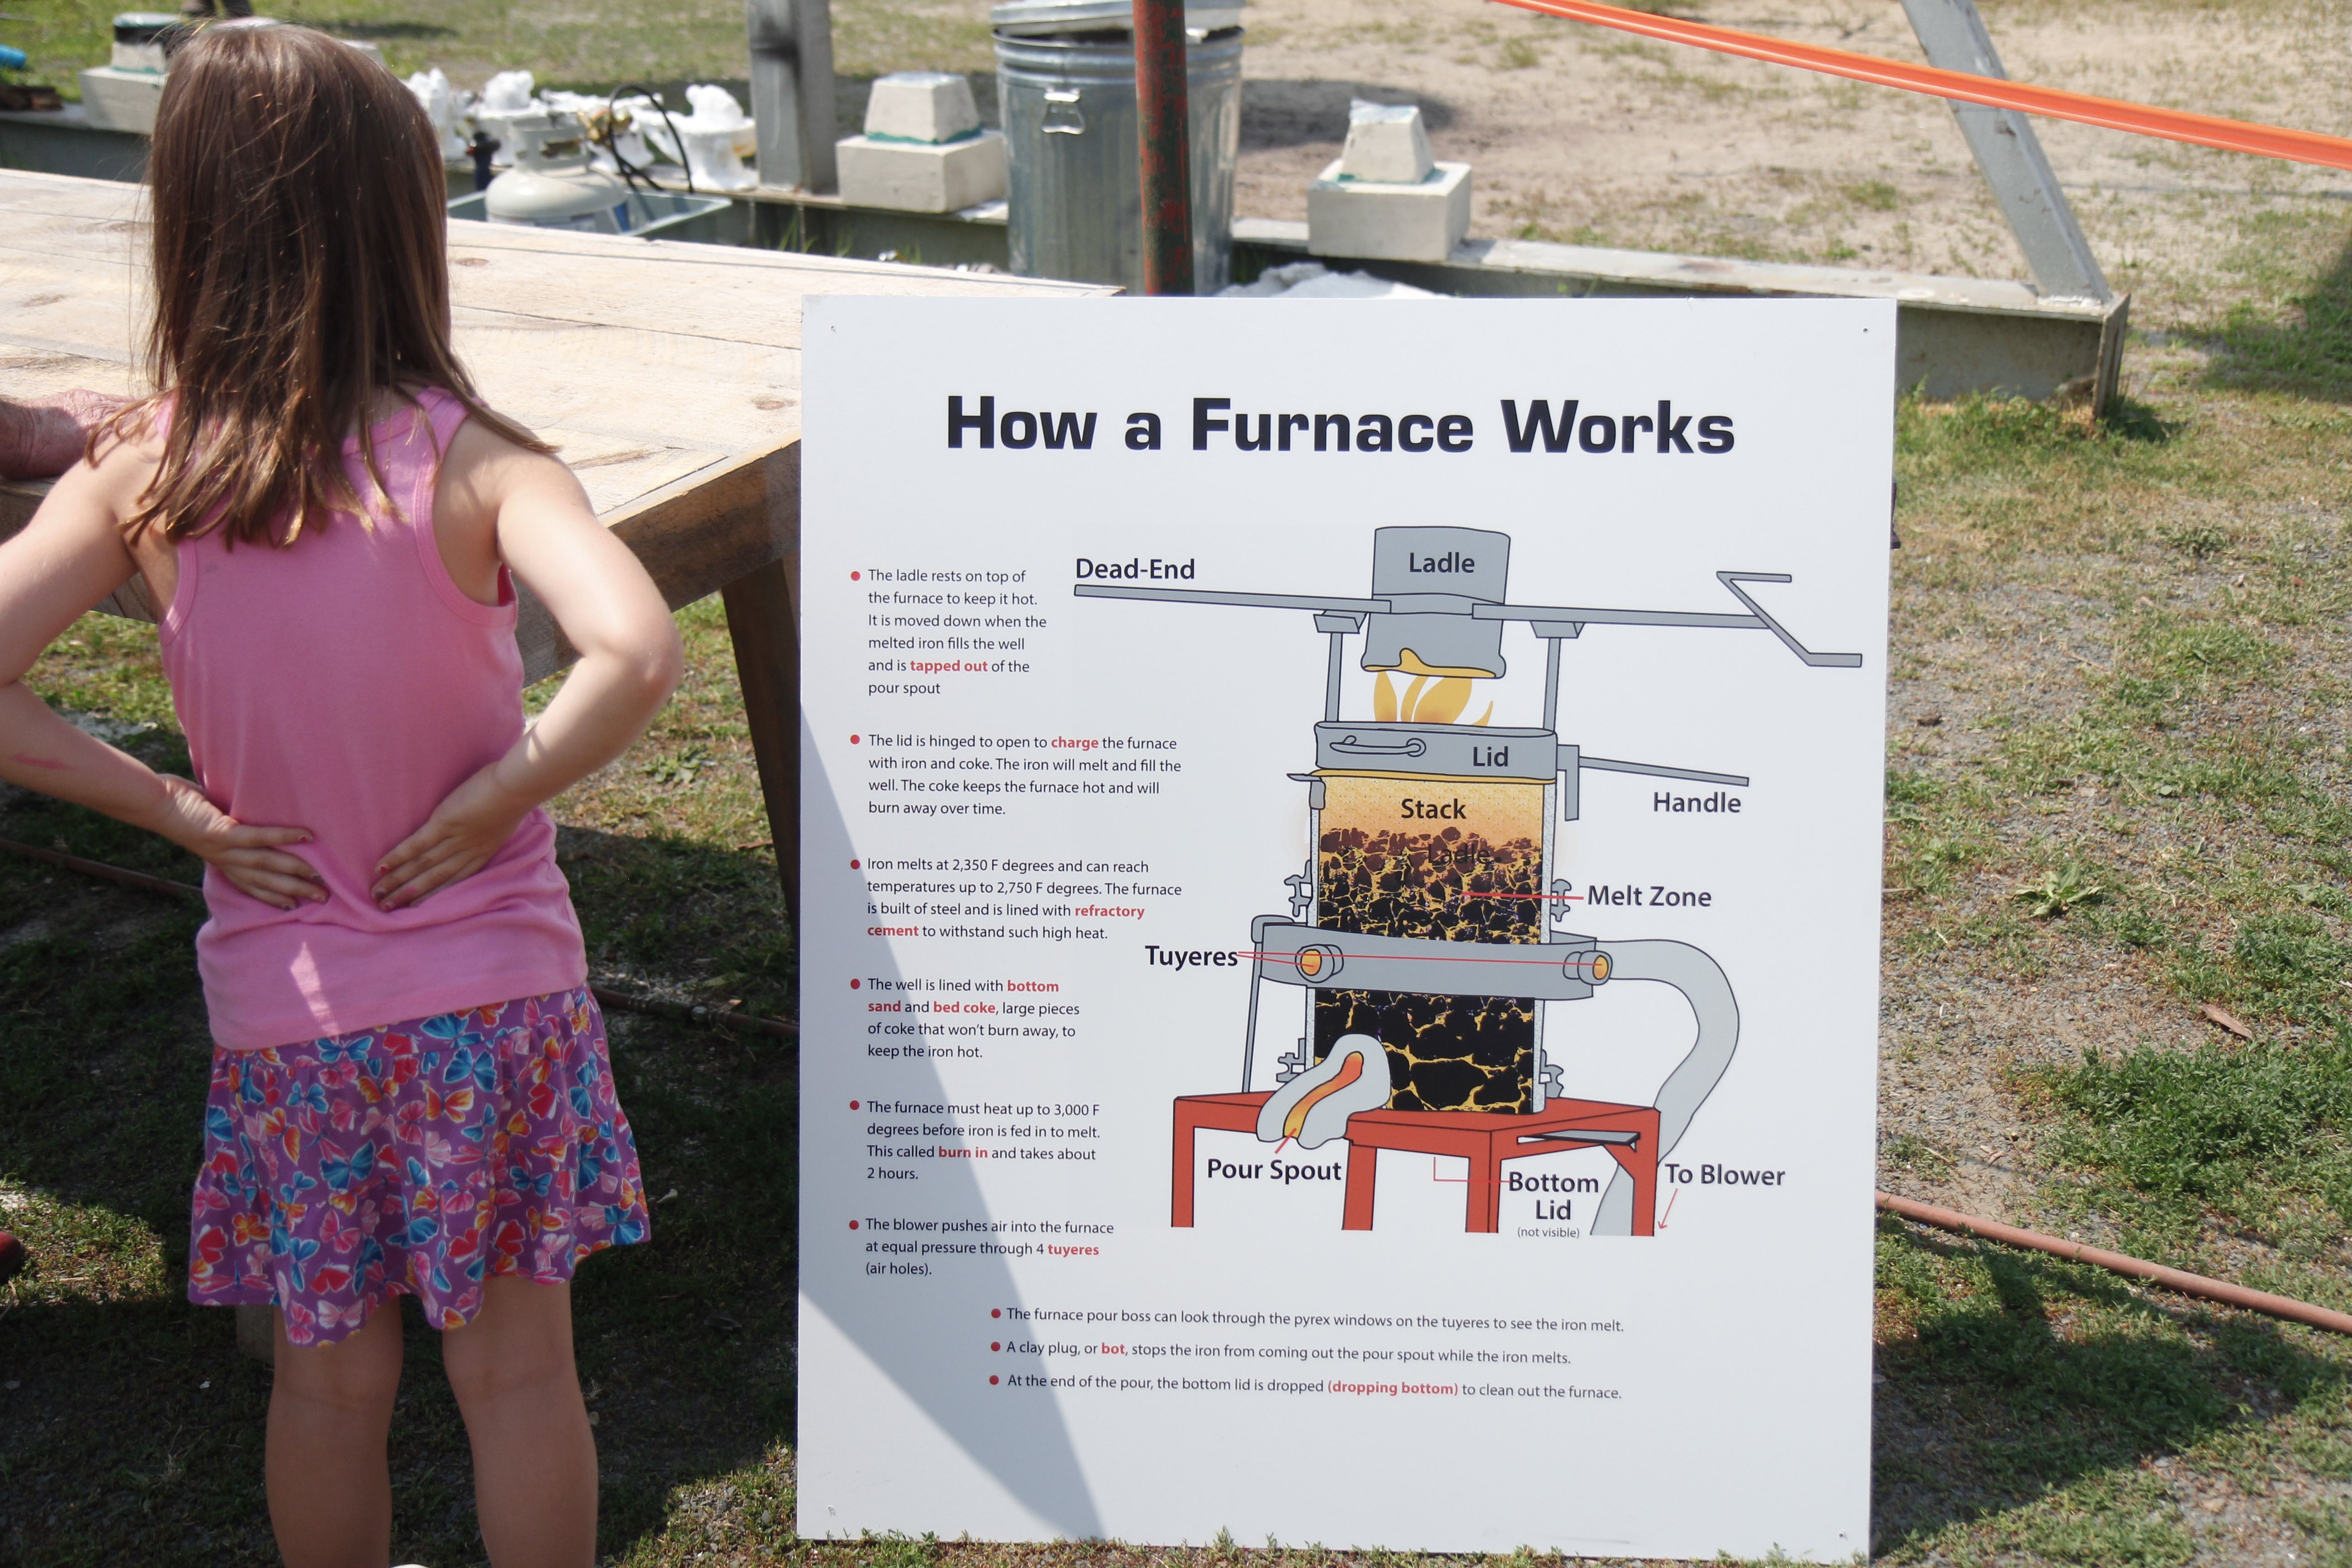
There were two furnaces, one that could generate 150 lbs of molten iron in one batch, and another that could do considerably more.  The small one was dedicated to our community mold pour, ours were just two out of three hundred or more waiting their turn to receive a dose of liquid iron.

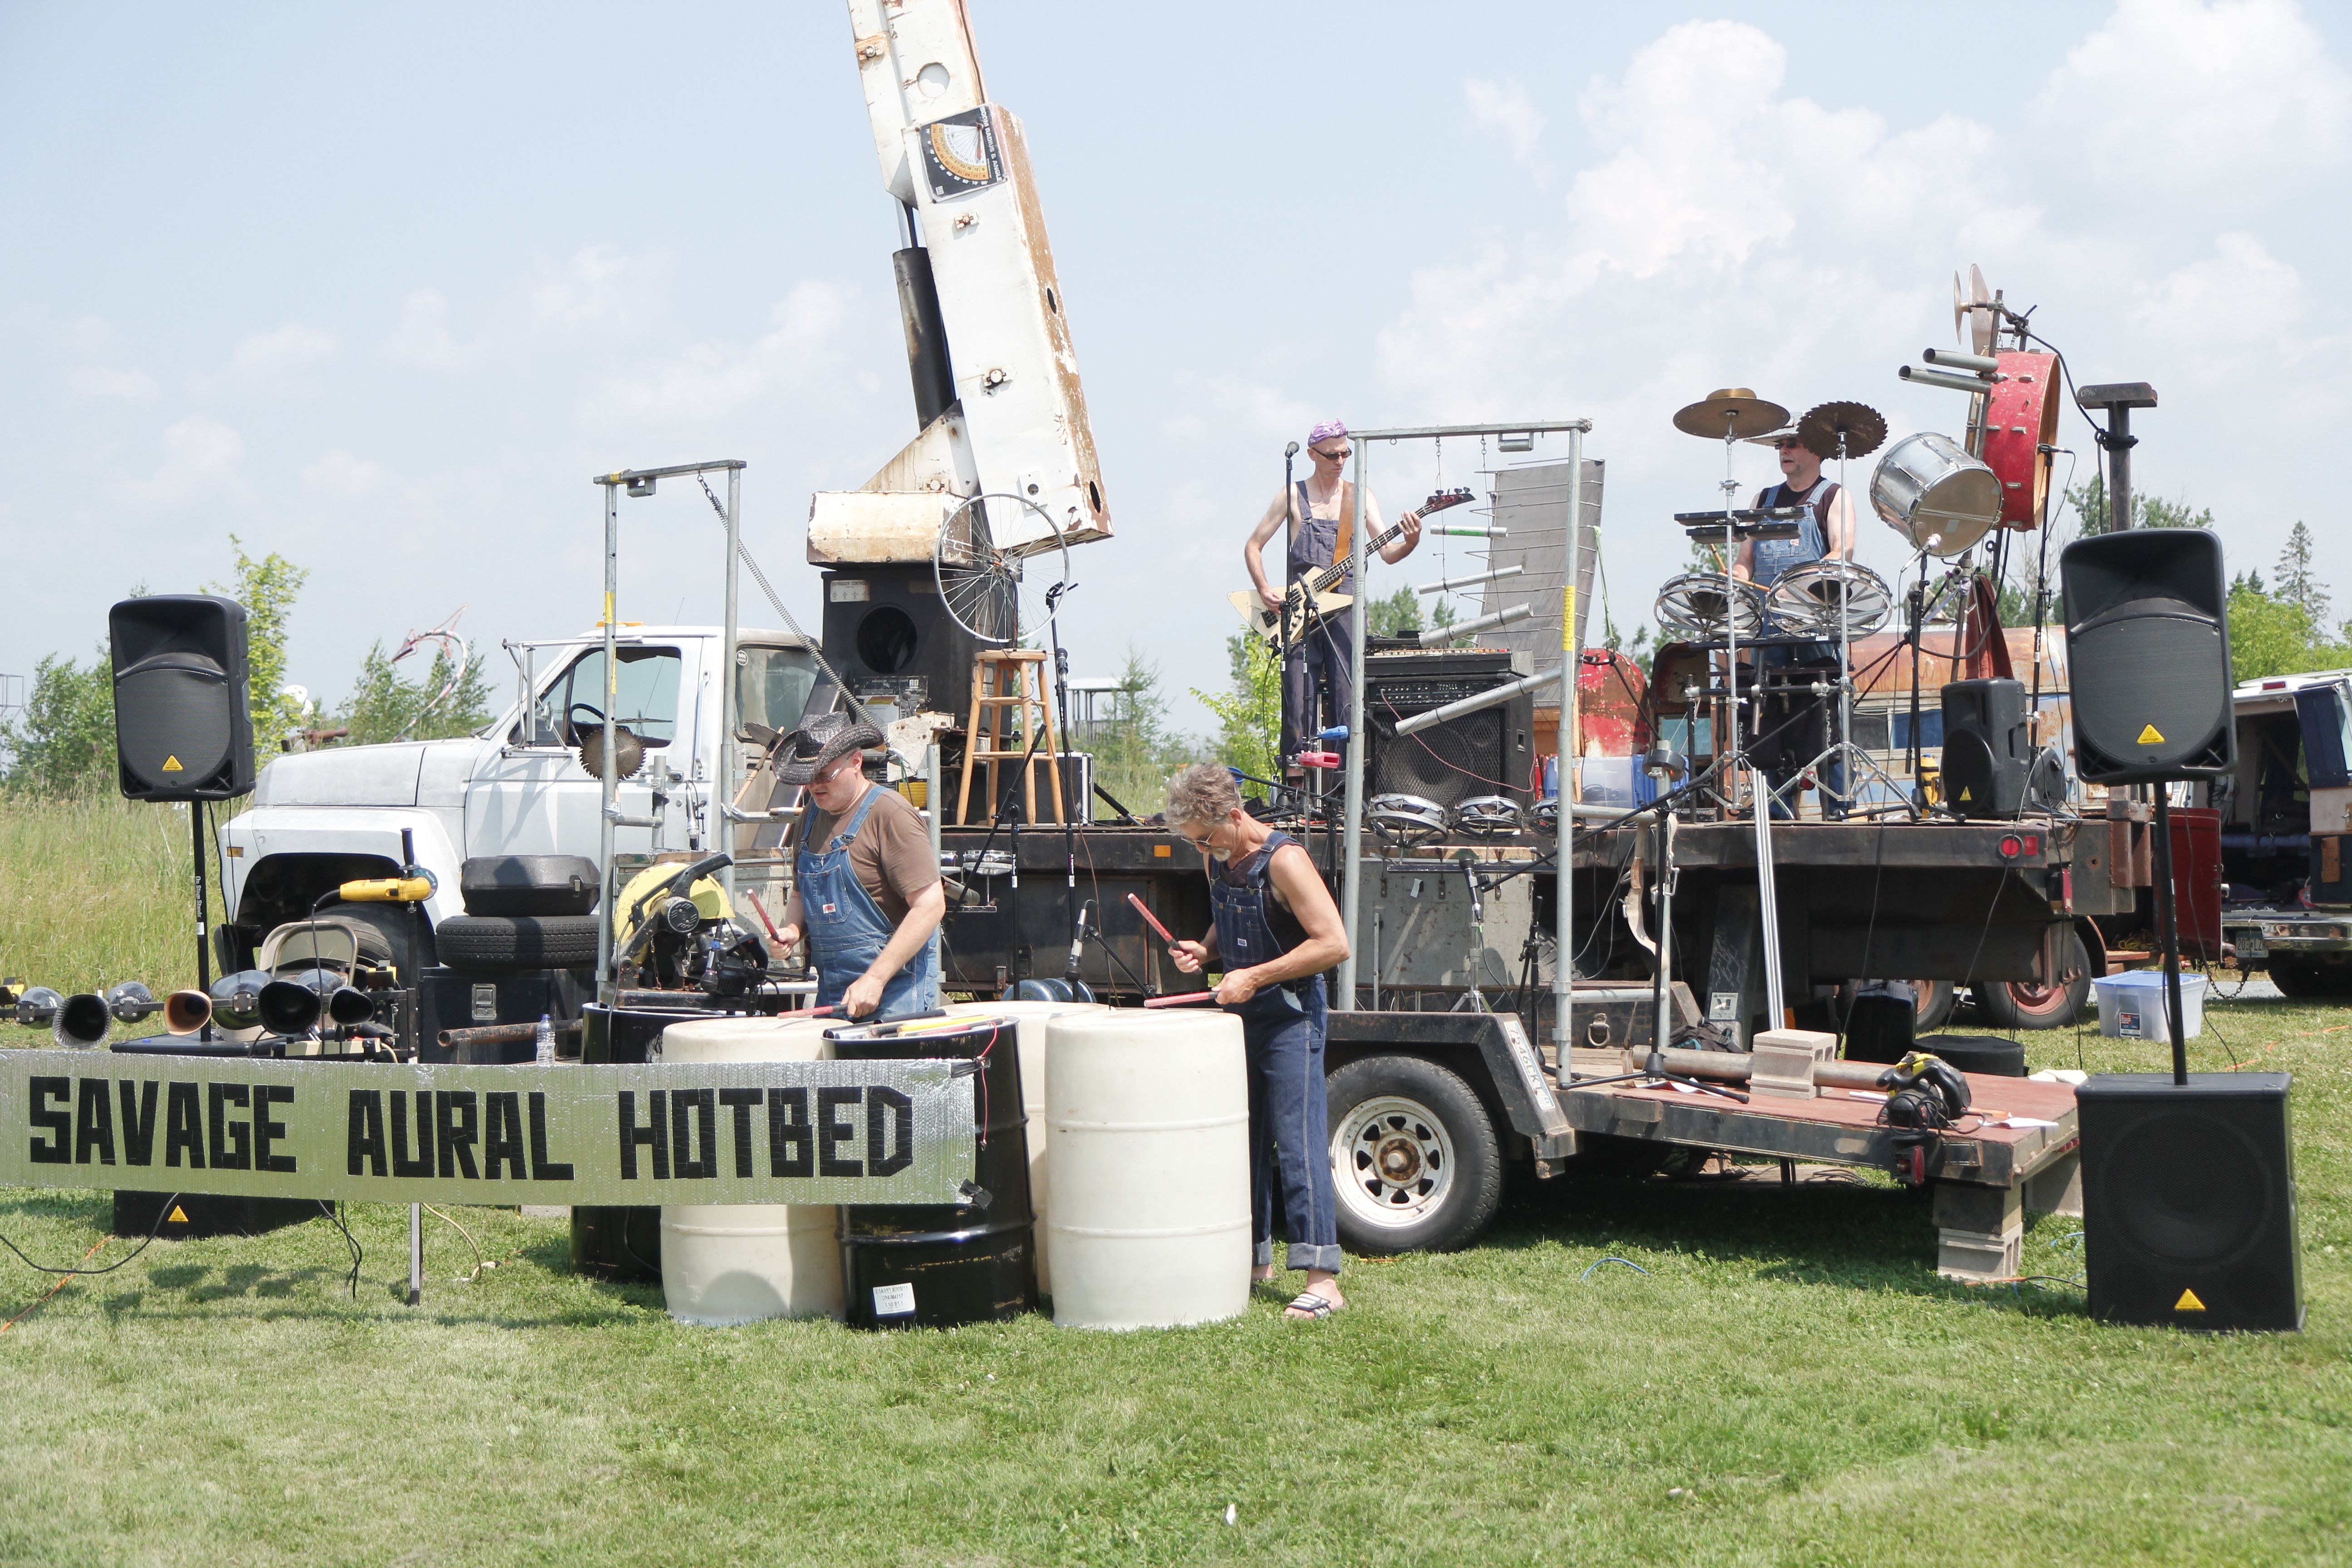
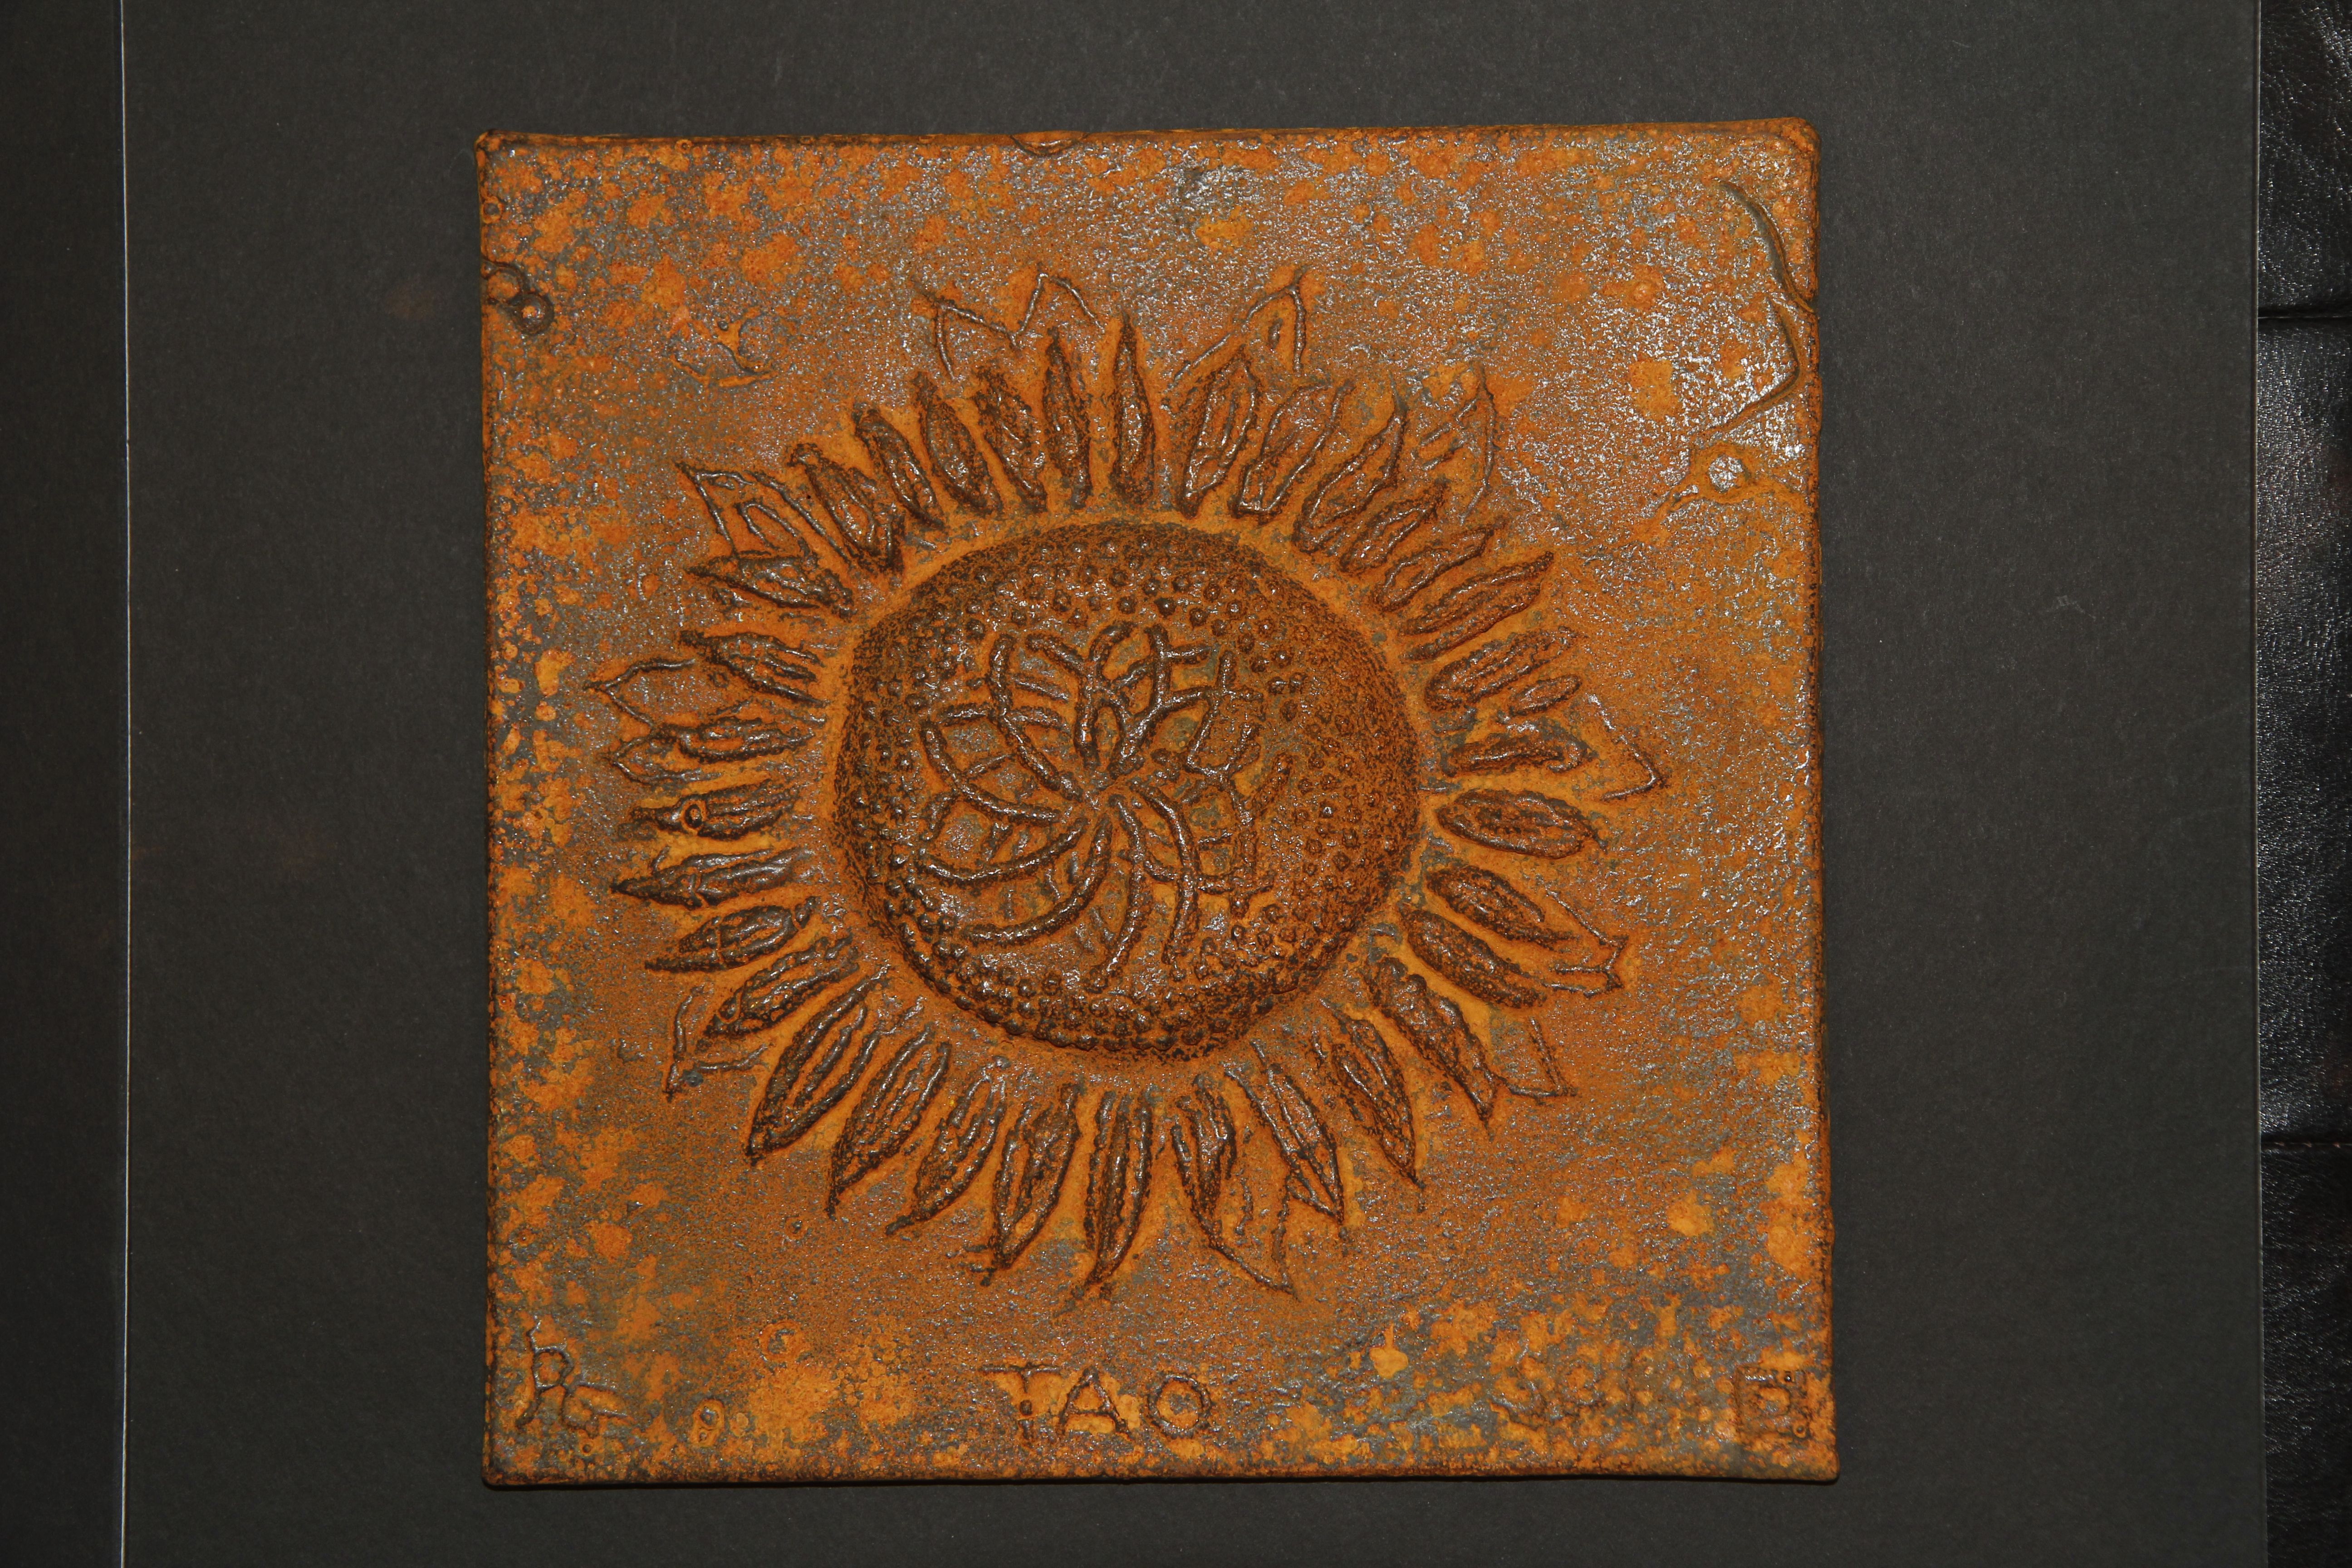
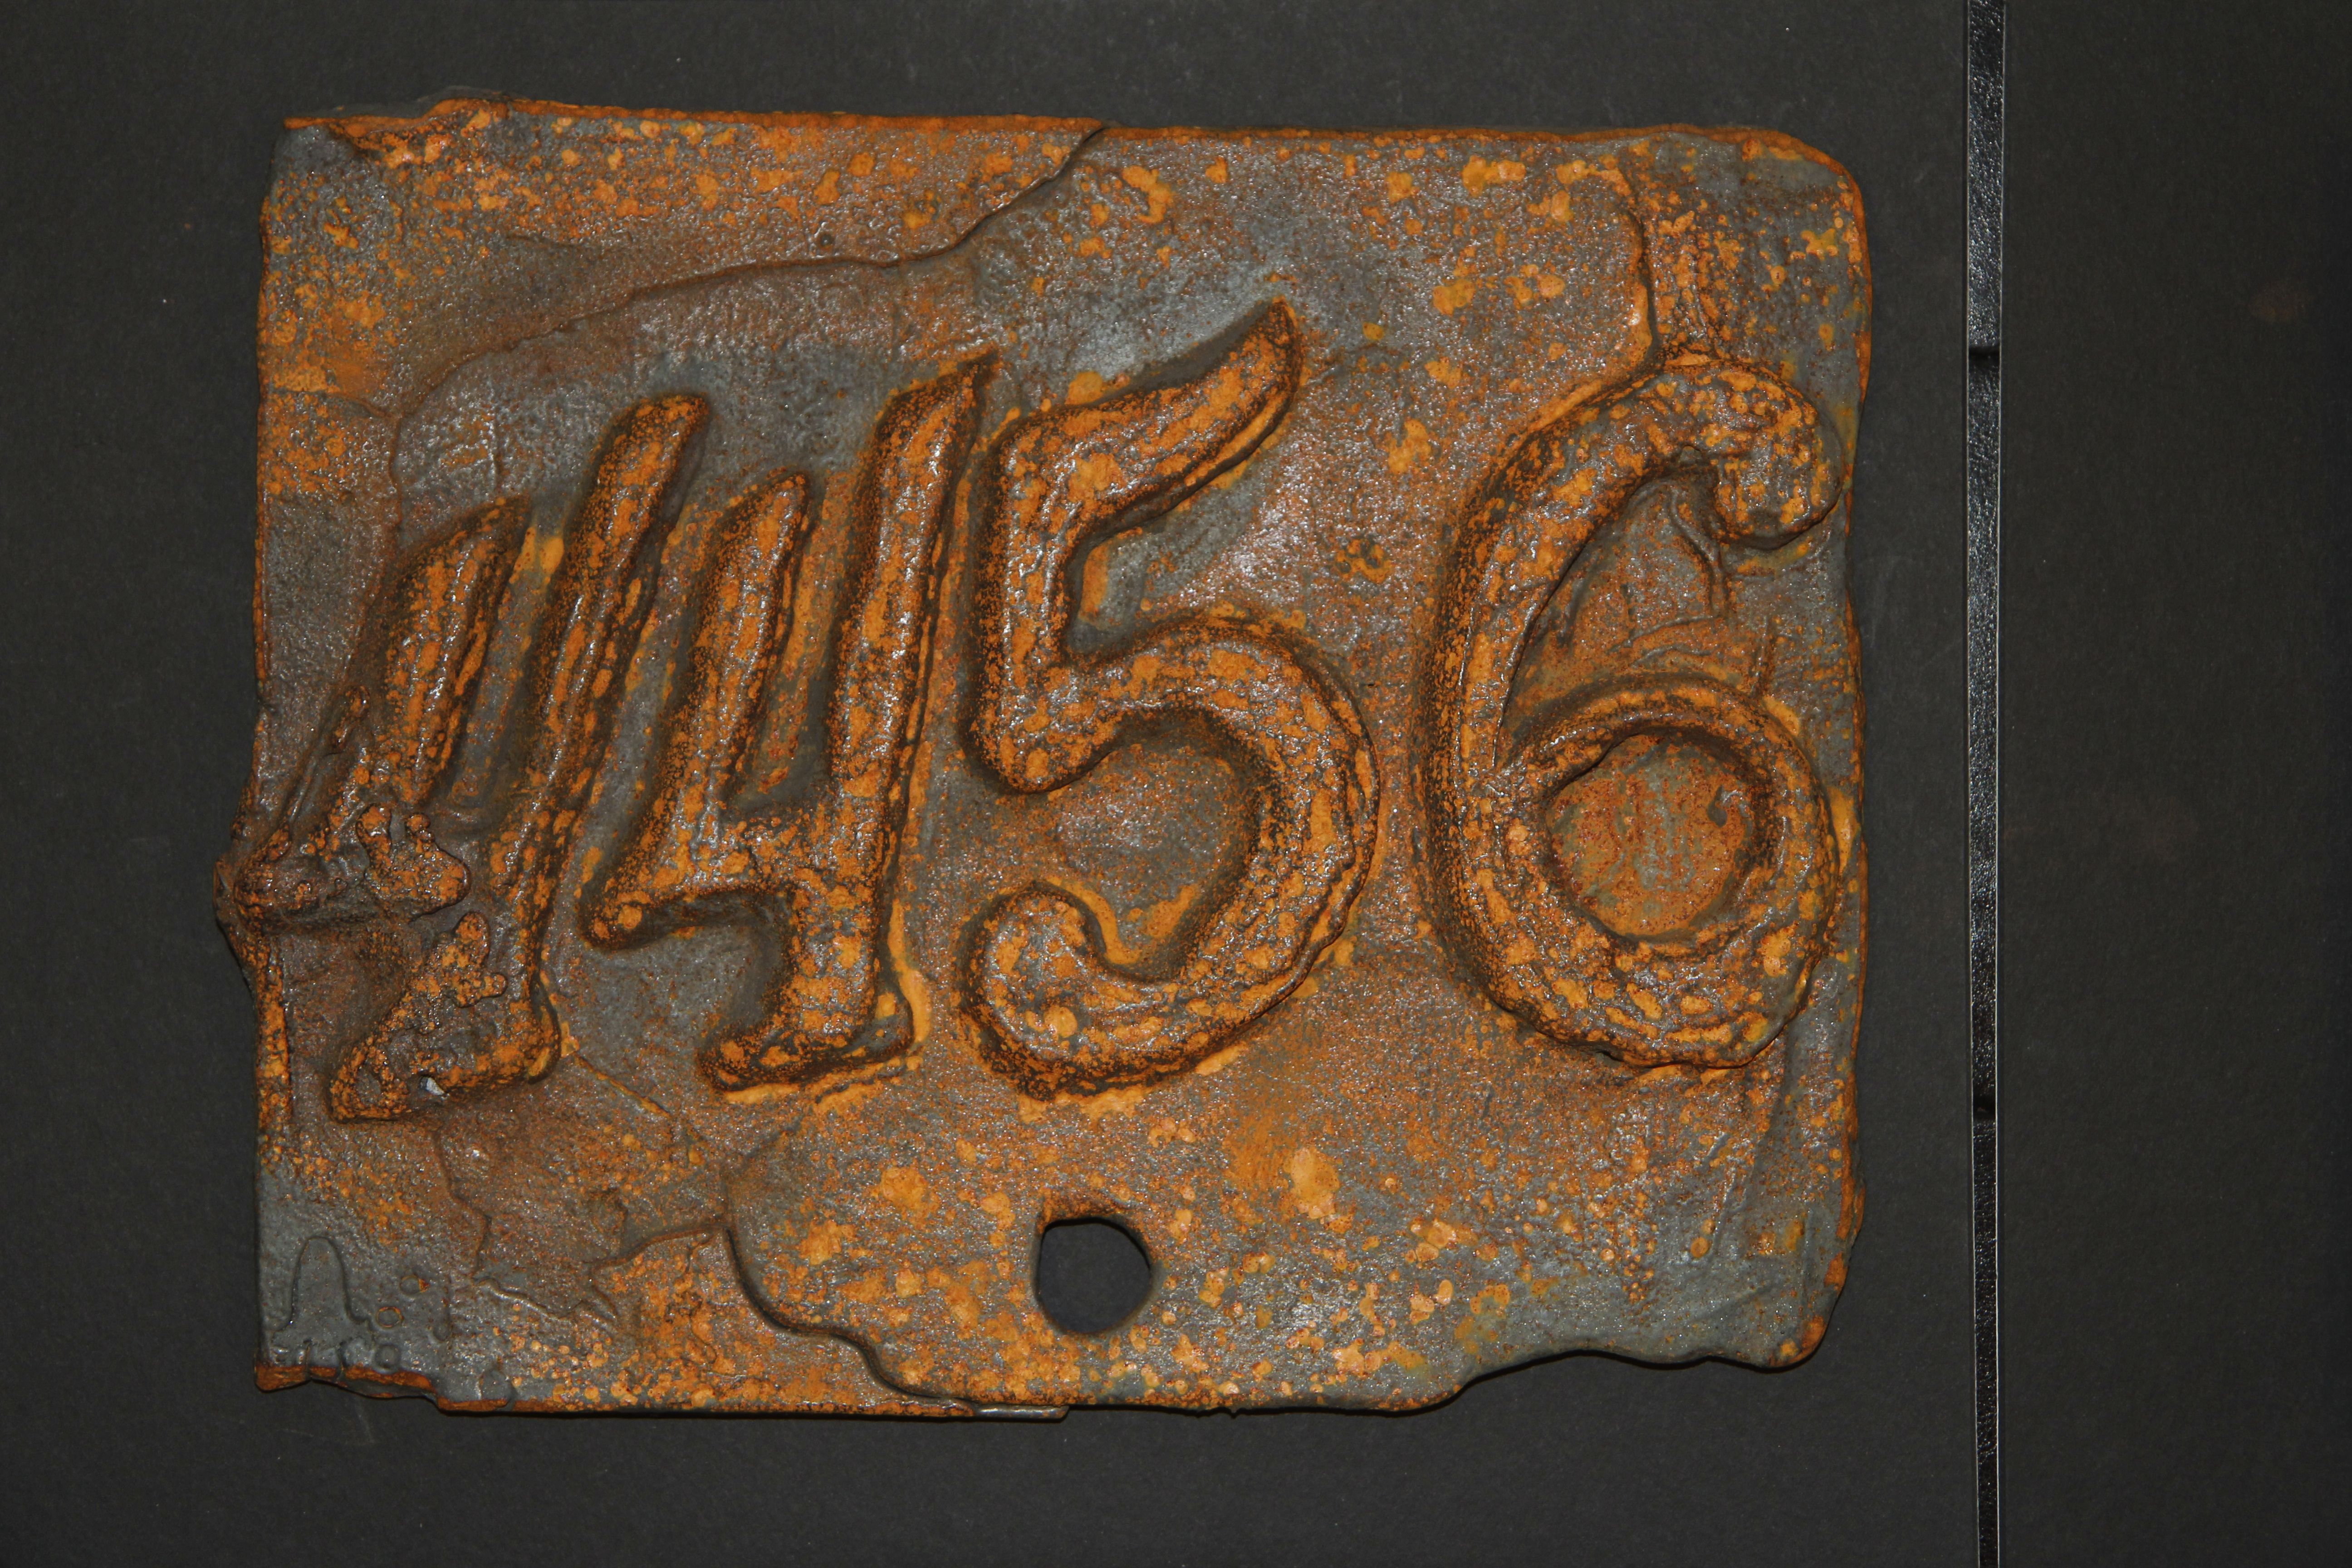
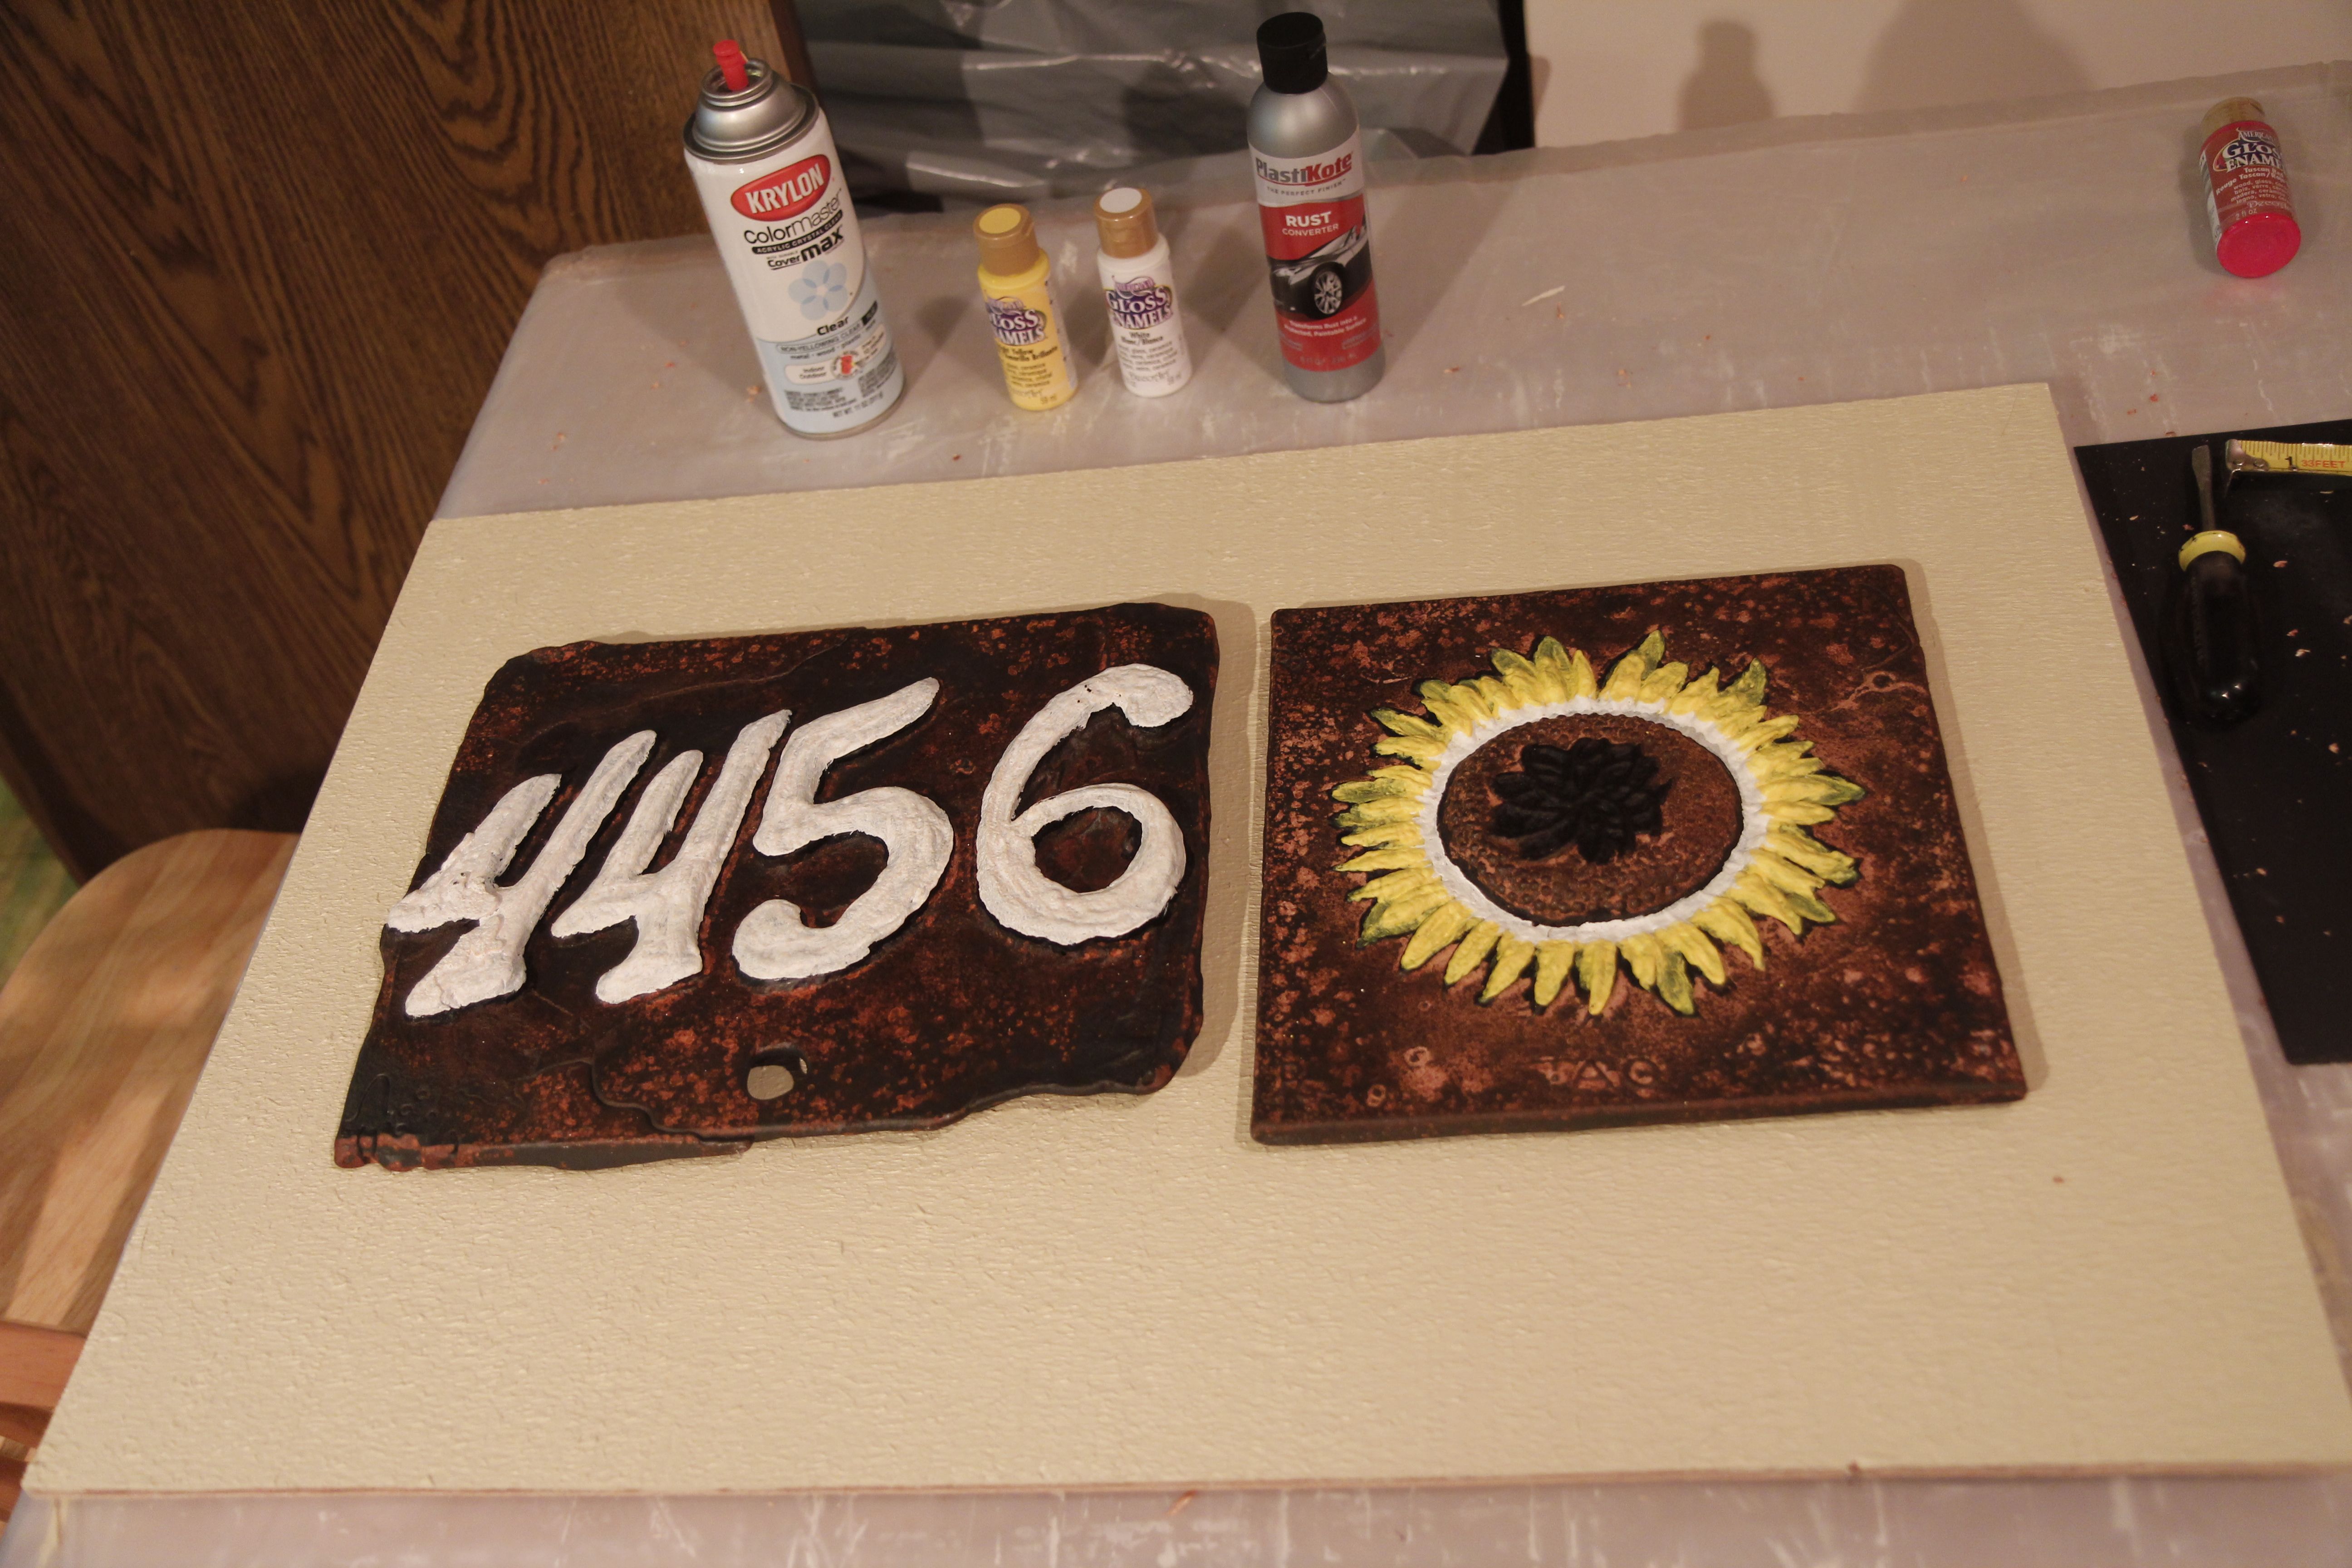
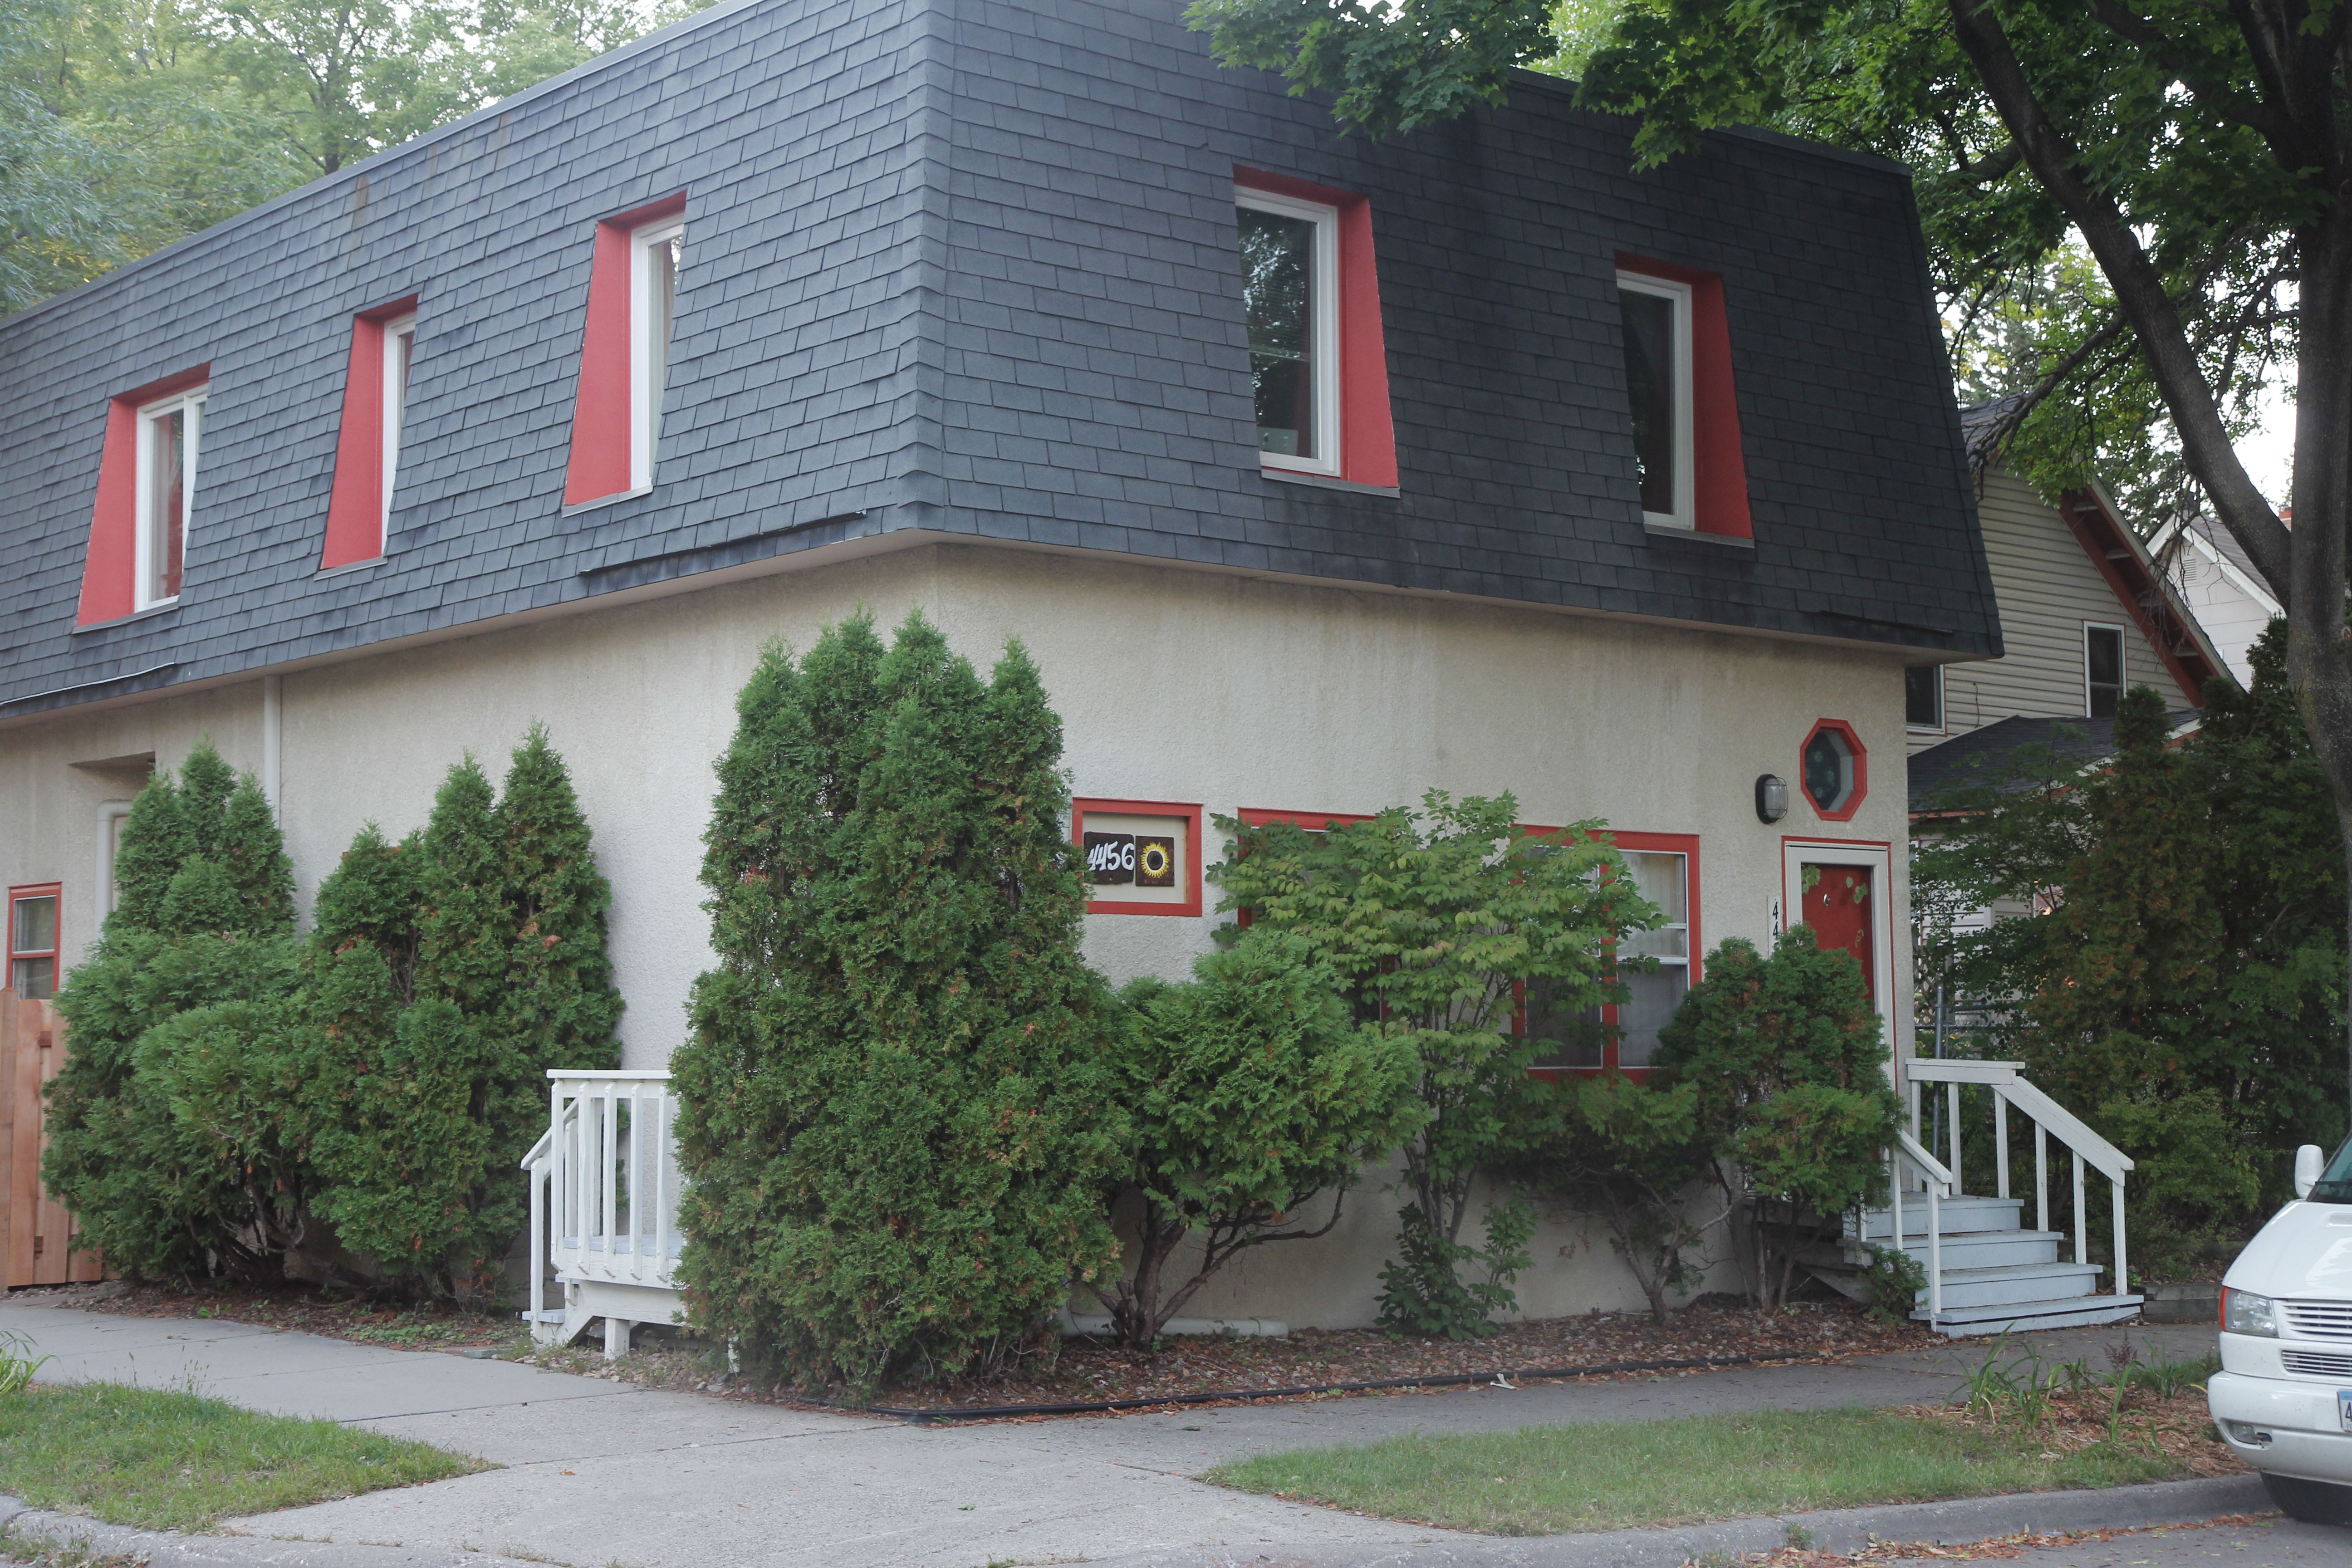
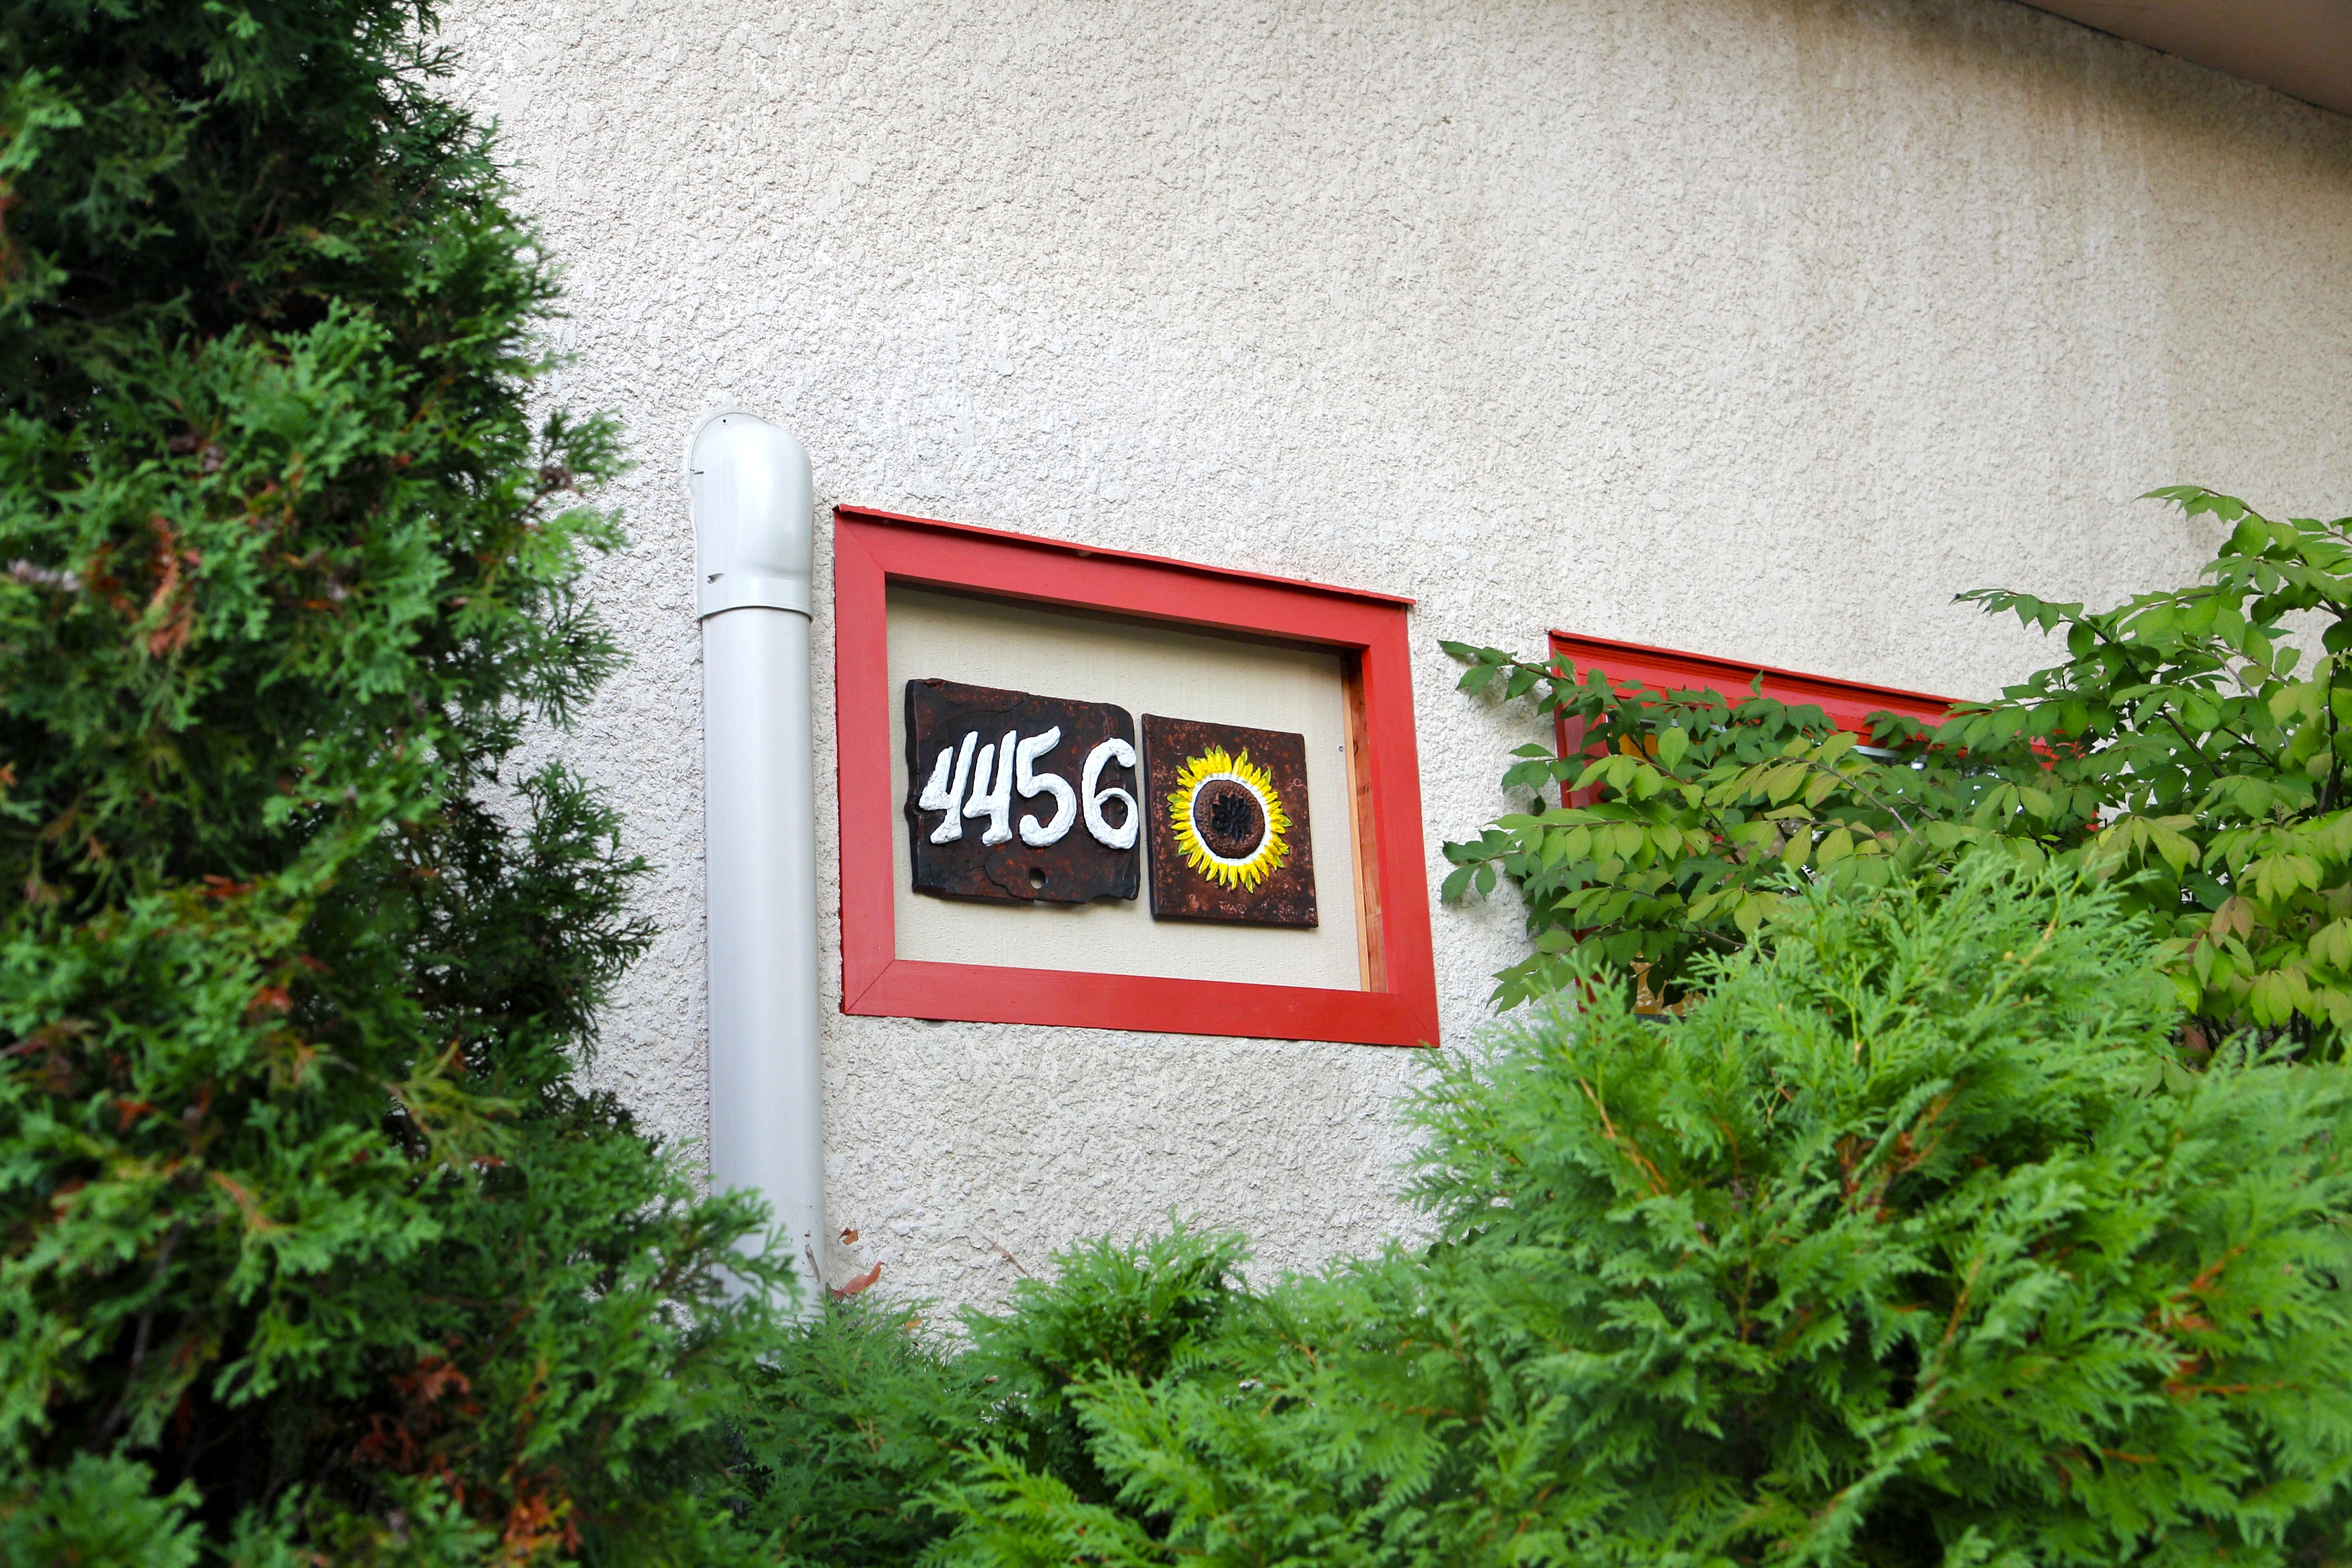
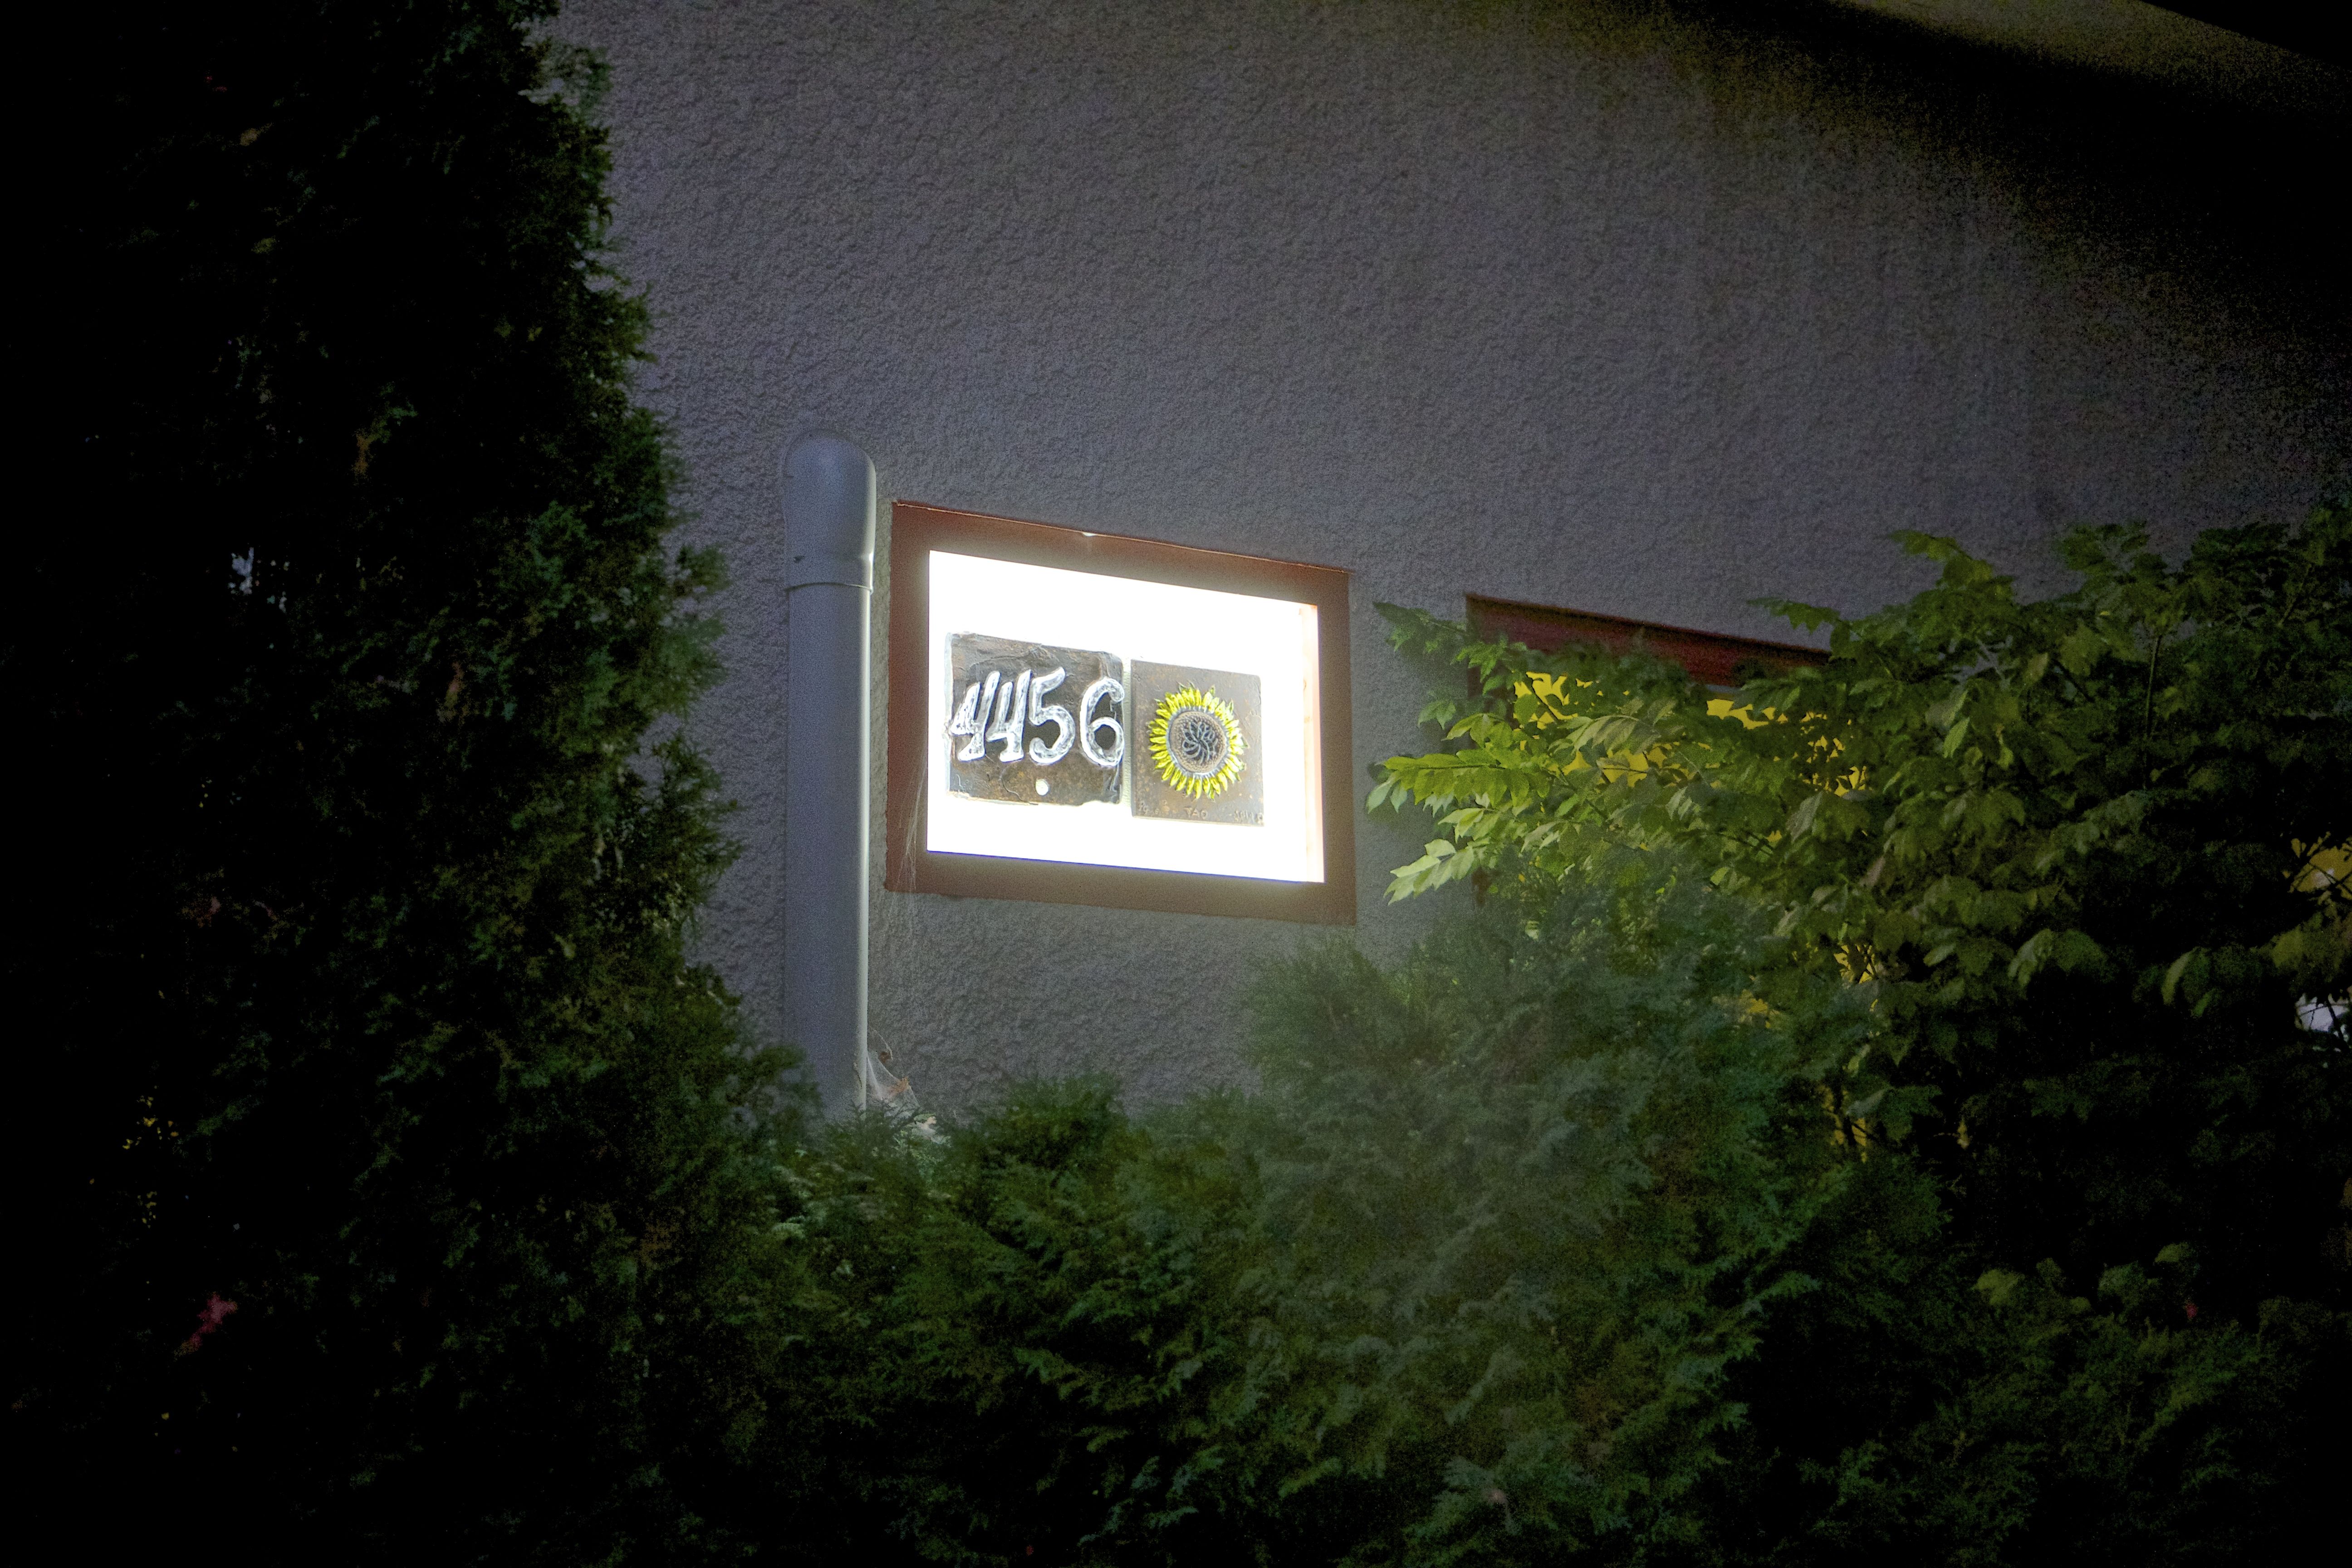
The pictures below show some of the activity on the iron pour day.  The final pictures show our castings, processed, rust converted, enamel painted, Krylon coated, and mounted on an address panel (formerly a dedicated AC port).  It seems a fitting place for the discarded radiators from This Odd House to leave their mark.


_MG_9690 _MG_9692 _MG_9697 _MG_9705

_MG_9714 _MG_9750 _MG_9773 _MG_9775

_MG_0170 _MG_0186 _MG_0189 _MG_0191

Posted in Uncategorized | Comments Off on August iron melt

Iron to Iron, Rust to Rust

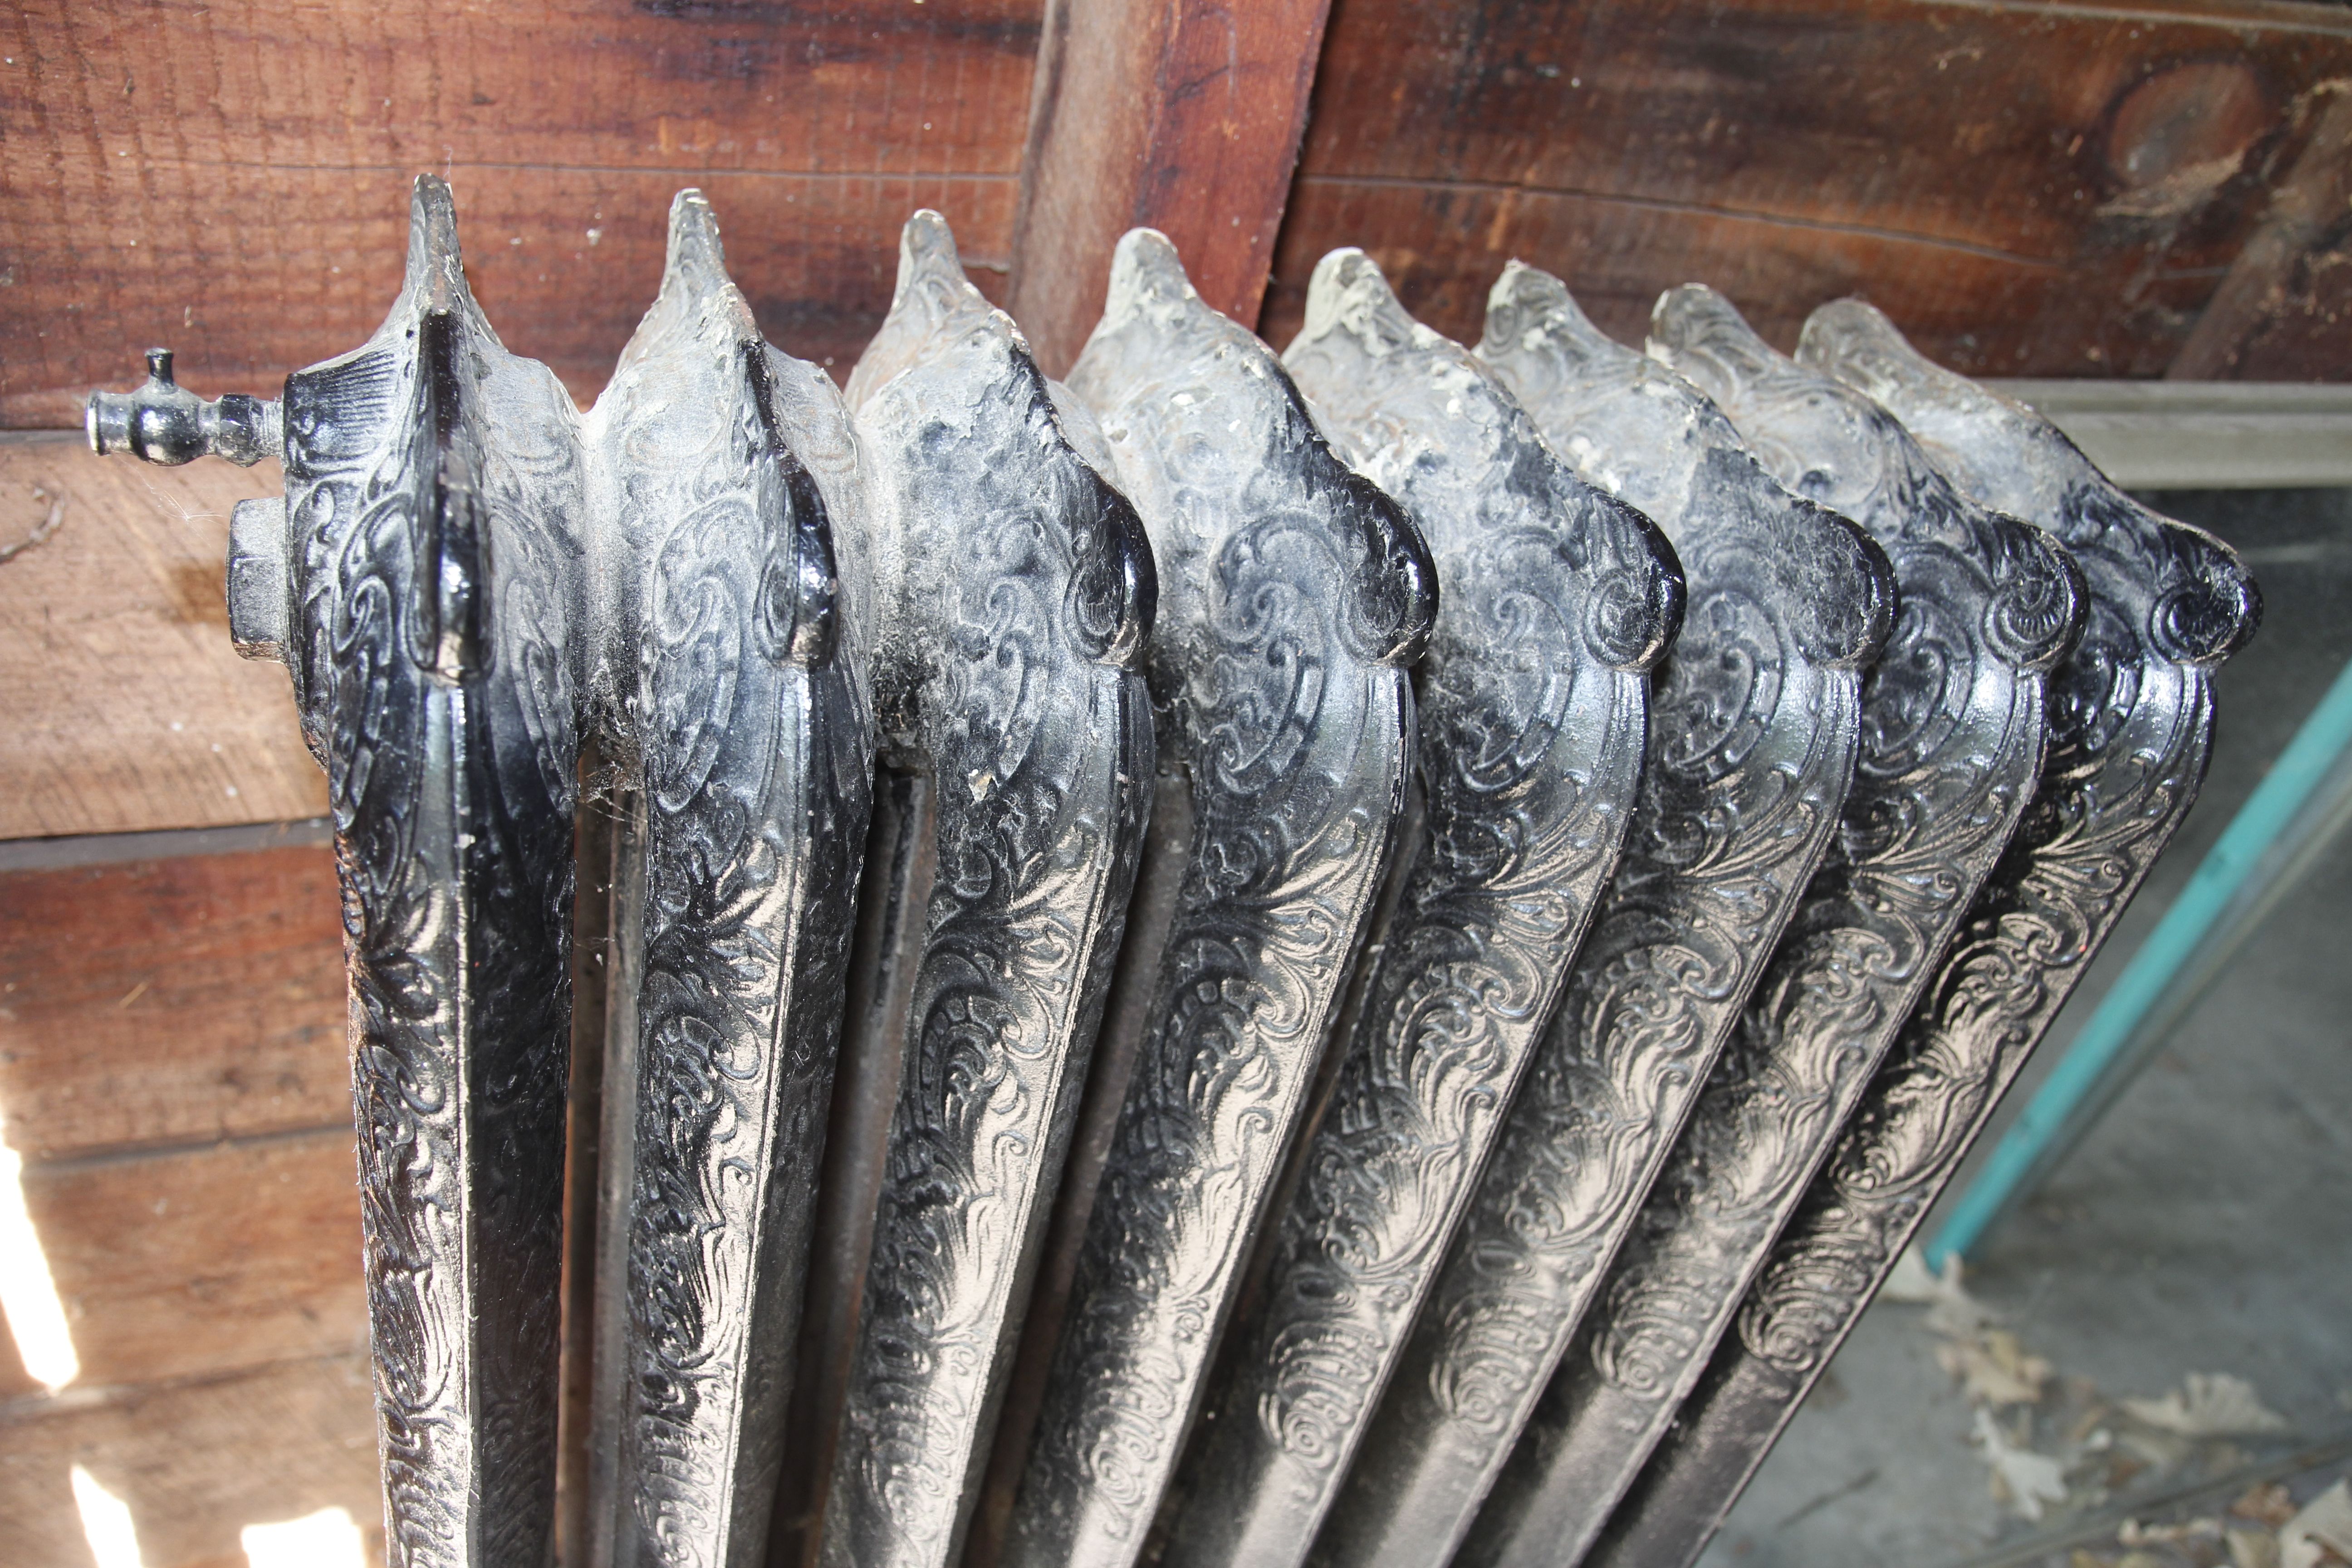
Surplus radiator removed from This Odd House.

Surplus radiator removed from This Odd House.

The demolition of the garage had forced a few actions. The surplus refrigerator being stored there had to find a new home. And the three cast iron radiators had to go somewhere too. I couldn’t see them going to a landfill; there had to be someone who would want them.

I did a little research. New radiators cost thousands of dollars. Salvaged radiators are considerably less, about $30 per “fin”, the vertical segment that gives radiators their distinctive functional look. I checked into the companies that bought and sold used radiators. The buy price was $3 per fin, about the same as the scrappers get when they score such an item.

After offering them on Craig’s list for a price in-between, but not getting any serious responses, Portia suggested we simply donate them to the nearby artist’s organization, Franconia Sculpture Park. This had great appeal. Iron that had served its time heating our house for the last century being recycled as an artistic sculptural expression seemed like a worthy destination.

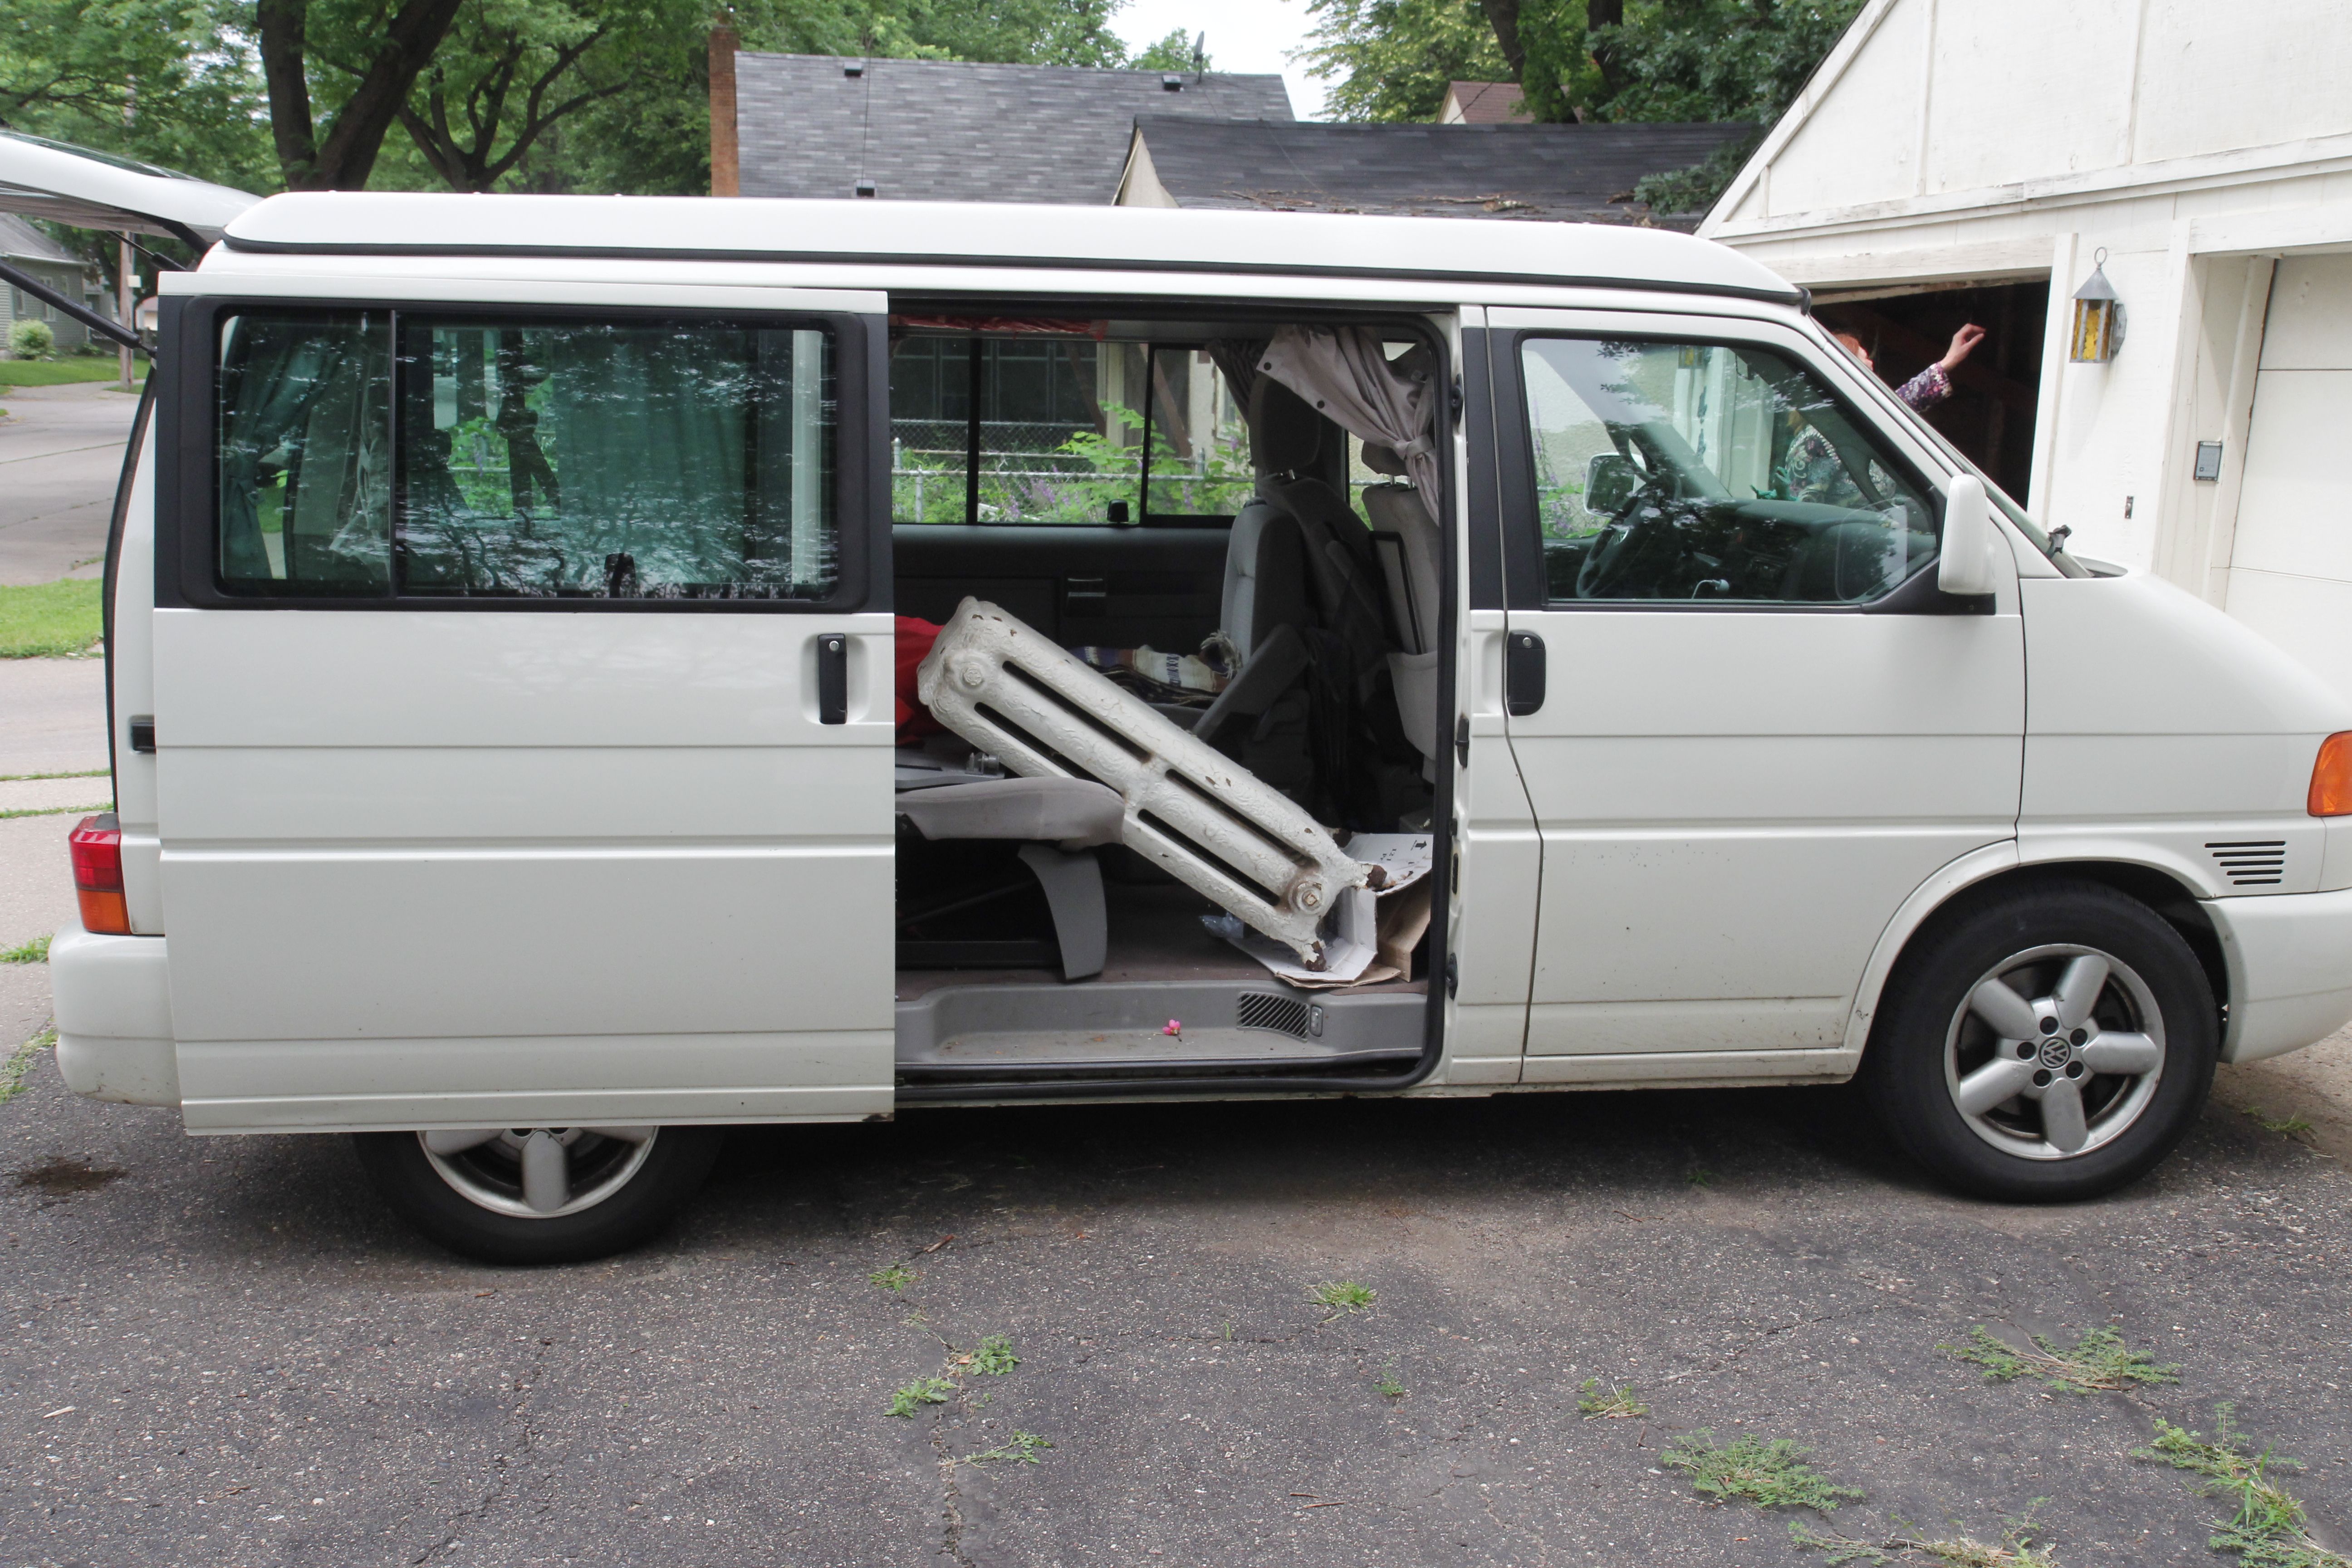
We proceeded to load them from the garage to the van. At 200 pounds each, they were a bit beyond our daily weight lifting routine and we used carts and dollies to maneuver them near the van and ally-oop them into my aging vehicle, which sagged in proportion to each additional load.

Radiators loaded into the van.

Radiators loaded into the van.

The drive to Franconia was sluggish and luggish. But when we arrived we were greeted with eager delight. Not the usual response to someone with surplus radiators. They helped transfer them to a holding area for such items. We were told that the radiators would be broken down to fragments, the non-iron components (steel pipe fittings, assembly rods etc.) would be removed, and the rest would be prepared to feed into the furnace the day of the pour.

I learned that the iron pour was not just for professional artists; there was a program where the public could participate too. The sculpture park offered workshops to prepare molds for casting iron plaques, bas-reliefs, with patterns inscribed into them by anyone willing to subscribe to the class.  Even me.

I have long wanted a plaque for the space on the exterior occupied by a former air conditioner, an address marker with a distinctive pattern that would identify This Odd House to passersby. This seemed like a perfect ending for the fate of my radiators.

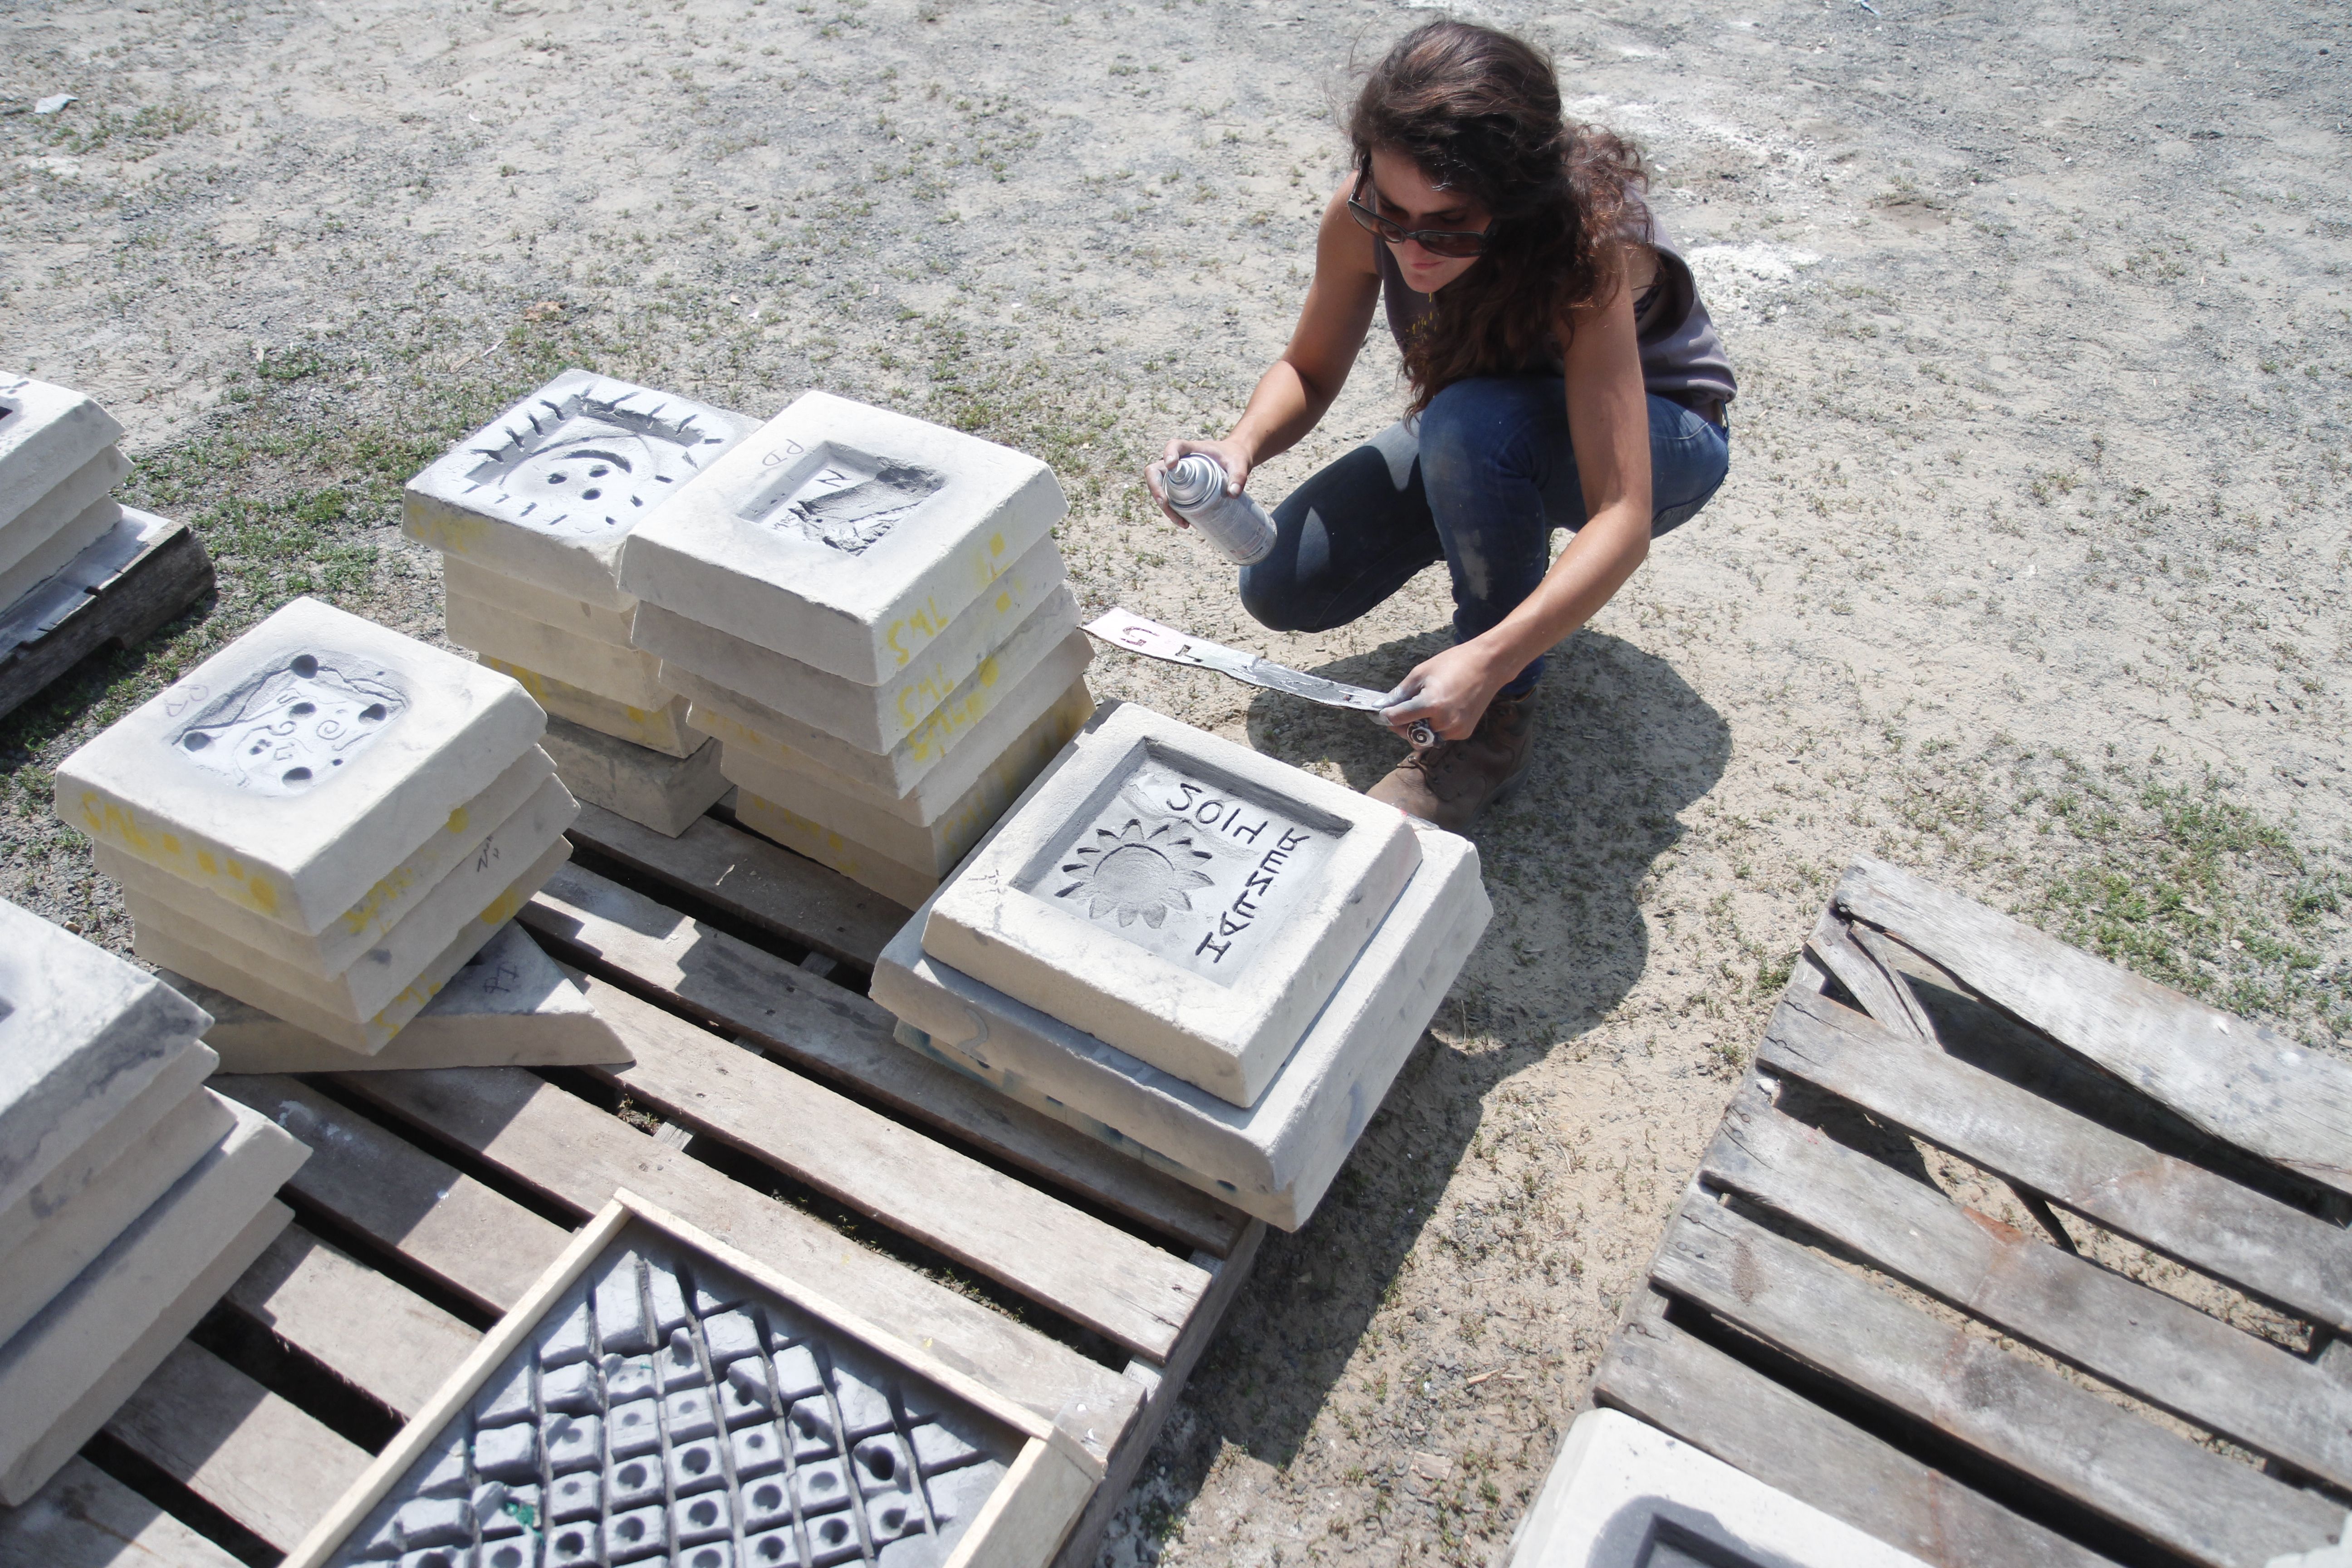
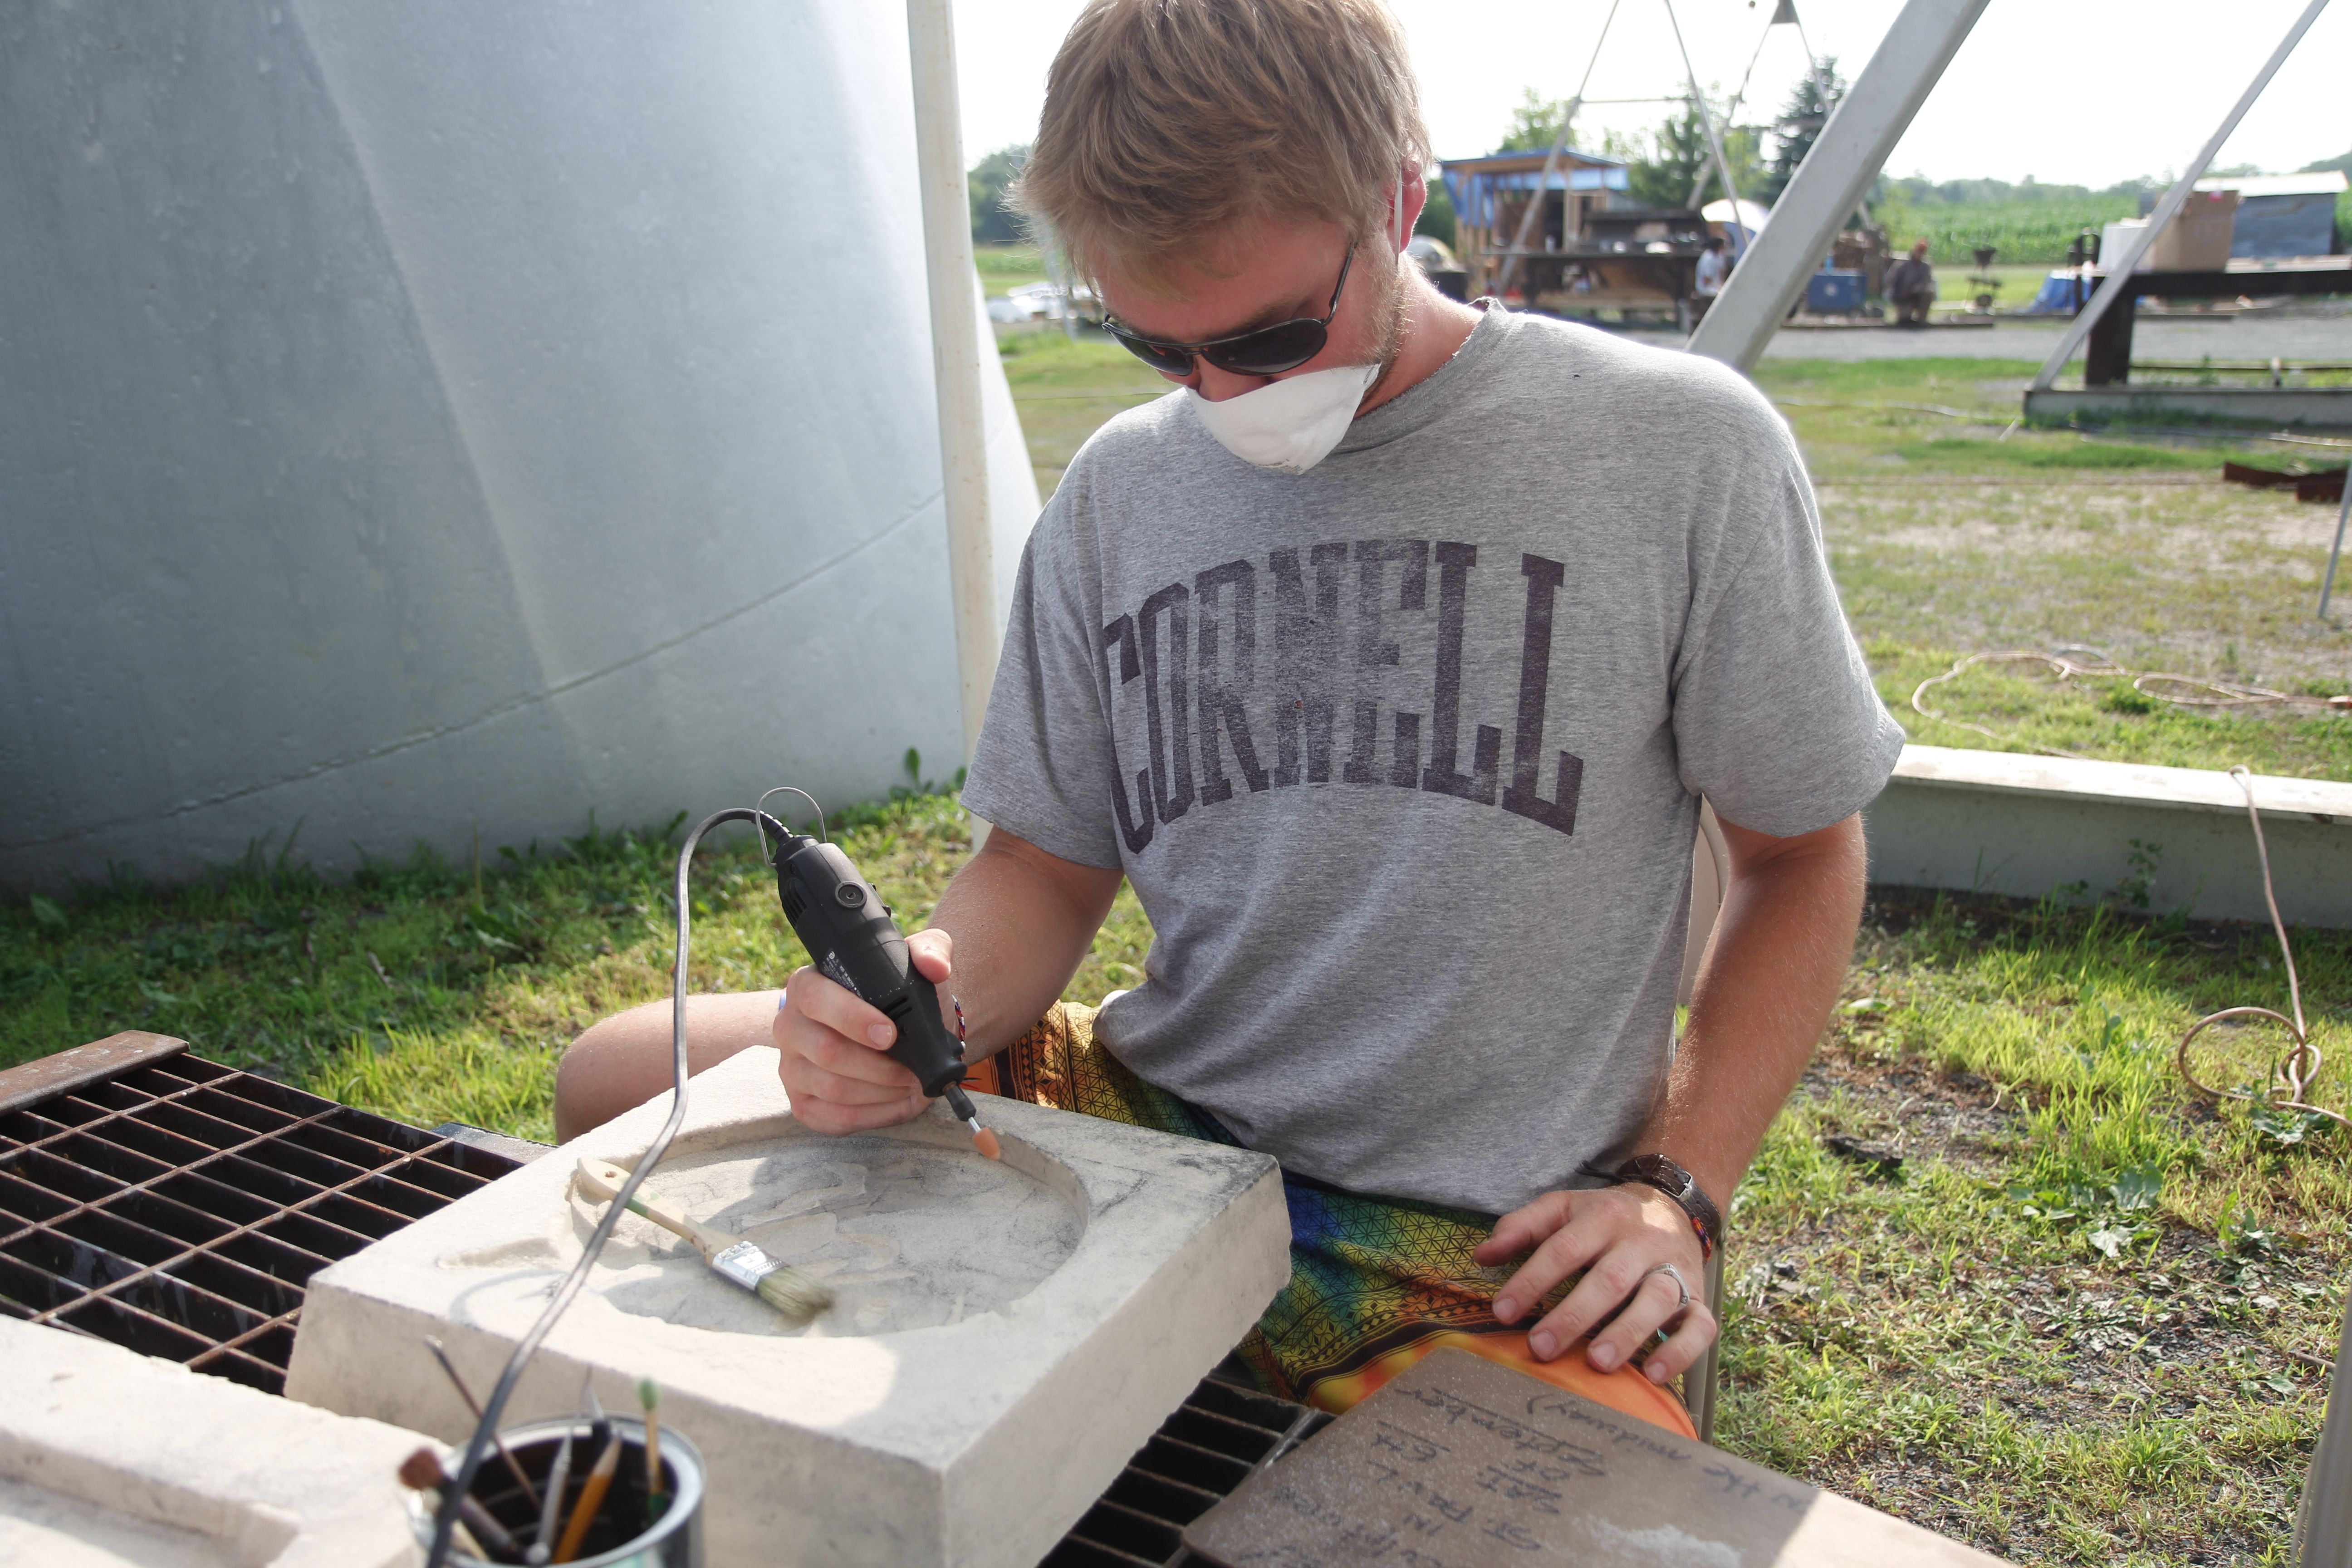
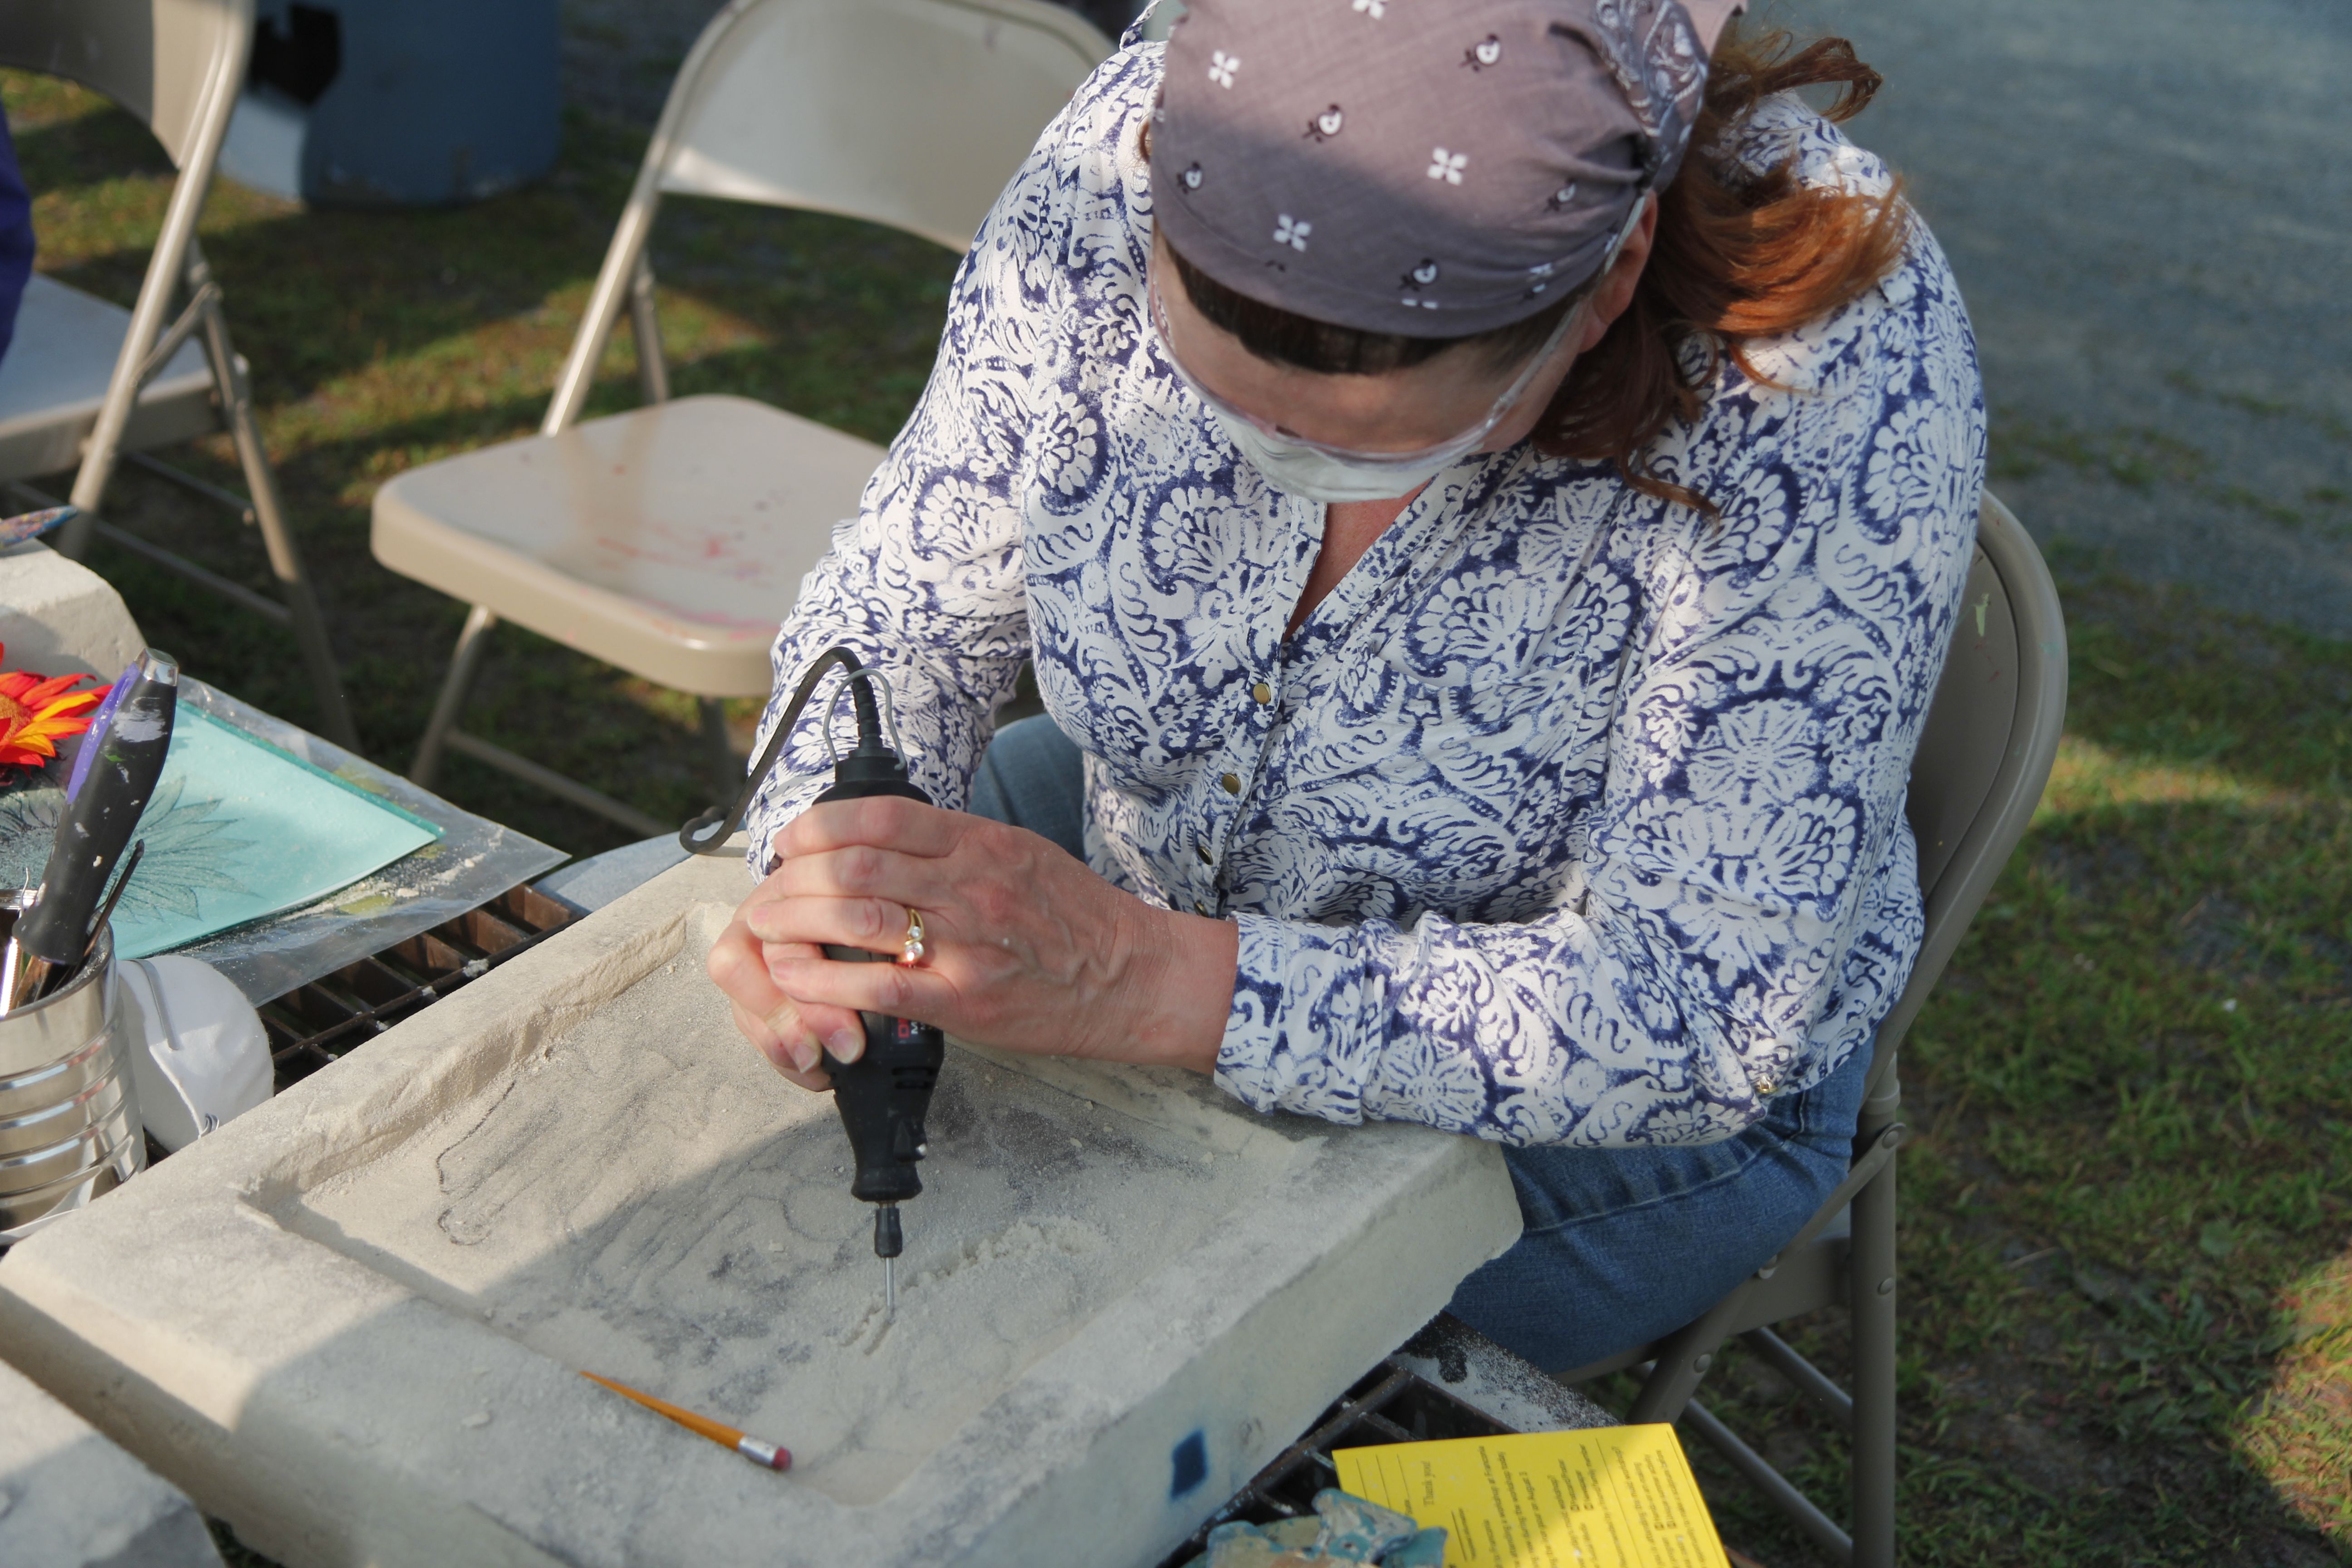
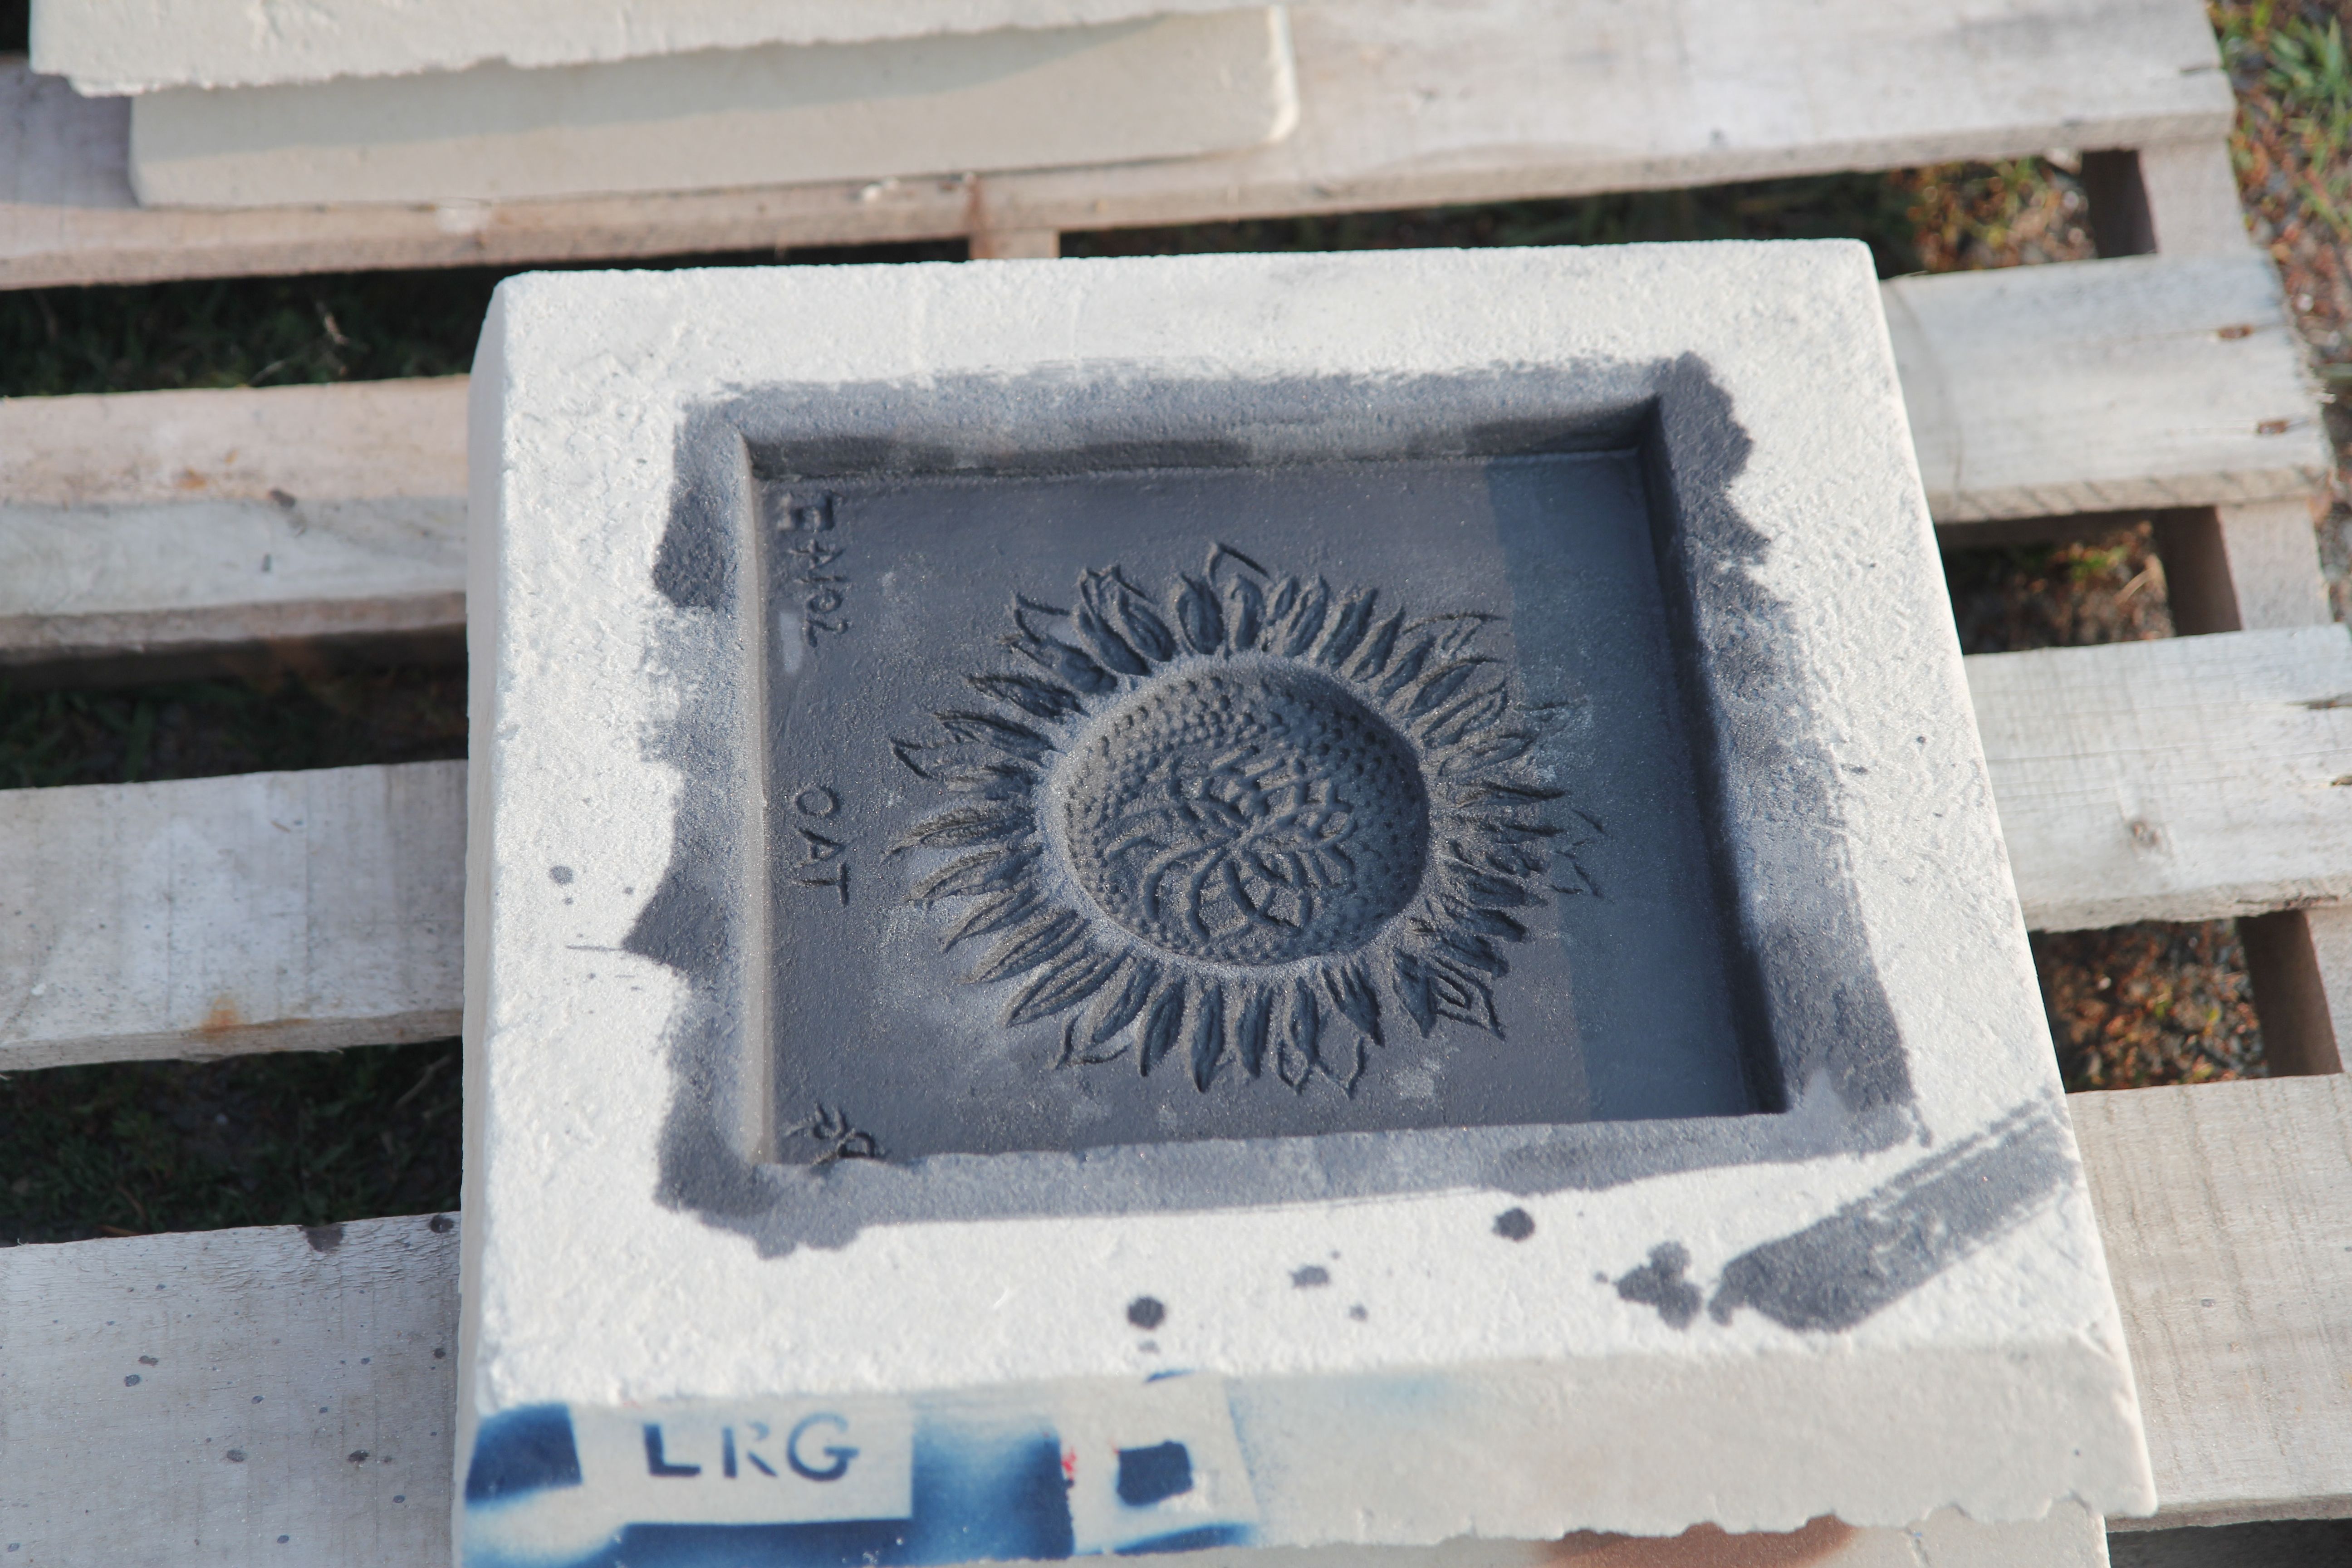
Accompanied by Portia and my son, we attended the workshop and proceeded to dig, scratch, scrape, drill, and dremel our way into the resin-cast silica-sand molds we were given. After about an hour and a half we decided we had done enough damage and the molds were given a graphite “mold-wash” in preparation for the molten iron.

Carving the sand block.

Carving the sand block.

The iron pour will be August 2, my birthday. It seems a fitting highlight to match the recent roller coaster of life. Last year on this day I attended “Physics on Ice” a dramatic presentation of modern high energy physics, including the saga of detecting the Higgs Boson.

This year I get to witness molten material, thousands of degrees higher than ice, being transformed into objet d’ art. It is hard to think of something that combines so well the values I cherish: the recycling of matter to useful purpose, the application of our hard-won knowledge to work and form it, and the encouragement of artistic expression.

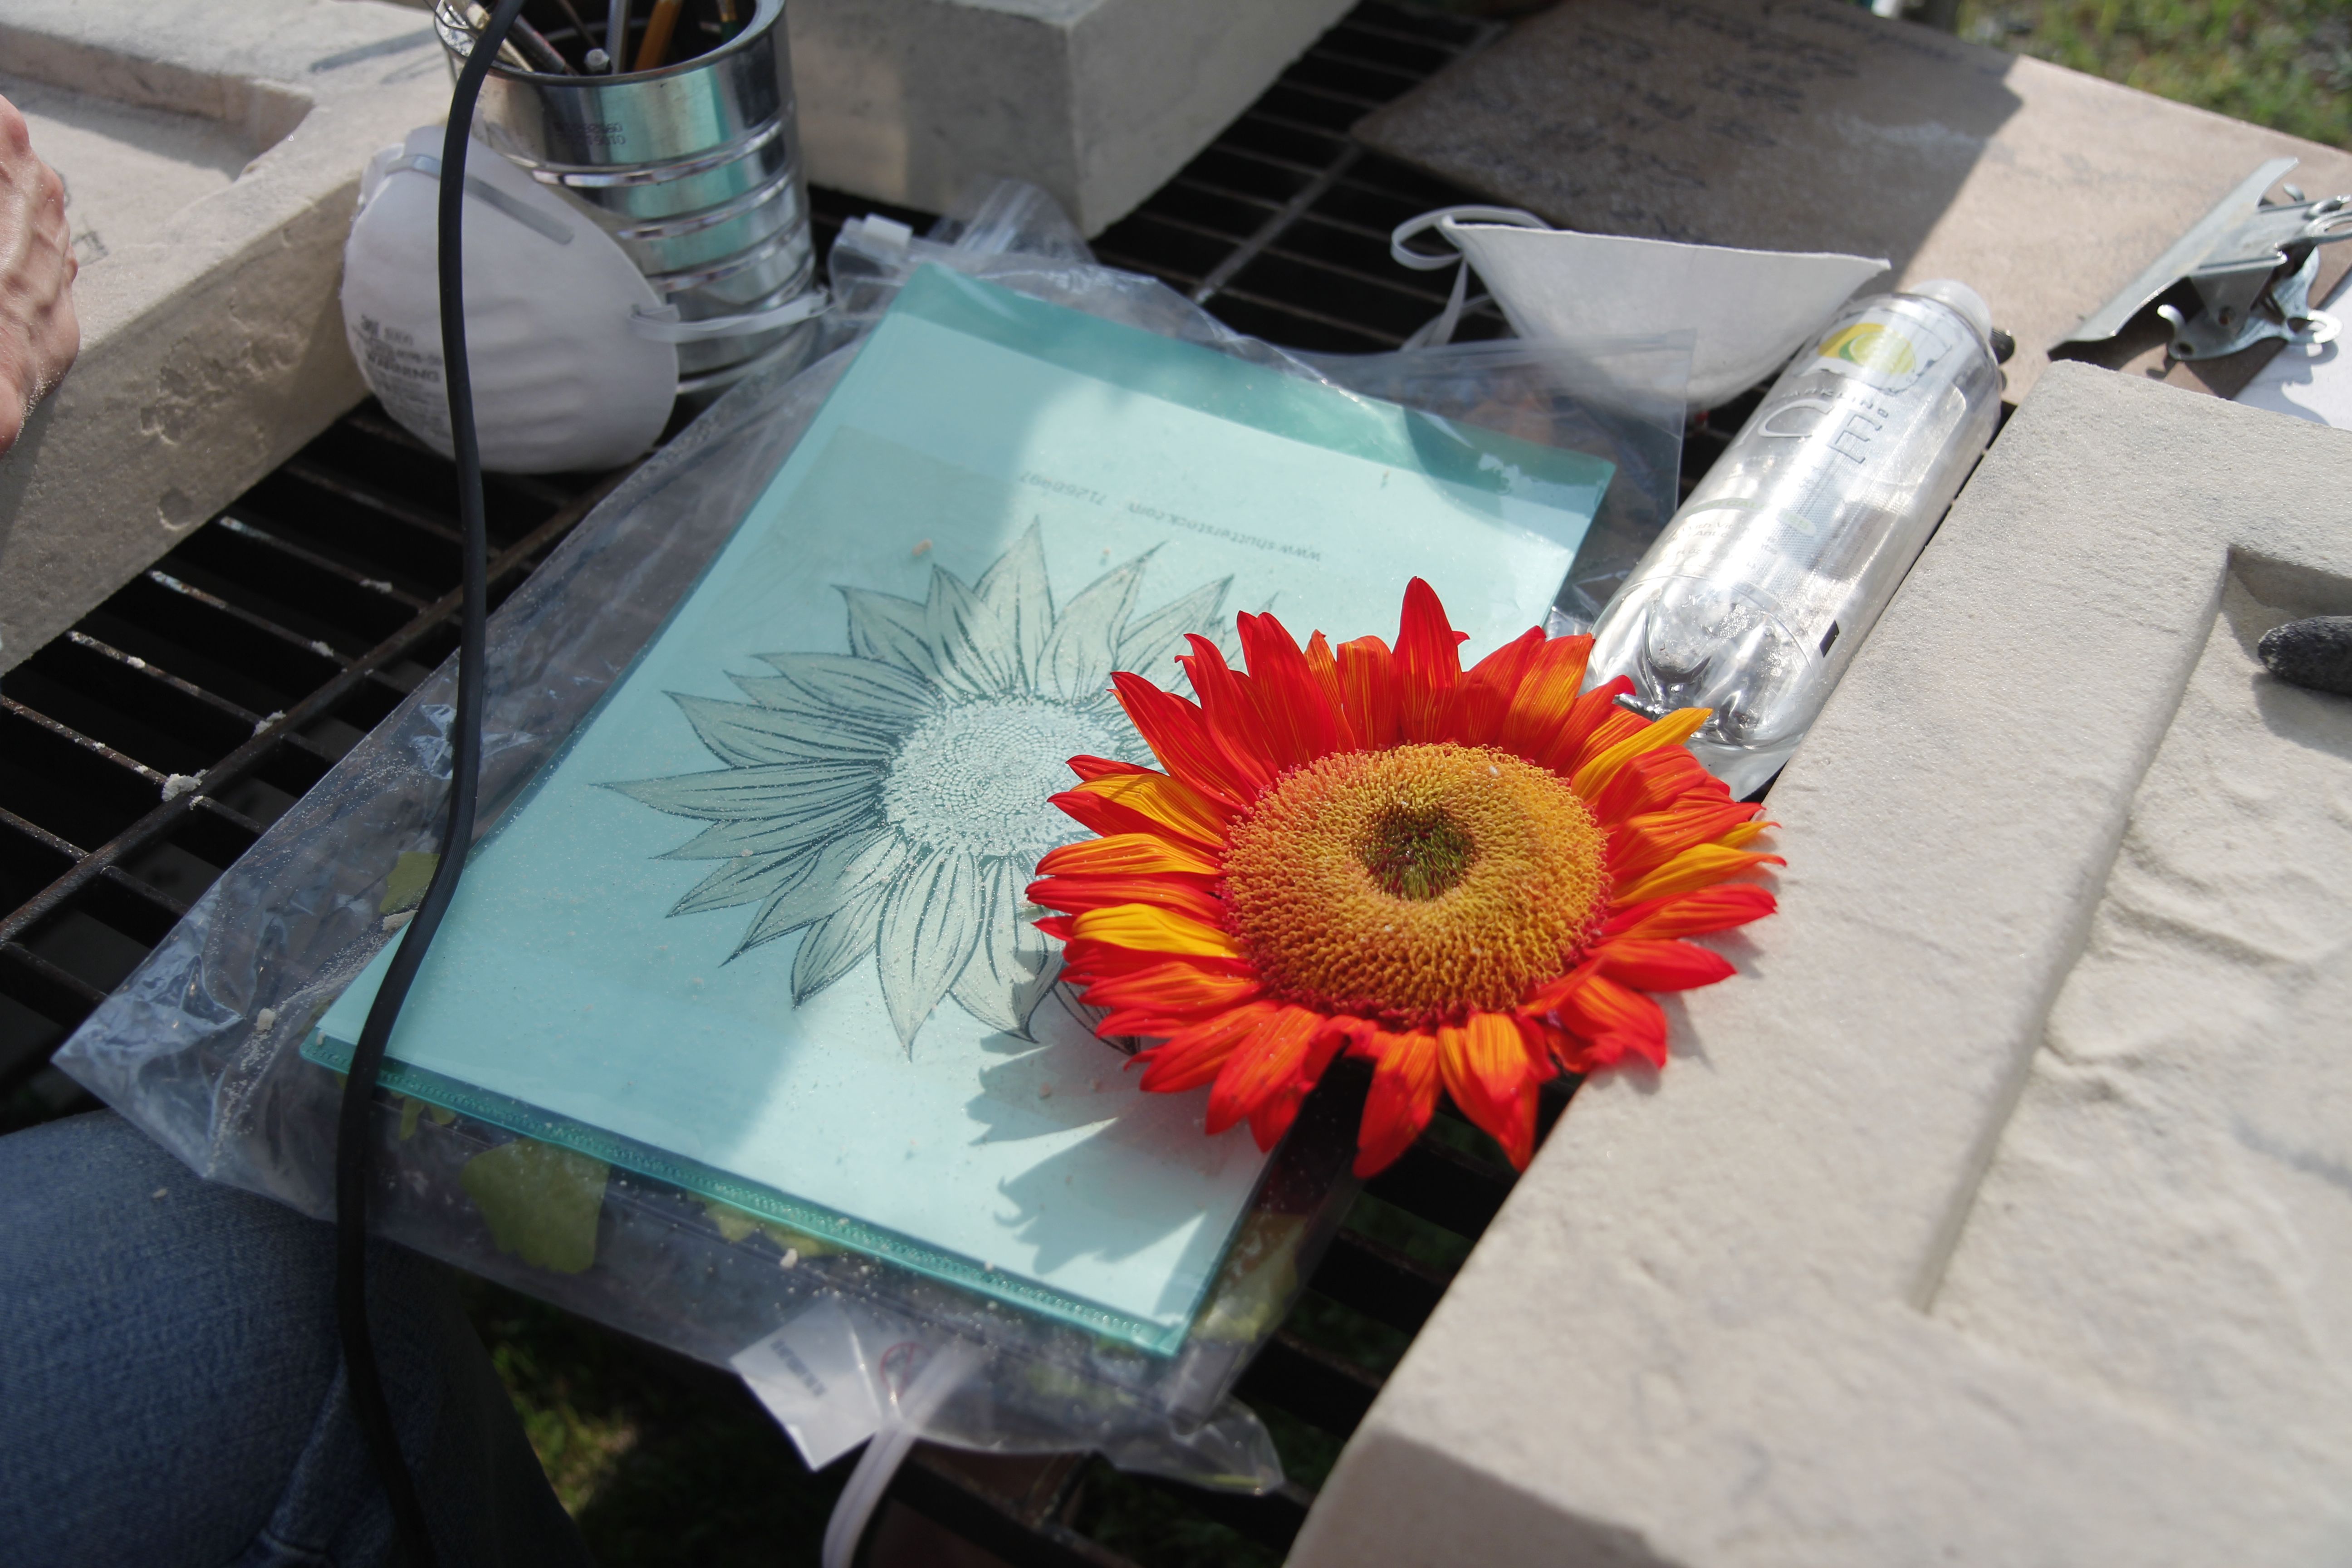
Inspiration and guidance.

Inspiration and guidance.

Portia working the dremel to create the negative image for her mold.

Portia working the dremel to create the negative image for her mold.

Mold-washed, ready for molten iron.

Mold-washed, ready for molten iron.

Posted in Uncategorized | 1 Comment

City Limits 3.0

The pressing issue is now identifying exactly the location of the garage foundation and walls. The original plan, approved after several rounds of review, called for the walls being set back 3-feet from the lot line. This seemed like a fine placement at the time, but some new information has surfaced.

First, the property corner marker, a steel pipe driven into the ground to provide a reference for lawyers and surveyors, was not at the neighbor’s fence line as expected. It was 2-1/2 feet away, removing that distance from my plan and shortening the net driveway space.

Second, the beautiful mature hackberry tree in our back yard (but now the neighbor’s back yard), whose trimming I had just invested in, was dangerously close to the proposed new garage. The excavation will compromise its future health.

Both of these problems could be reduced if we simply move the structure closer to the property line. The plan called for 3-feet, but the city ordinance only needed one-foot. A two foot gain in driveway space, and tree root clearance could be had.

Unfortunately, this is not my decision to make. The excavators want to follow the plan, because that is what the city building inspectors will be examining. If it is not right, it will have to be re-done, an expensive proposition when heavy equipment and concrete are involved.

So to avoid costly rework, the plan needs to be revised. Officially. And since I am the “general contractor” and project manager, it was up to me to get this authorization before the excavators arrived. This is my part in the choreography.

I marked up the changes to the plan. I showed the new property lines, took pictures of the corner stake, indicated the setbacks, annotated the changes, printed a revised site plan, and headed downtown.

I do not criticize government planning departments. They have a valuable role in the safety and quality of our city. And I wish they were adequately funded. I spent a half-day to get this change approved, first waiting to explain it to one zoning administrator, but then finding that it needed to be approved by the original planner who had signed off on the permit. Fortunately, that planner was not on vacation, and was scheduled to be in the office, but not until after noon.

I hate having to do it, but I killed time, knowing that this was the only possibility for getting my desired setback distances approved and avoiding additional expense or delay. I suffered a lunch at the “Court Café” and was back in the planning office by the afternoon shift.

My interview with the planner went well; he understood completely and re-authorized the plan with the new dimensions, provided that no part of the structure came within 6-inches of the property iine. A revision was filed and recorded against the property. He then sent me to another department. I didn’t understand, but followed his instructions and waited for my service number to be called again.

It turns out that there are several layers of city requirements. I had just passed the hurdles of the zoning department. Now I needed to pass the building codes. Zoning allowed me to build within a one-foot setback of the property line. But the building codes would not allow any “protrusions” (i.e. roof overhangs) to exceed four-inches if I did so.

In my usual manner of curiosity, I asked why this restriction existed. The building code manual was produced, and after some searching the relevant clause was identified. It provided no justification, but it was in a section that referred to fire protection. I infer that structures with overhangs of any size are an increased fire hazard, and that 4-inches was a tolerable compromise.

The garage design called for a 1-foot overhang. I had to decide if this could be compromised to 4-inches. It seemed pretty extreme; how could a roof provide a proper watershed if it was only 4 inches out from the wall? And what would this do to the aesthetics of my carefully designed building? My choices were to keep the original plan with its generous setbacks (and compromise the tree and driveway), or to accept a chopped short roofline with no margin for even a gutter.

It was a stressful moment. A decision was needed. Options would be eliminated. The plan would be updated. The choice would be recorded in the city records forever.
The agent tried to calm me. I didn’t have to decide right then; I could consult my builder and come back.   I contemplated this, but realized it would involve another full working day of navigating the city planning office, and in doing so would anything be different? I really DID have to decide now.

So I did. The overhang will be limited to 4-inches.

And then I was informed that this only applies to the property line adjacent with the neighbor. There is no such restriction for the alley! This was an immense relief. Only the backside of the garage would be restricted. There is no visual impact on anything else! I can live with this. Easily.

I was re-directed to another department, but it was mere protocol. The building permit had been amended and now needed to be re-printed. I waited for the new copy, took delivery, and headed home.

As an engineer, I understand the need for revision control. But with construction in the real world, a more dynamic mechanism for changes mandated by new information and discoveries would be beneficial.

Life is filled with tradeoffs.


Posted in Uncategorized | Comments Off on City Limits 3.0

The dumpster that couldn’t.

I reported that it took three guys, two dumpsters, and two days to demolish a garage. I erred. It takes three dumpsters. When the truck arrived to haul away the second dumpster, its lift was unable to load it onto the trailer. Thirty cubic yards of construction debris is the normal payload, but in this case, it was the pulverized remnants of the concrete garage floor. The truck’s concentrated hydraulic force was no match for gravity.

A second dumpster was delivered, and the load was split between the two containers. (Someone’s job involved picking up concrete boulders from one, and hurling them over the dumpster sidewalls to the other). Both dumpsters are now gone, from which I infer that the load was successfully split.

Now that the driveway is free of dumpsters, the excavators will now have space to deposit the dirt they excavate. If only they knew where to dig.

Posted in Uncategorized | Comments Off on The dumpster that couldn’t.

The Project Begins

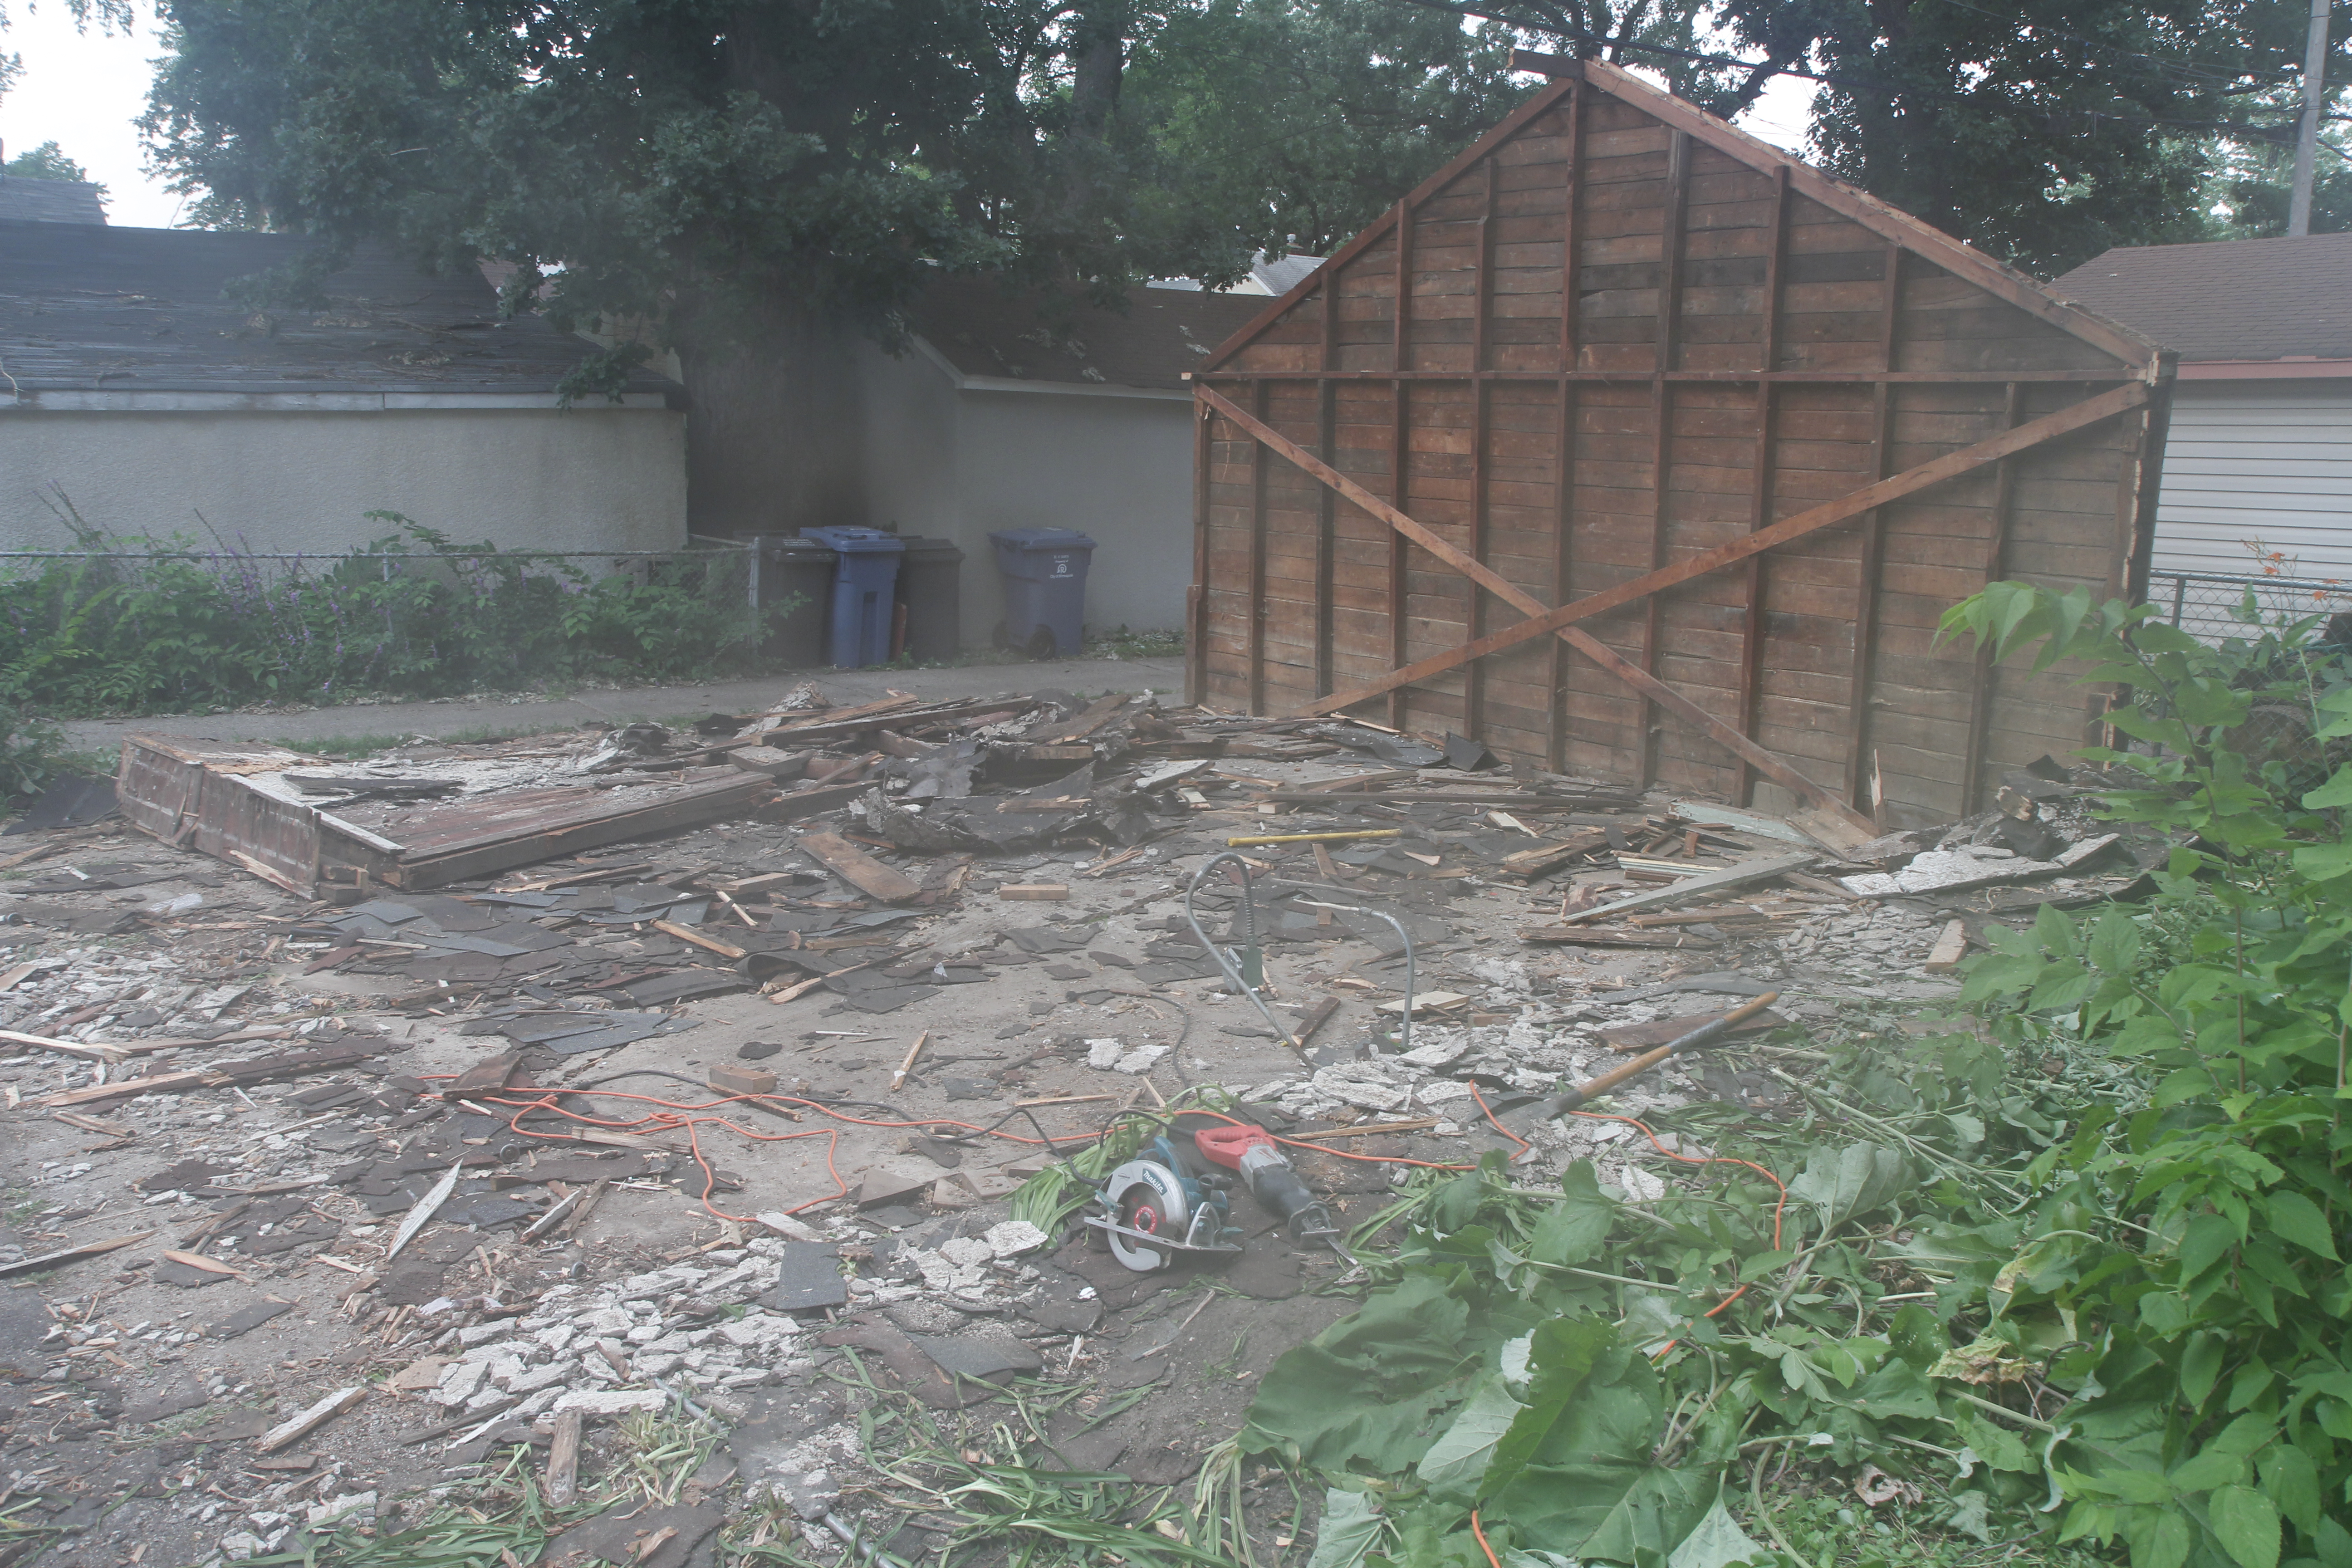
The last wall standing.  At the end of the first day of demolition, this is what remains.

The last wall standing. At the end of the first day of demolition, this is what remains of the old garage.  The apparent haze is due to the camera fogging up when brought outside to the hot and humid conditions.

I now know what it takes to demolish and remove a garage: three strong guys, two days, two dumpsters. The garage/workshop project began in earnest this week and the first order of business was to remove the existing structure.

A tight choreography was initiated. A dumpster was delivered early Monday morning. The deconstruction crew showed up shortly after, and began disassembling, chopping, prying, sawing, hacking, and dismantling, gradually demolishing the old wood and stucco structure. By midday the roof had been eaten away. Two hours later, a single wall was still standing, wavering in the breeze.

It was the hottest day of the summer, 95/95, degrees matching percent humidity. It seemed not to matter to these men, they made it just another day on the job. They were experienced; a cooler of water and a giant bag of ice kept them semi-hydrated. The conditions took their toll however: they decided to call it a day an hour early, though it might have been because they had already overfilled the dumpster.

The demolition choreography called for a dumpster exchange the next morning. But sometimes dancers miss their cues, in this case “late morning” turned into afternoon, and the demolition was detained. On this second day, the concrete slab was to be removed. This involved repeated high-energy impacts with a sledgehammer to break it up into chunks manageable only by extremely strong men and superheros. I imagined doing this level of work and estimated my exhaustion limit at about 5 to 10 minutes. These guys lasted all day. I joked with them about their lack of need to visit the gym, but was informed that this was what they were planning to do after they got off work!

The missed dumpster cue and its non-delivery didn’t slow them down. The giant concrete chunks were hurled onto the top of the wooden debris pile in the already-full dumpster and simply compressed it.

Eventually the dumpster reached its legal limits. And then at last, it was exchanged for an empty one. Now the remainder of the concrete could be tossed into the new bin (as if tossing concrete were a casual sport).

At the end of the second day, no remnant of the original garage remained. The foundation, a single course of concrete block (floating far above the frost line), had been removed. A shallow square of sand, an inadequate base for the previous garage floor, was visible within its outline.

The choreography continues. A section of asphalt is to be cut away and removed. The excess is destined for the dumpster, but this must be done before the dumpster is removed, which must happen before the excavators arrive to dig the trench for the new foundation (which will meet the frost line). Oh, and the tree trimmers, scheduled to perform their work while there is access to the large hackberry tree that is compromising the power lines, needs to get their equipment in between all of these other activities.

Construction projects are never dull.


Posted in Uncategorized | Comments Off on The Project Begins